Getting Started in a Local Environment
- Prerequisites
- Configure Hosts File
- Deploying Control Center
- Accessing Control Center
- Application Development
- Install Control Center in WSL
This page explains how to set up Control Center in a local environment for development and testing purposes. For use in a production environment, see the Getting Started in a Production Environment guide.
Prerequisites
Before you begin, make sure you have a Kubernetes cluster running and available on your local machine. You can use tools like Docker Desktop, which has an embedded Kubernetes (see Kubernetes on Docker Desktop), Kind, or Minikube to set up a local cluster. Deciding which to use depends on your project needs.
|
Important
|
Ensure Minikube Tunnel Is Running
If you’re using Minikube, you’ll need to ensure that the minikube tunnel is running before deploying Control Center.
|
You’ll also need to install Helm. It’s a Kubernetes package manager that simplifies application deployment and management. Make sure it’s configured to interact with your cluster.
Configure Hosts File
To access Control Center from your local machine, you’ll need to add a couple of entries to your hosts file. The location of this file depends on the operating system you’re using.
Linux & macOS
When using a Unix based system like Linux or macOS, you’ll need to open the hosts file in the /etc directory, with administrative privileges like so:
Source code
Terminal
sudo nano /etc/hostsThere you’ll have to add the following lines at the end of the file:
Source code
127.0.0.1   control.local
127.0.0.1   auth.local
Windows
If you’re using a Windows system, you’ll instead need to start Notepad as an administrator. With it, open the hosts file, which is usually located at C:\Windows\System32\drivers\etc\hosts. Be careful when modifying system files while logged in as administrator, to avoid problems.
Add the following lines to the end of that file:
Source code
127.0.0.1   control.local
127.0.0.1   auth.local
Deploying Control Center
When you’re ready, deploy Control Center. You can do this by entering the following from the command-line:
Source code
Terminal
helm install control-center oci://docker.io/vaadin/control-center \
    -n control-center --create-namespace \
    --set domain=local \
    --set user.email=example@foo.com \
    --wait
Replace the email address with your own. This is used to create the initial user account in Control Center.
|
Note
|
The installation of Control Center can be customized by modifying the Helm command.
See the Configure Installation page for more details.
|
Accessing Control Center
Once deployed, copy the temporary password for the initial user. Execute the following to retrieve it:
Source code
Terminal
kubectl -n control-center get secret control-center-user -o go-template="{{ .data.password | base64decode | println }}"You can access Control Center through the web browser at http://control.local.
Logging In
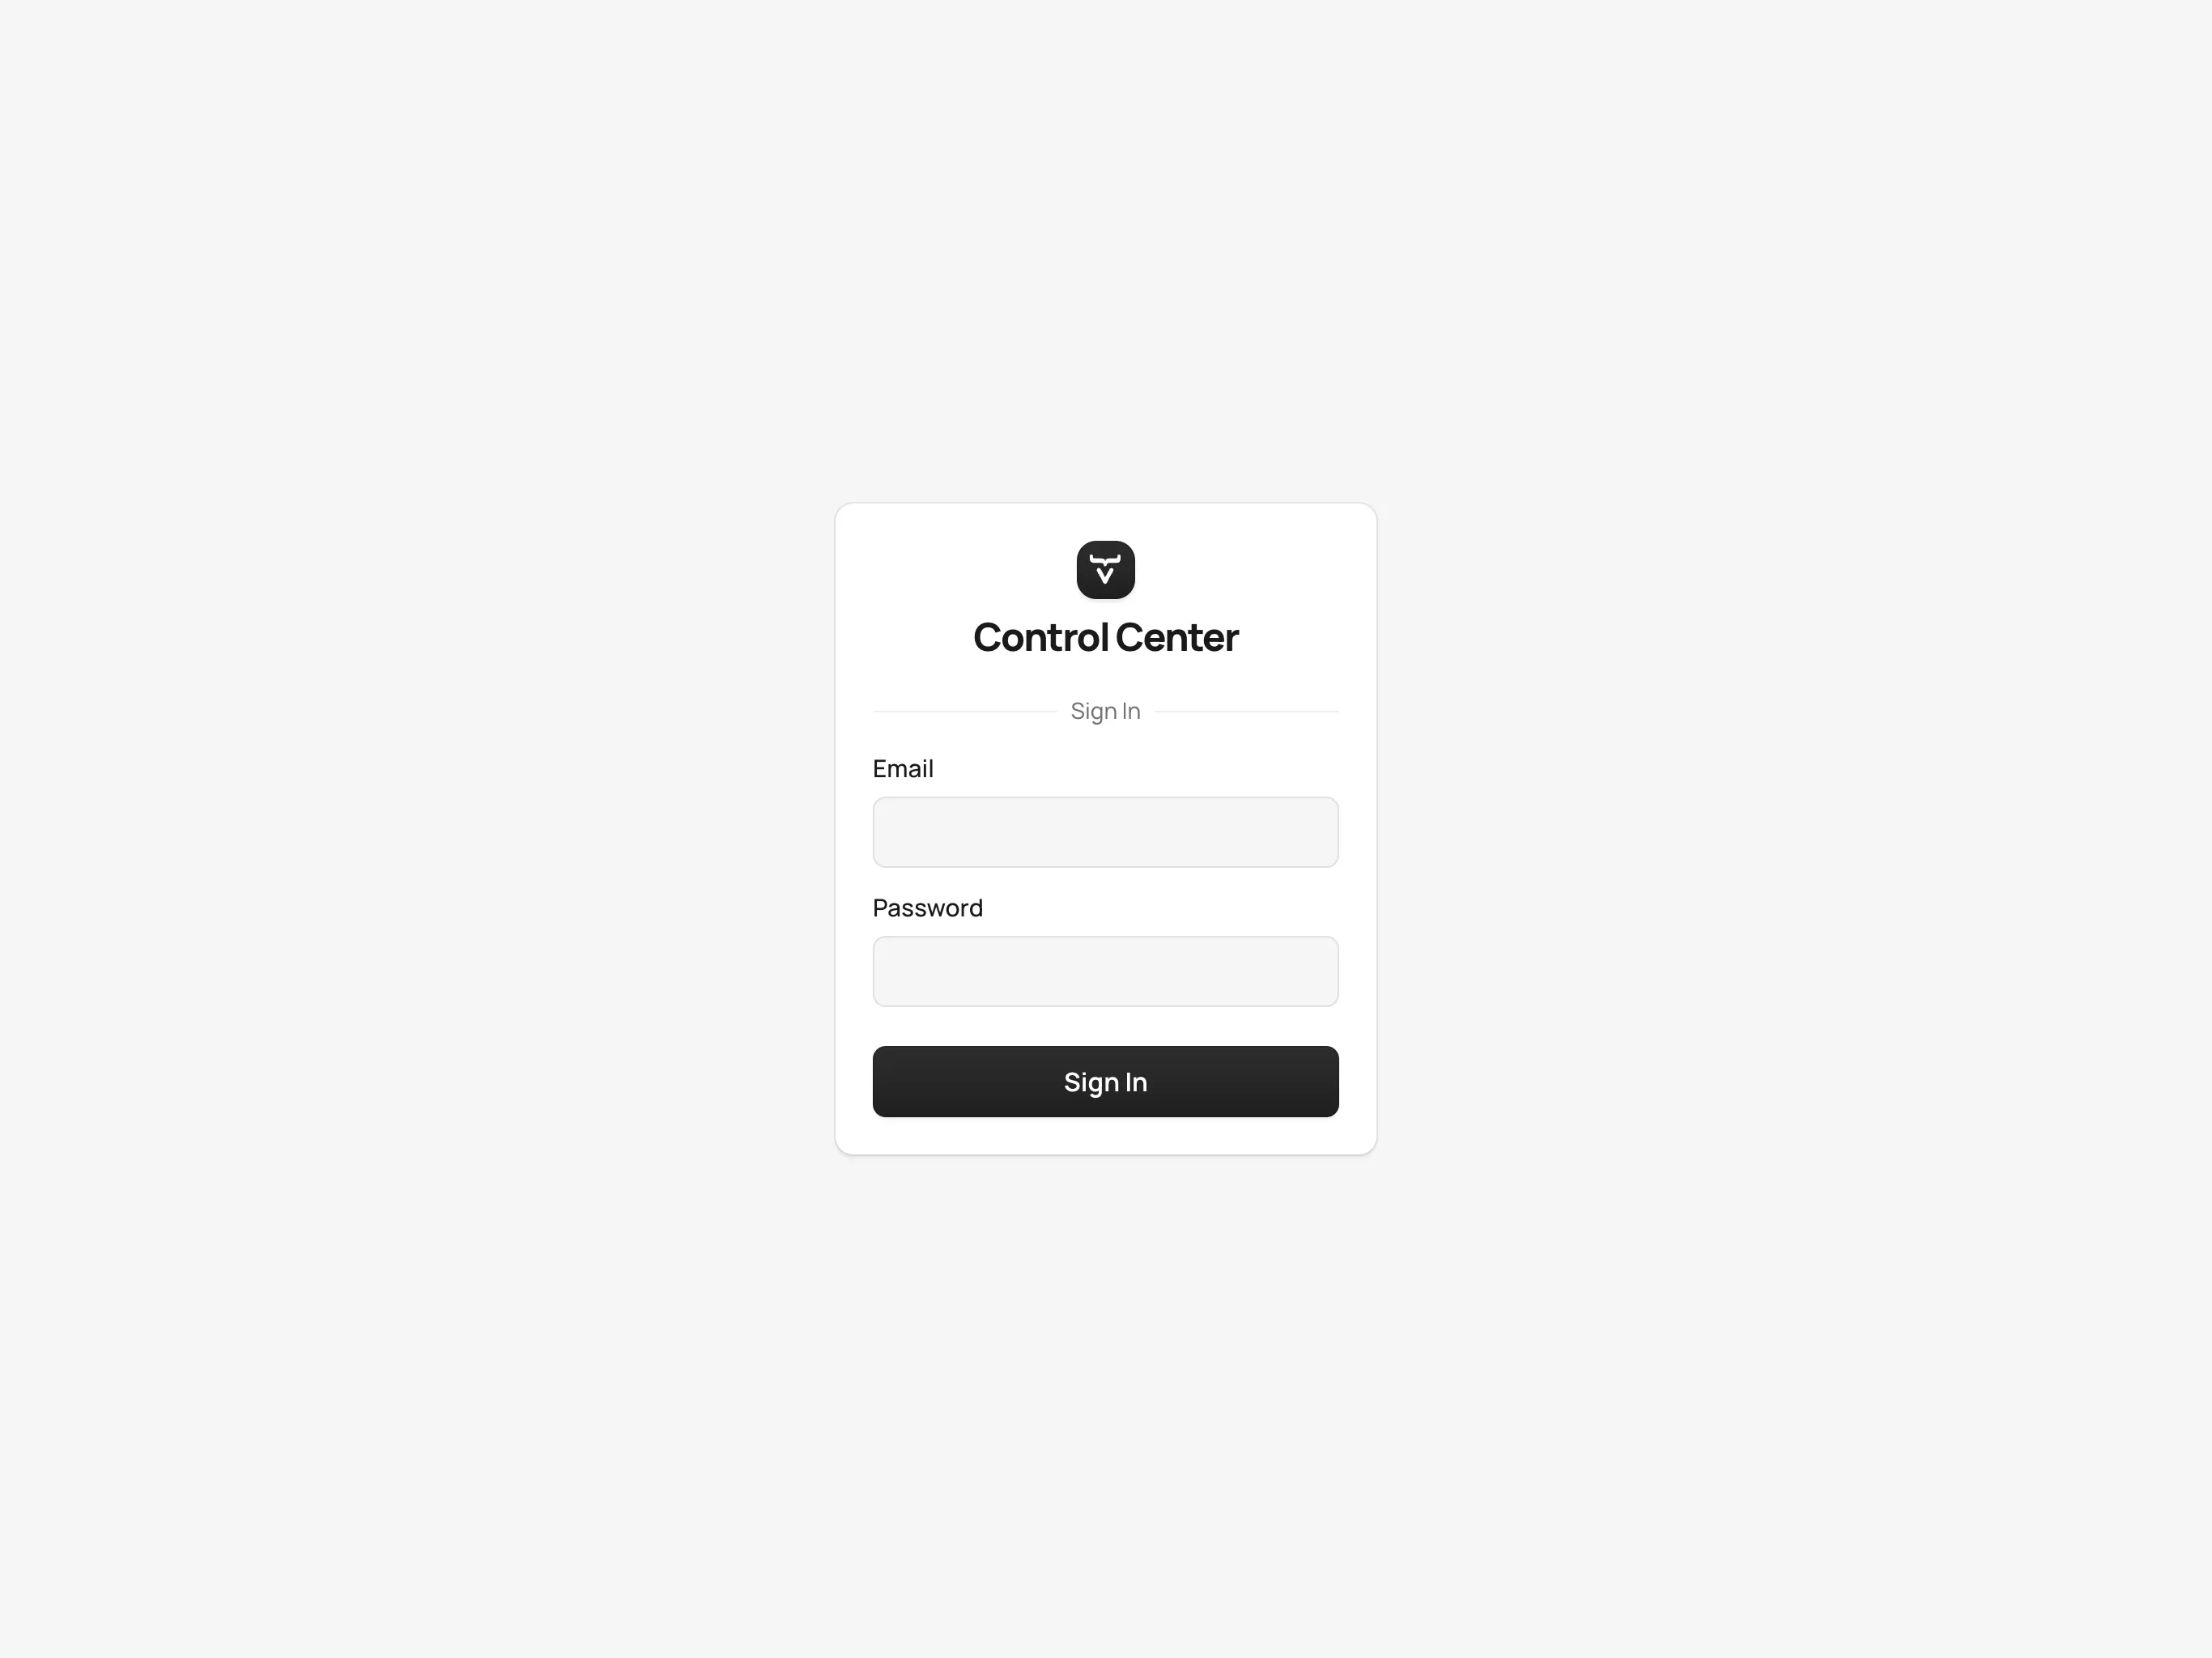
When you first access Control Center, you’ll be prompted to log in. Use the email address you provided during deployment and the temporary password you retrieved earlier.

You’ll then be prompted to change your password, and to provide a first and last name.
Accessing the Dashboard
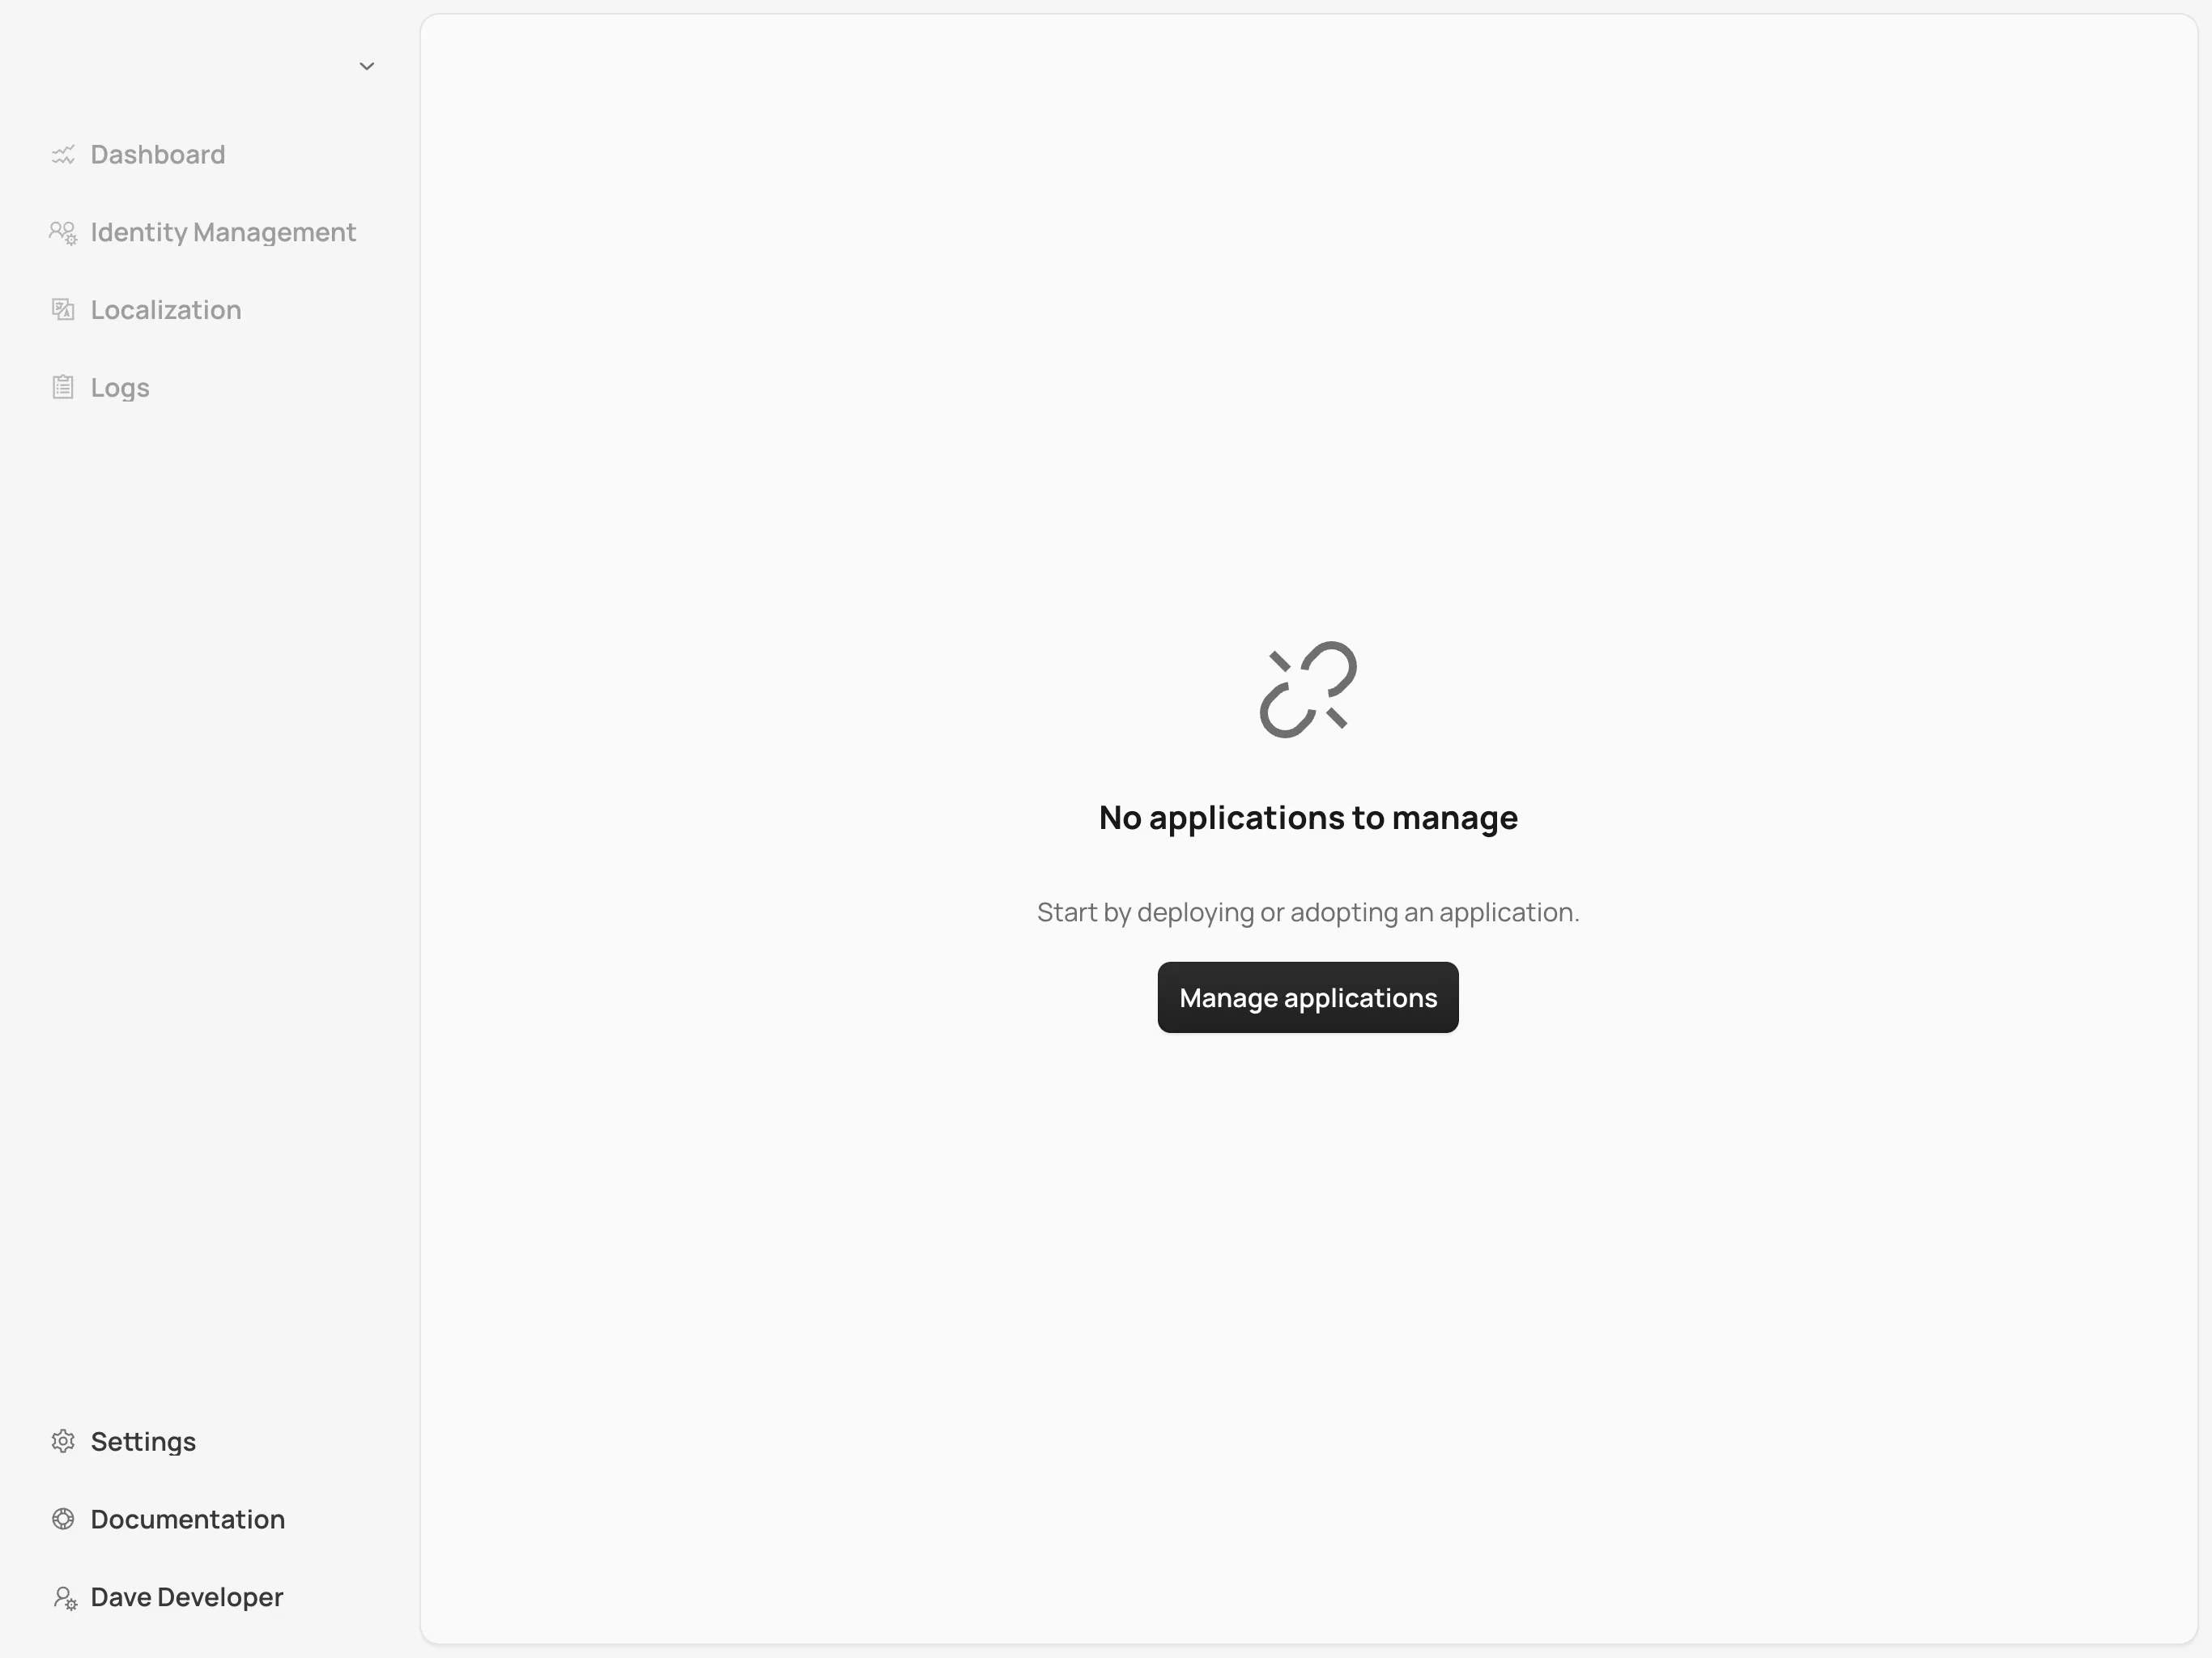
Upon successful authentication, you’ll be taken to the Control Center dashboard, as shown in the screenshot here:

At this point, the dashboard should notify you that no applications are available. This is because none are deployed yet.
To start deploying your Vaadin applications and take full advantage of Control Center’s features, proceed to the Application Deployment documentation page.
Application Development
To develop applications locally, you can use the Local Development Mode. It allows you to run your application locally and interact with the cluster as if it were running inside it.
Install Control Center in WSL
One solution to install Control Center on Windows in a local environment is to use Docker Desktop and WSL (Windows Subsystem for Linux).
First, you need to install WSL. It is important to choose a distribution that allows installation of Helm, for example Ubuntu:
Source code
shell
wsl --install -d UbuntuThen, you need to enable Kubernetes and WSL in Docker Desktop:


You also need to enable integration with the Ubuntu distribution in Docker Desktop:

Then, you can start the WSL with the following command, using the distribution you chose before (in this case Ubuntu):
Source code
shell
wsl.exe -d UbuntuAfter this, you need to use the WSL terminal to install Helm and Control Center. First, you need to install Helm before you can install Control Center in the local environment.
It is important to update the hosts file on the Windows system, which is usually located at C:\Windows\System32\drivers\etc\hosts, with the domain you used during the Control Center installation, in this case with the control.local and auth.local domains:
Source code
text
# Added by Docker Desktop:
192.168.31.179 host.docker.internal
192.168.31.179 gateway.docker.internal
# Added by Docker Desktop to allow the same kube context to work on the host and the container:
127.0.0.1 kubernetes.docker.internal
# You need to add these entries:
127.0.0.1 control.local
127.0.0.1 auth.local
Note that there are other entries added to the hosts file which are also important. Those should be added automatically by the Docker Desktop when the Kubernetes and WSL engines are enabled.