Get an Application Running
You’ll need to do a few basic, essential things to get an application running: first, add the route to the main menu; then some minor steps. These are covered on this page.
Adding Route to Main View
On the previous page, you created a main-view design with a companion Java file. Now you need to make the view accessible by adding the @Route annotation to the companion Java file.
To do this, first expand the src/main/java/com.example.application package and open MainView.java. Then add the @Route("") annotation at the beginning of the MainView class.
Your MainView class should now look like this:
Source code
MainView.java
MainView.java@Tag("main-view")
@JsModule("./src/views/main-view.ts")
@Route("")
public class MainView extends LitTemplate {
public MainView() {
}
}The @Route annotation maps http://localhost:8080/ to MainView.
Running the Project
Next, you’ll run the project to see what the new layout looks like. The easiest way to run the project for the first time is to open the Application Java class in src/main/java/com/example/application/Application.java. Then click the green play button next to the line which starts with public class Application.
This starts the application and automatically adds a run configuration for it in IntelliJ IDEA. Later, when you want to run or restart the application, you can build, run/restart, stop and debug the application from the toolbar:
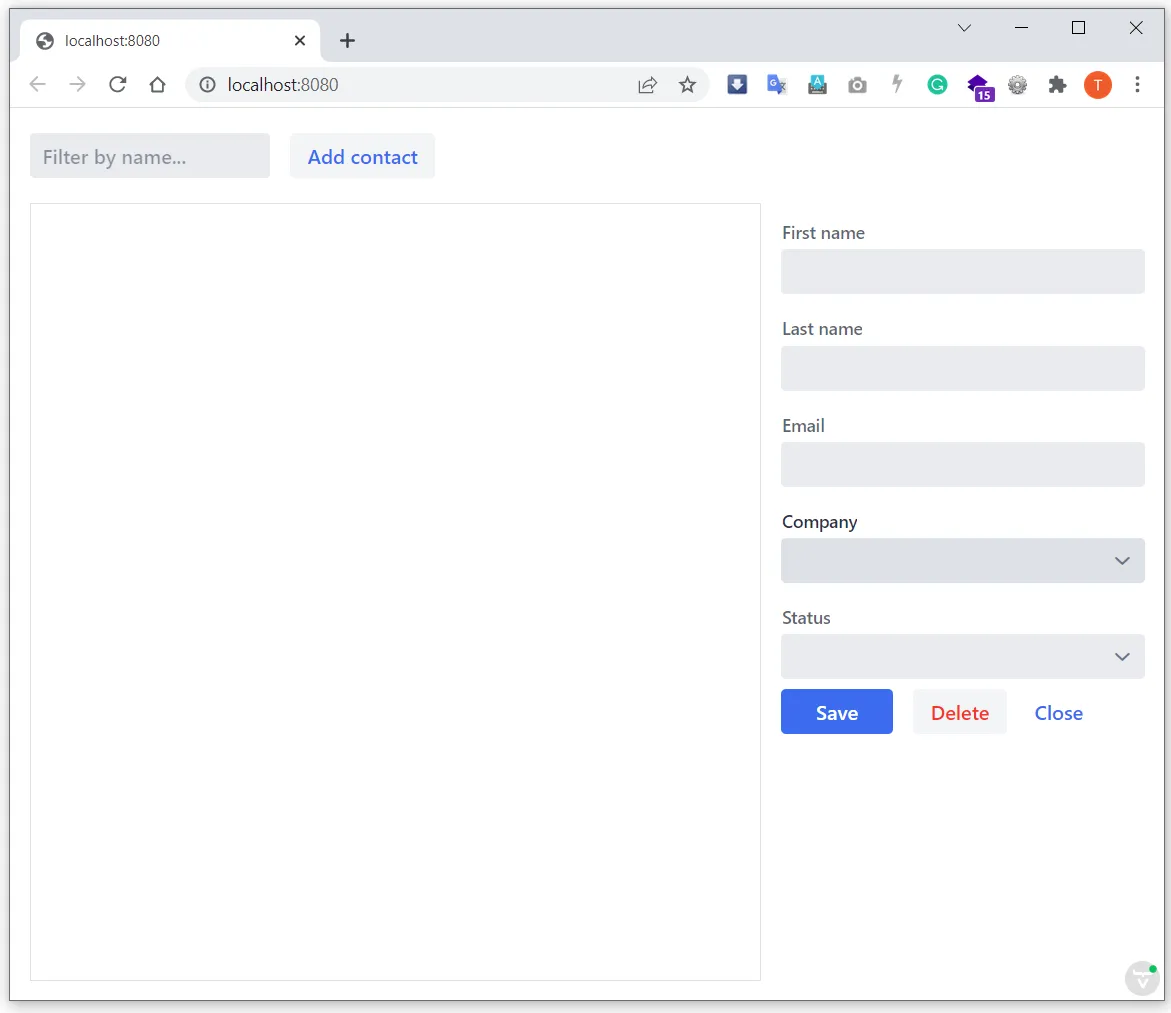
When the build is finished and the application is running. Open http://localhost:8080/ in your browser to see the result.
Proceed to the next page to connect your views to Java: Connecting Main View to Java.
22D010A8-6773-4E15-99F2-5F5501E82988