Getting Started
Control Center simplifies the management of Vaadin applications on Kubernetes clusters. This page explains how to deploy Control Center to a cloud environment and get it running smoothly.
|
Note
| Control Center is designed to run in a production environment. For local development, see the Getting Started in a Local Environment guide. |
|
Note
| For Azure, see a step-by-step guide. |
Prerequisites
Before you begin, make sure you have a Kubernetes cluster running and available. It can be a service like Google Kubernetes Engine (GKE), Amazon EKS, Azure AKS, DigitalOcean.
|
Important
|
Cloud Resources
You need to ensure that your cluster provides sufficient resources for Control Center. This includes CPU, memory, and storage. The exact requirements depend on the size and number of applications you plan to deploy and the traffic they’ll receive. For example, a node with 4 vCPUs and 8 GB of memory should be sufficient for Control Center and an application created with Vaadin Start. |
You’ll also need to install Helm. It’s a Kubernetes package manager that simplifies application deployment and management. Make sure it’s configured to interact with your cluster.
Configure Hostnames
You’ll need to configure the hostnames for Control Center and for Keycloak — the Control Center’s authentication provider. They’ll need hostnames of hosts that are accessible from a web browser running outside the cluster.
Using your cloud provider’s dashboard, create two DNS records. Point them to your cluster’s public IP address, which are obtained from your cloud provider. For example, supposing your domain is mydomain.com, you’d create control.mydomain.com and auth.mydomain.com, both pointing to the cluster’s external IP.
You should find the external IP address in your cloud provider’s dashboard. Make sure that your network security settings allow traffic to this address on the necessary ports.
Deploying Control Center
When you’re ready, deploy Control Center. You can do this by entering the following from the command-line:
Source code
Terminal
helm install control-center oci://docker.io/vaadin/control-center \
    -n control-center --create-namespace \
    --set domain=mydomain.com \
    --set user.email=example@mydomain.com \
    -f values-ingress.yaml \
    --wait
You’d replace mydomain.com here with your domain, and replace the email address with your own. The email address is used to create the initial user account in Control Center.
|
Note
| The installation of Control Center can be customized by modifying the Helm command. See the Configure Installation page for more details. |
Here’s an example of a custom ingress configuration:
Source code
values-ingress.yaml
ingress:
  enabled: true
  className: "nginx"
  hosts:
    - host: "control.mydomain.com"
      paths:
        - path: "/"
          pathType: Prefix
    - host: "auth.mydomain.com"
      paths:
        - path: "/"
          pathType: Prefix
  tls:
    - hosts:
        - "control.mydomain.com"
        - "auth.mydomain.com"
      secretName: "control-center-tls"
This ingress configuration assumes that you already have a certificate in your production environment. To create the control-center-tls secret for the certificate, you should execute this from the command-line:
Source code
Terminal
kubectl -n control-center create secret tls control-center-tls --cert=cert.pem --key=key.pemIf you don’t have a certificate, or you’re not deploying to a production environment, you can create one with a tool like mkcert, using the following:
Source code
Terminal
mkcert control.mydomain.com auth.mydomain.comThis creates the cert.pem and key.pem files.
Accessing Control Center
Once deployed, copy the temporary password for the initial user. Execute the following to retrieve it:
Source code
Terminal
kubectl -n control-center get secret control-center-user -o go-template="{{ .data.password | base64decode | println }}"You can access Control Center through the web browser at http://control.mydomain.com — replacing "mydomain.com" with your domain.
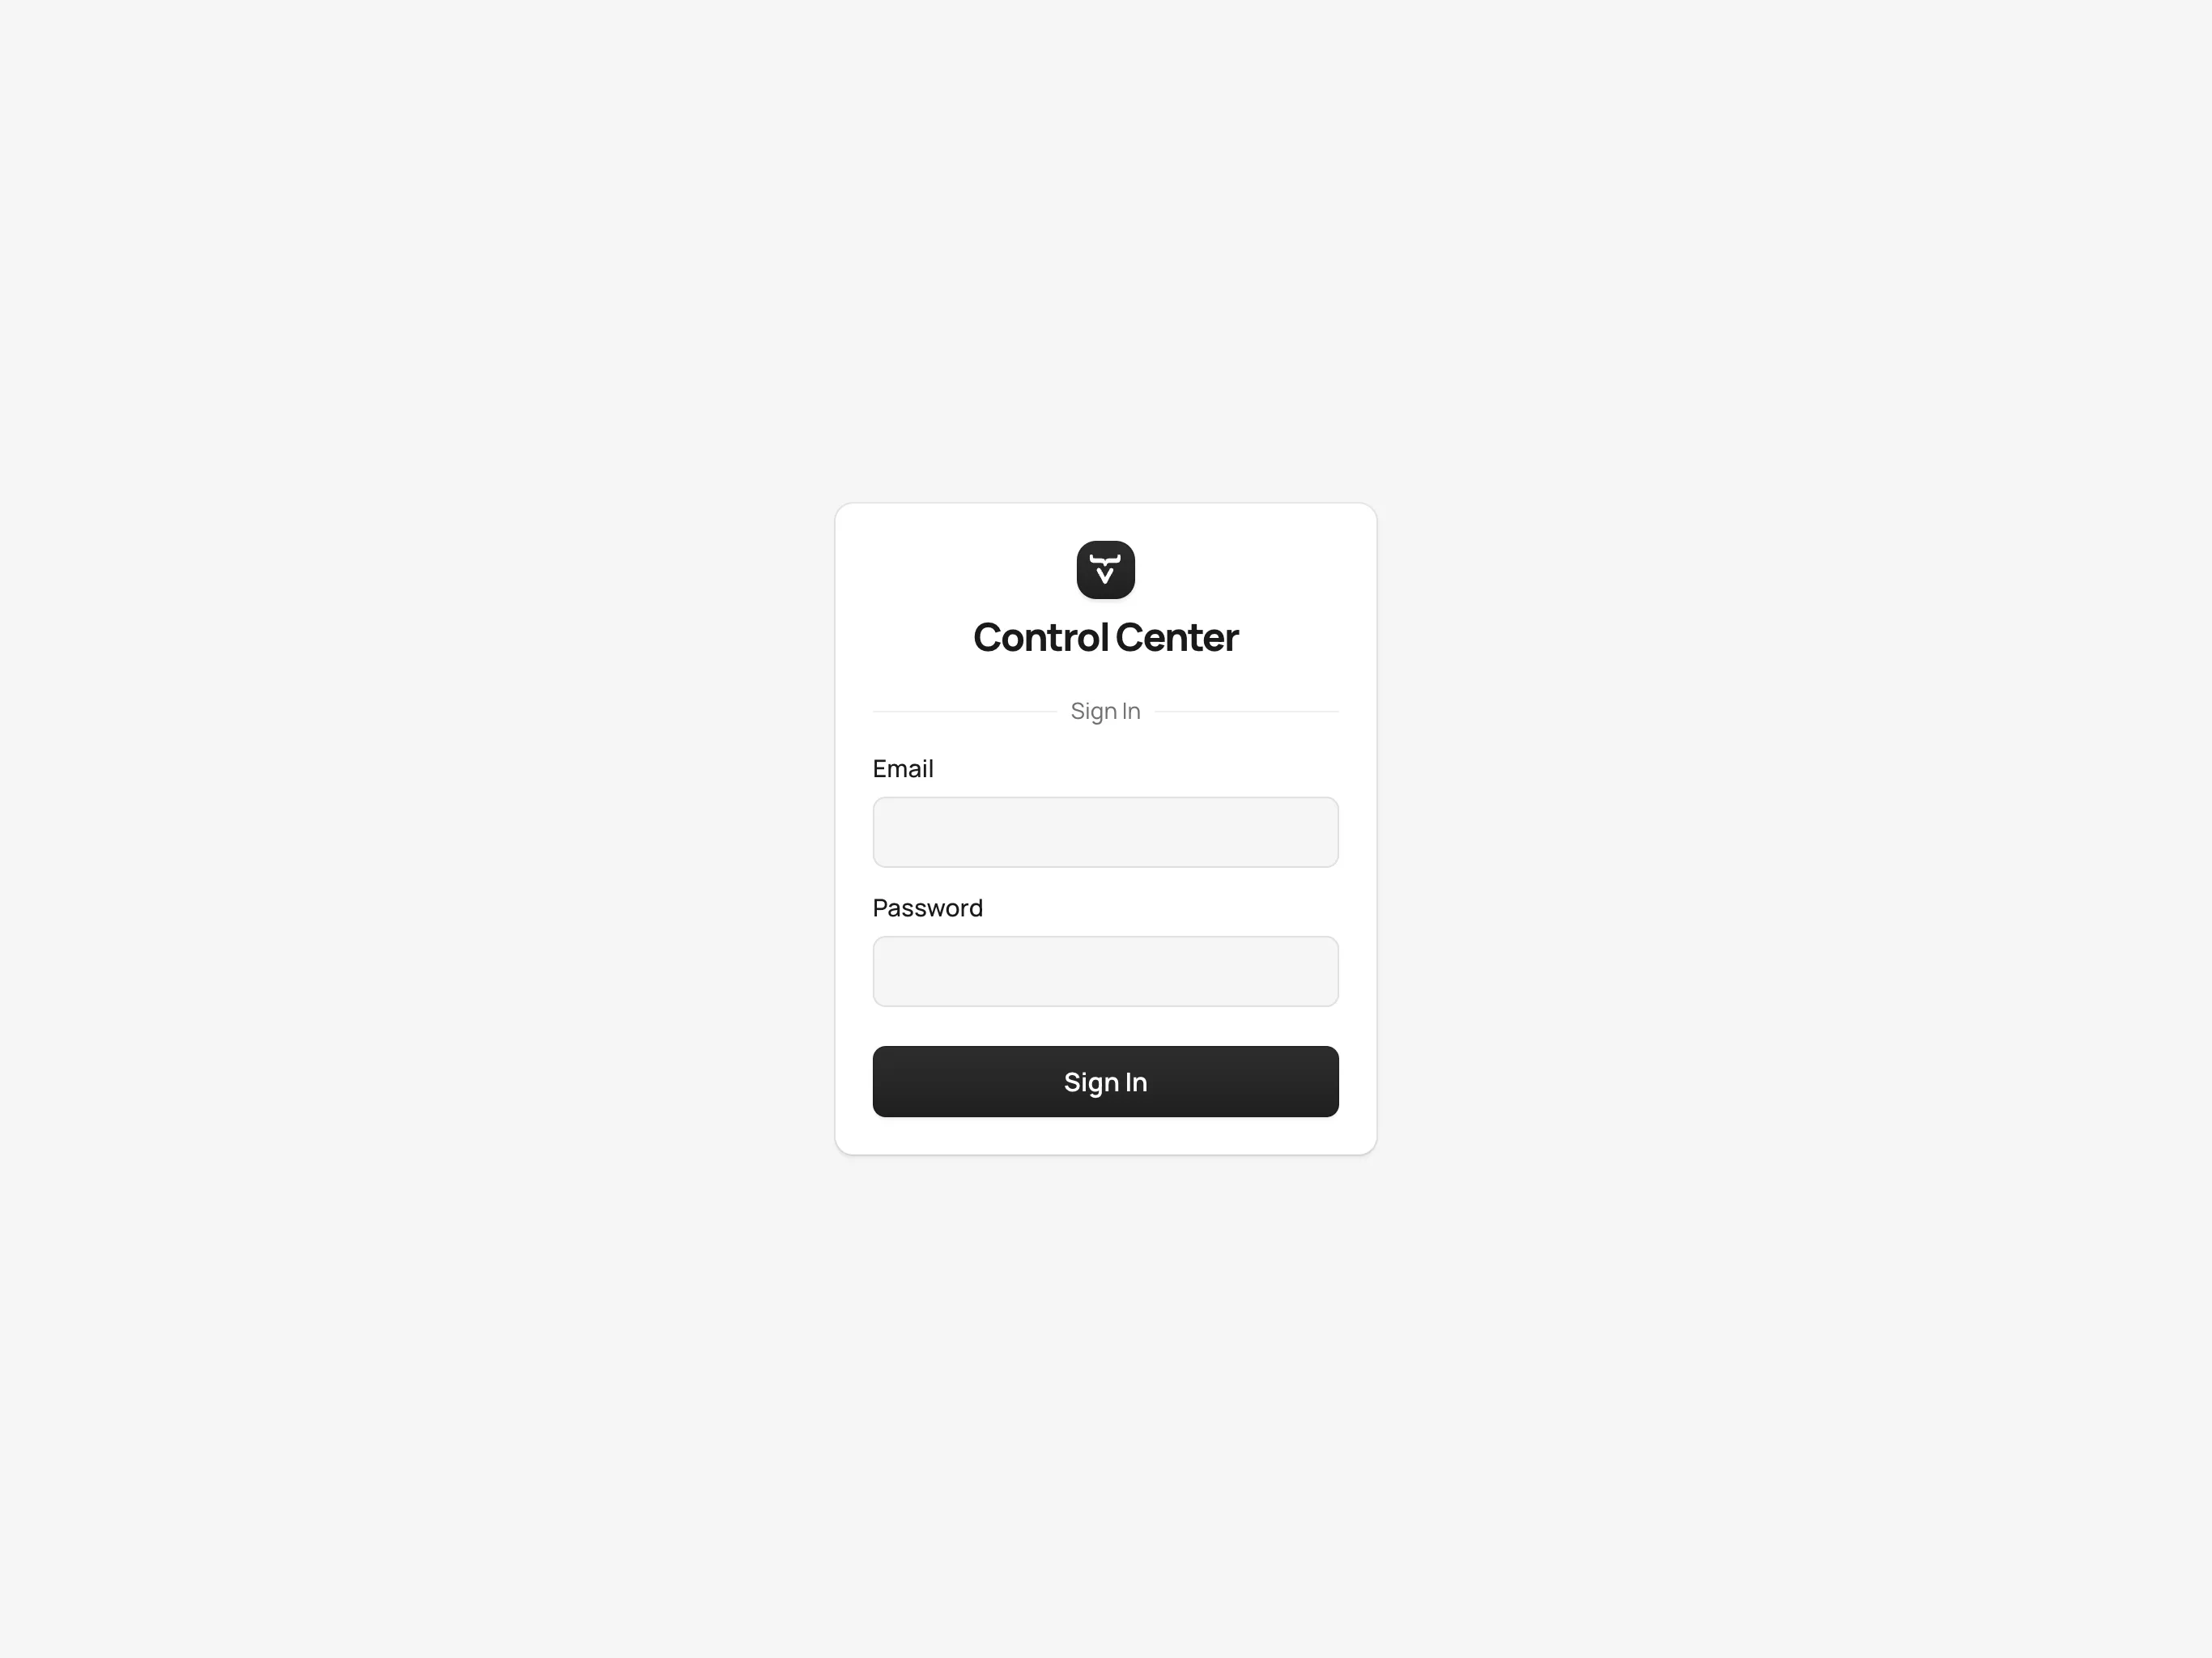
Logging In
When you first access Control Center, you’ll be prompted to log in. Use the email address you provided during deployment, and the temporary password you retrieved earlier.

You’ll then be prompted to change your password, and then to provide a first and last name.
Accessing the Dashboard
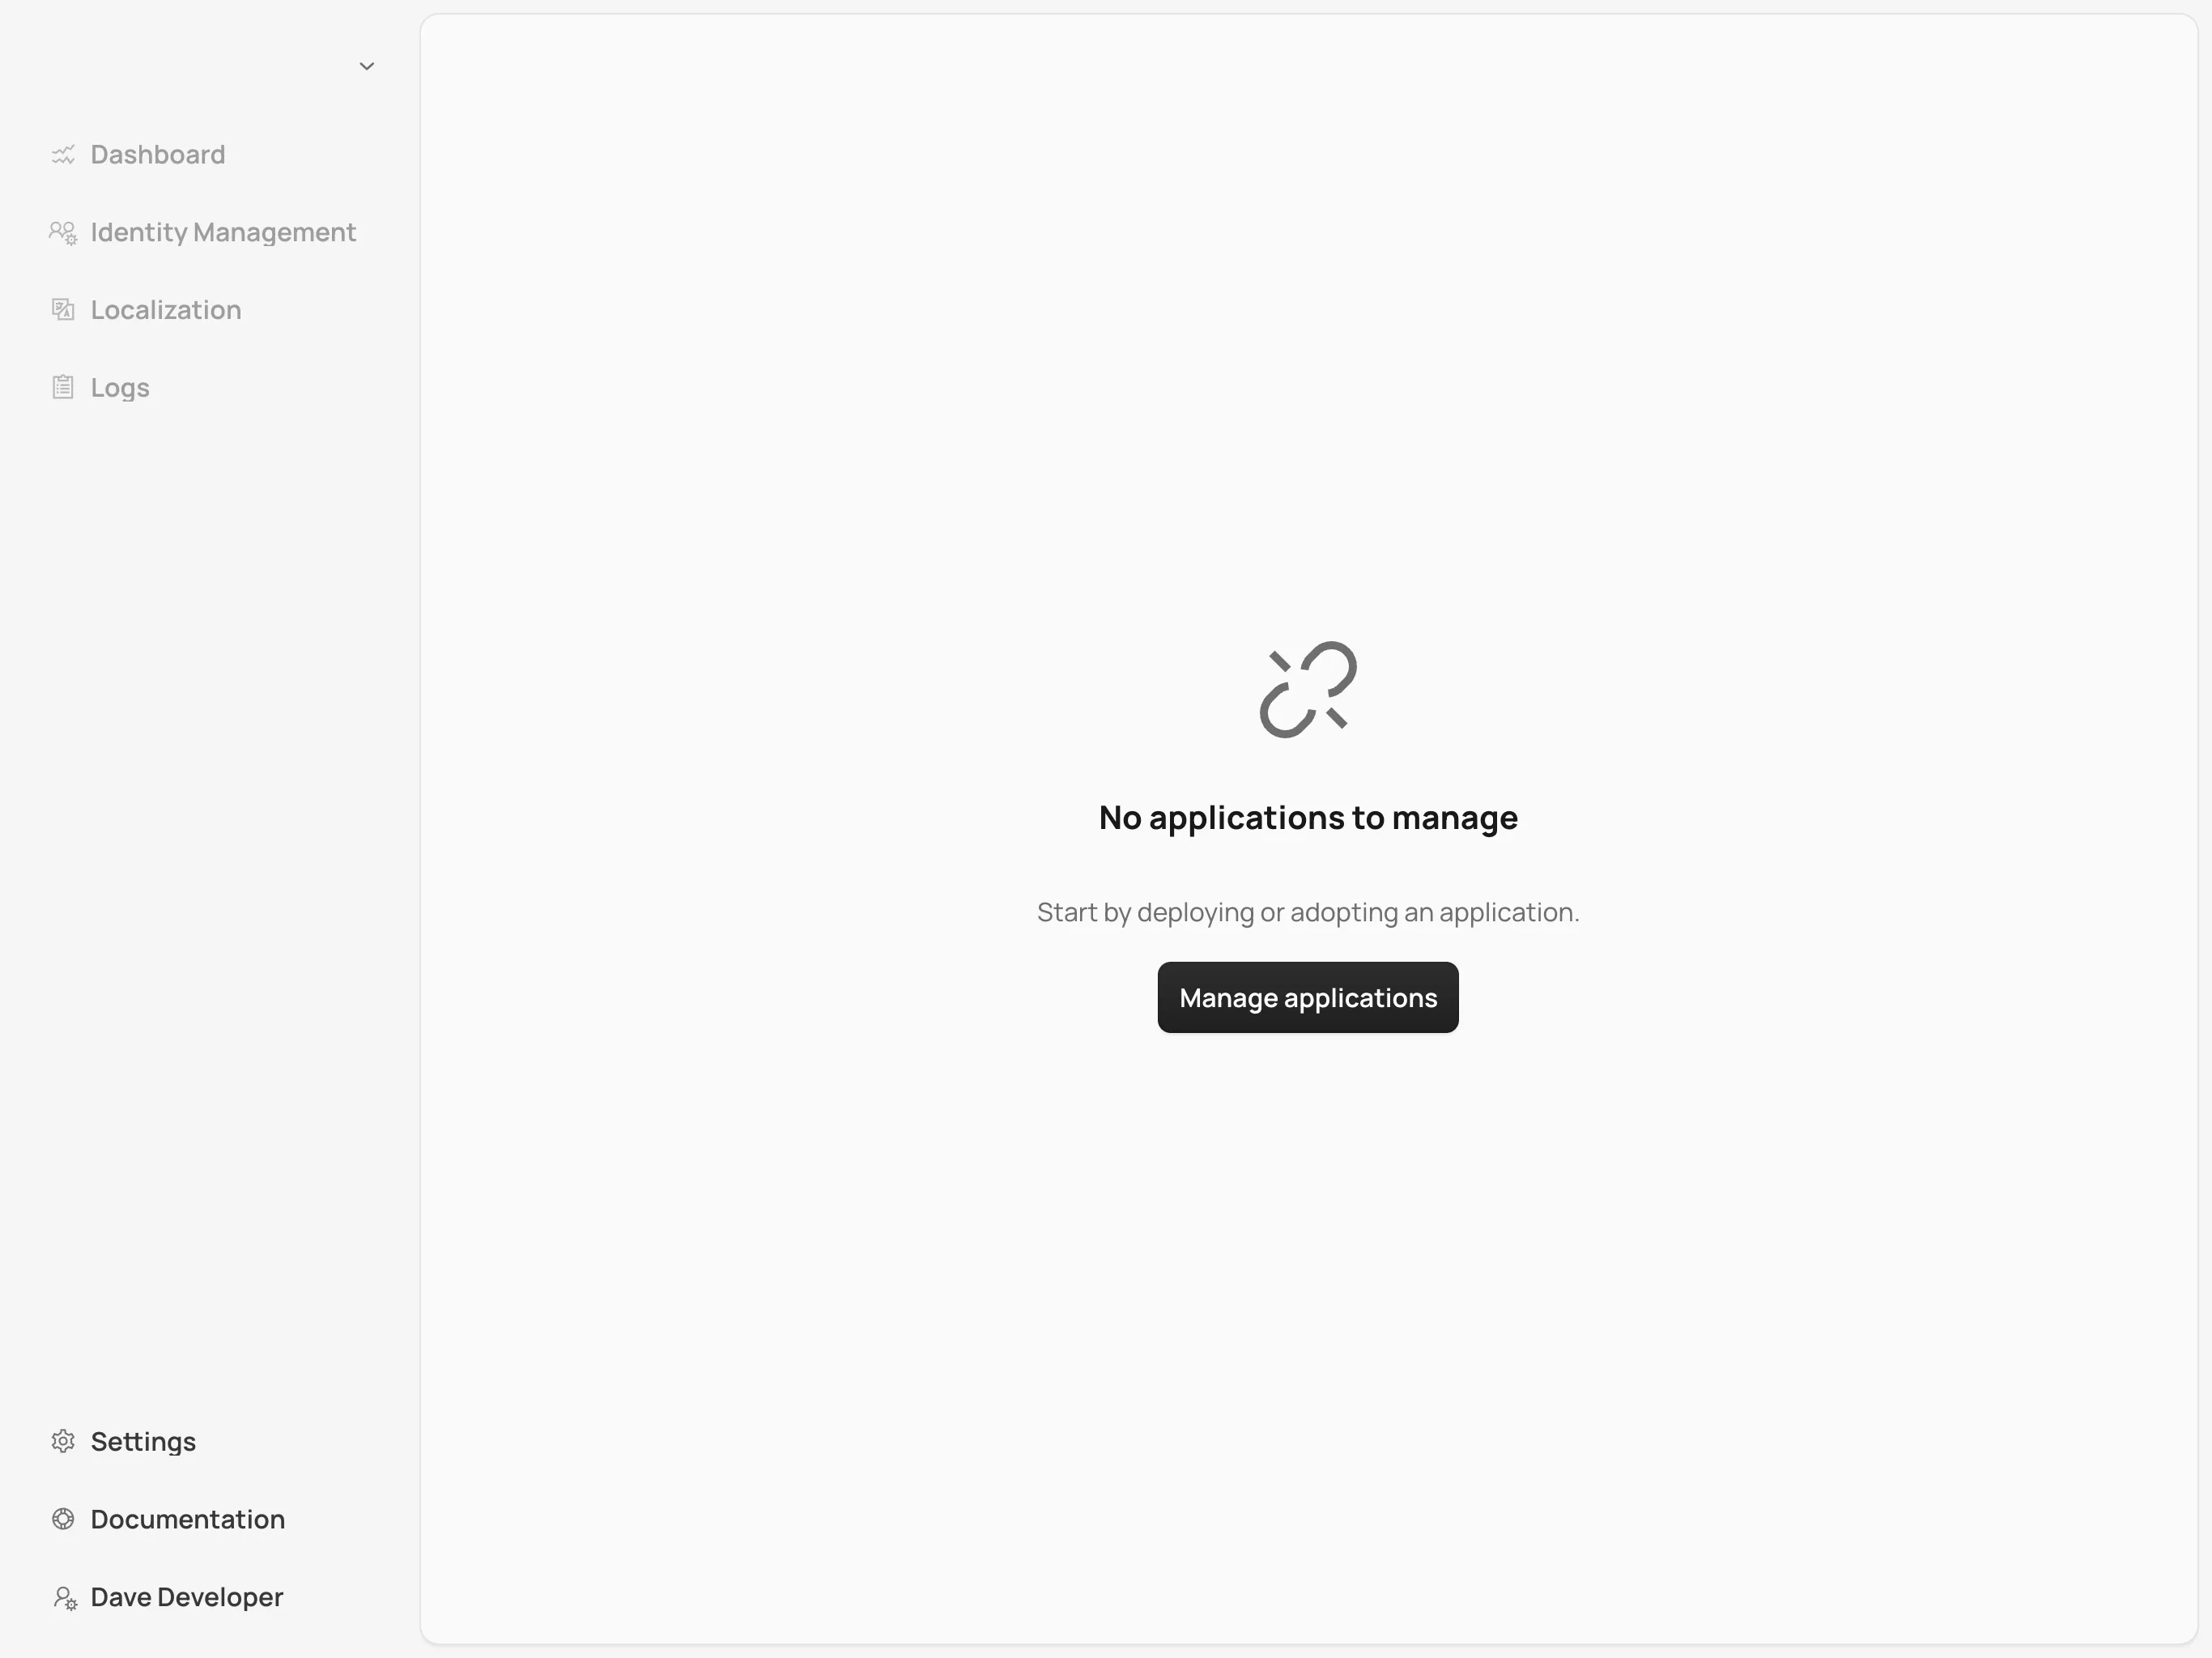
Upon successful authentication, you’ll be taken to the Control Center dashboard, as shown in the screenshot here:

At this point, the dashboard should notify you that no applications are available. This is because none are deployed yet.
To start deploying your Vaadin applications and take full advantage of Control Center’s features, proceed to the Application Deployment documentation page.