Adding a Login Screen to a Vaadin Application Using Spring Security
In this chapter, you secure the Customer Relationship Management (CRM) application by setting up Spring Security and adding a login screen to limit access to logged-in users.
Creating a Login View
Start by creating a new view, LoginView, in the views package.
Source code
LoginView.java
LoginView.javapackage com.example.application.views;
import com.vaadin.flow.component.html.H1;
import com.vaadin.flow.component.login.LoginForm;
import com.vaadin.flow.component.orderedlayout.VerticalLayout;
import com.vaadin.flow.router.BeforeEnterEvent;
import com.vaadin.flow.router.BeforeEnterObserver;
import com.vaadin.flow.router.PageTitle;
import com.vaadin.flow.router.Route;
import com.vaadin.flow.server.auth.AnonymousAllowed;
@Route("login") 1
@PageTitle("Login | Vaadin CRM")
@AnonymousAllowed
public class LoginView extends VerticalLayout implements BeforeEnterObserver {
private final LoginForm login = new LoginForm(); 2
public LoginView(){
addClassName("login-view");
setSizeFull(); 3
setAlignItems(Alignment.CENTER);
setJustifyContentMode(JustifyContentMode.CENTER);
login.setAction("login"); 4
add(new H1("Vaadin CRM"), login);
}
@Override
public void beforeEnter(BeforeEnterEvent beforeEnterEvent) {
// inform the user about an authentication error
if(beforeEnterEvent.getLocation() 5
.getQueryParameters()
.getParameters()
.containsKey("error")) {
login.setError(true);
}
}
}-
Map the view to the
"login"path.LoginViewshould take up the whole browser window, so don’t useMainLayoutas the parent. -
Instantiate a
LoginFormcomponent to capture username and password. -
Make
LoginViewfull size and center its content both horizontally and vertically, by callingsetAlignItems(`Alignment.CENTER)` andsetJustifyContentMode(`JustifyContentMode.CENTER)`. -
Set the
LoginFormaction to"login"to post the login form to Spring Security. -
Read query parameters and show an error if a login attempt fails.
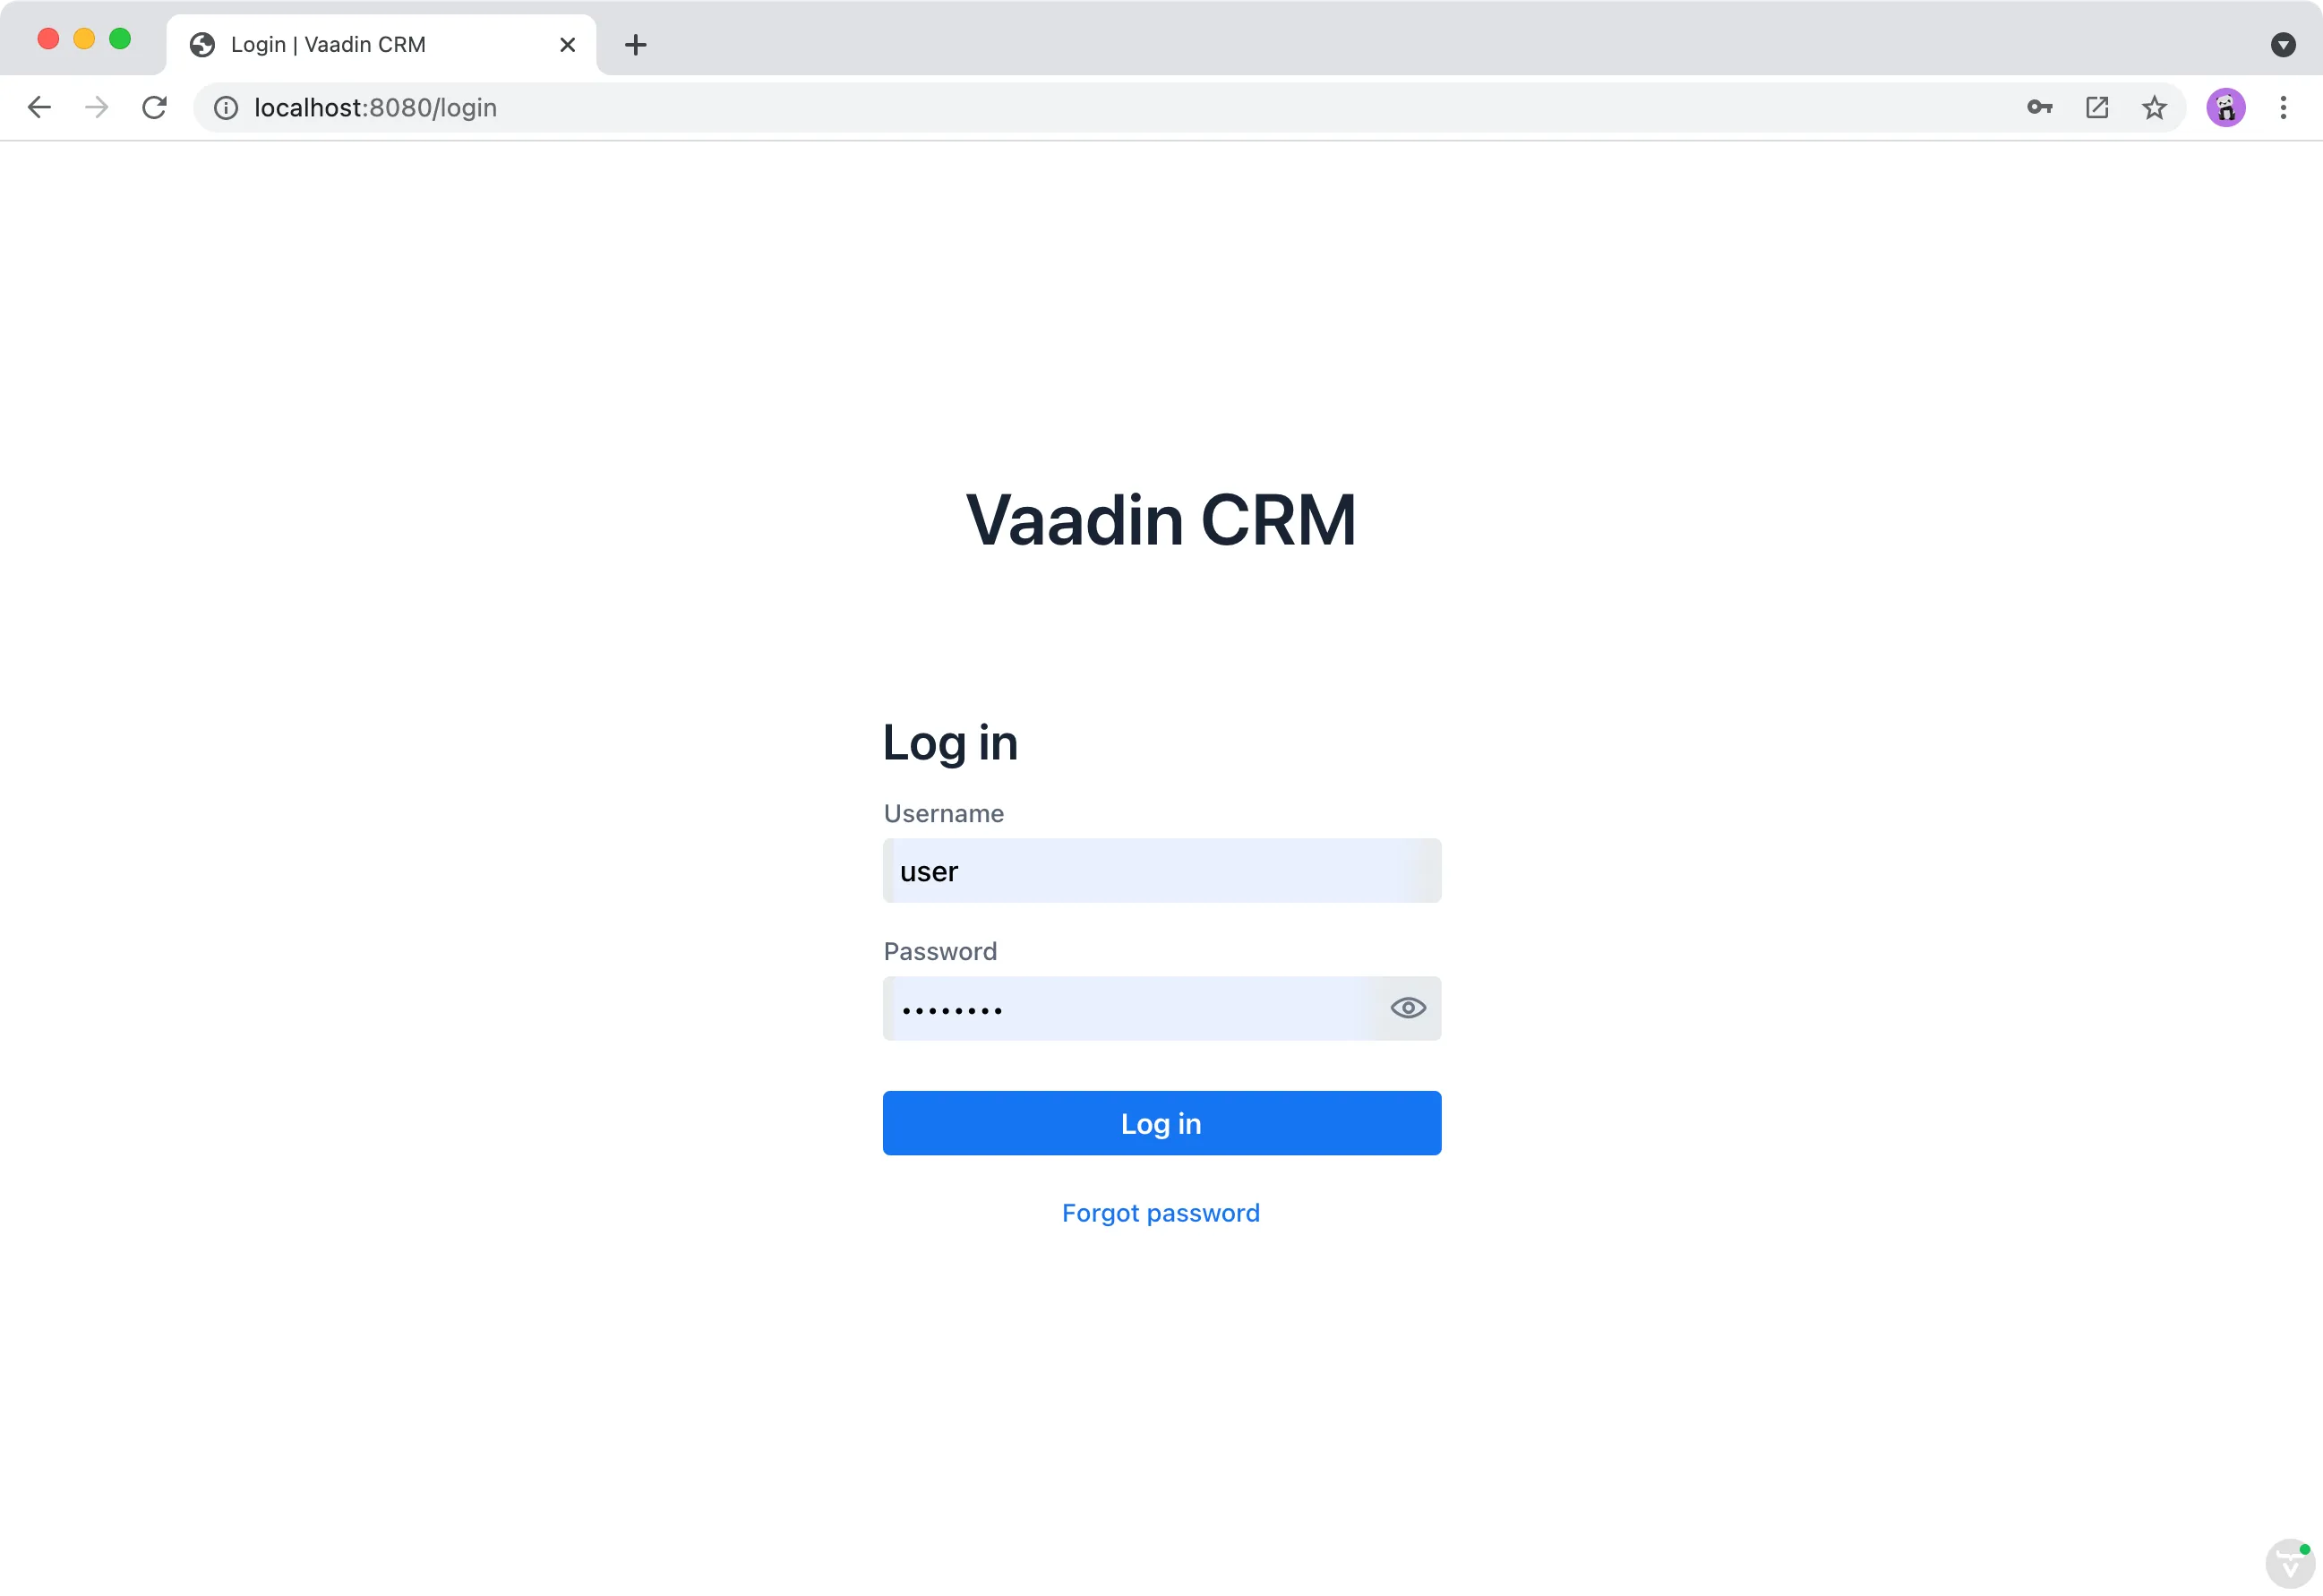
Build the application and navigate to http://localhost:8080/login. You should see a centered login form.
Setting up Spring Security to Handle Logins
With the login screen in place, you now need to configure Spring Security to perform the authentication and to prevent unauthorized users from accessing views.
Installing Spring Security Dependencies
Add the Spring Security dependency in pom.xml:
Source code
pom.xml
pom.xml<dependency>
<groupId>org.springframework.boot</groupId>
<artifactId>spring-boot-starter-security</artifactId>
</dependency>Check that the dependency is downloaded.
If you are unsure, run ./mvnw install from the command line to download the dependency.
Configuring Spring Security
Create a new package com.example.application.security for classes related to security.
|
Tip
|
Create Classes Automatically
Paste the class code into the |
Enable and configure Spring Security with a new class, SecurityConfig.java:
Source code
SecurityConfig.java
SecurityConfig.javapackage com.example.application.security;
import java.util.Collections;
import com.example.application.views.LoginView;
import org.springframework.context.annotation.Bean;
import org.springframework.context.annotation.Configuration;
import org.springframework.security.config.annotation.web.builders.HttpSecurity;
import org.springframework.security.config.annotation.web.configuration.EnableWebSecurity;
import org.springframework.security.core.authority.SimpleGrantedAuthority;
import org.springframework.security.core.userdetails.User;
import org.springframework.security.provisioning.InMemoryUserDetailsManager;
import com.vaadin.flow.spring.security.VaadinWebSecurity;
@EnableWebSecurity 1
@Configuration
public class SecurityConfig extends VaadinWebSecurity { 2
/**
* Demo SimpleInMemoryUserDetailsManager, which only provides
* two hardcoded in-memory users and their roles.
* NOTE: This shouldn't be used in real-world applications.
*/
private static class SimpleInMemoryUserDetailsManager extends InMemoryUserDetailsManager {
public SimpleInMemoryUserDetailsManager() {
createUser(new User("user",
"{noop}userpass",
Collections.singleton(new SimpleGrantedAuthority("ROLE_USER"))
));
createUser(new User("admin",
"{noop}userpass",
Collections.singleton(new SimpleGrantedAuthority("ROLE_ADMIN"))
));
}
}
@Override
protected void configure(HttpSecurity http) throws Exception {
http.authorizeRequests().antMatchers("/images/**").permitAll(); 3
super.configure(http);
setLoginView(http, LoginView.class); 4
}
@Bean
public InMemoryUserDetailsManager userDetailsService() {
return new SimpleInMemoryUserDetailsManager(); 5
}
}-
Enable Spring Security.
-
Extend the
VaadinWebSecurityclass to configure Spring Security for Vaadin. -
Allow public access to the image directory.
-
Allow access to
LoginView. -
Configure an in-memory user for testing (see note below).
|
Warning
|
Never use hard-coded credentials in production
Don’t use hard-coded credentials in real applications. You can change the Spring Security configuration to use an authentication provider for Lightweight Directory Access Protocol (LDAP), Java Authentication and Authorization Service (JAAS), and other real-world sources. Read more about Spring Security authentication providers. |
Then, in the same package, create a service for accessing information on the logged-in user and for logging the user out.
Source code
SecurityService.java
SecurityService.javapackage com.example.application.security;
import com.vaadin.flow.component.UI;
import com.vaadin.flow.server.VaadinServletRequest;
import org.springframework.security.core.context.SecurityContext;
import org.springframework.security.core.context.SecurityContextHolder;
import org.springframework.security.core.userdetails.UserDetails;
import org.springframework.security.web.authentication.logout.SecurityContextLogoutHandler;
import org.springframework.stereotype.Component;
@Component
public class SecurityService {
private static final String LOGOUT_SUCCESS_URL = "/";
public UserDetails getAuthenticatedUser() {
SecurityContext context = SecurityContextHolder.getContext();
Object principal = context.getAuthentication().getPrincipal();
if (principal instanceof UserDetails) {
return (UserDetails) principal;
}
// Anonymous or no authentication.
return null;
}
public void logout() {
UI.getCurrent().getPage().setLocation(LOGOUT_SUCCESS_URL);
SecurityContextLogoutHandler logoutHandler = new SecurityContextLogoutHandler();
logoutHandler.logout(
VaadinServletRequest.getCurrent().getHttpServletRequest(), null,
null);
}
}Finally, add @PermitAll annotations to both views to allow all logged-in users to access them.
Source code
ListView.java
ListView.java@PermitAll
@Route(value="", layout = MainLayout.class)
@PageTitle("Contacts | Vaadin CRM")
public class ListView extends VerticalLayout {
// omitted
}Source code
DashboardView.java
DashboardView.java@PermitAll
@Route(value = "dashboard", layout = MainLayout.class)
@PageTitle("Dashboard | Vaadin CRM")
public class DashboardView extends VerticalLayout {
// omitted
}Adding a Logout Button
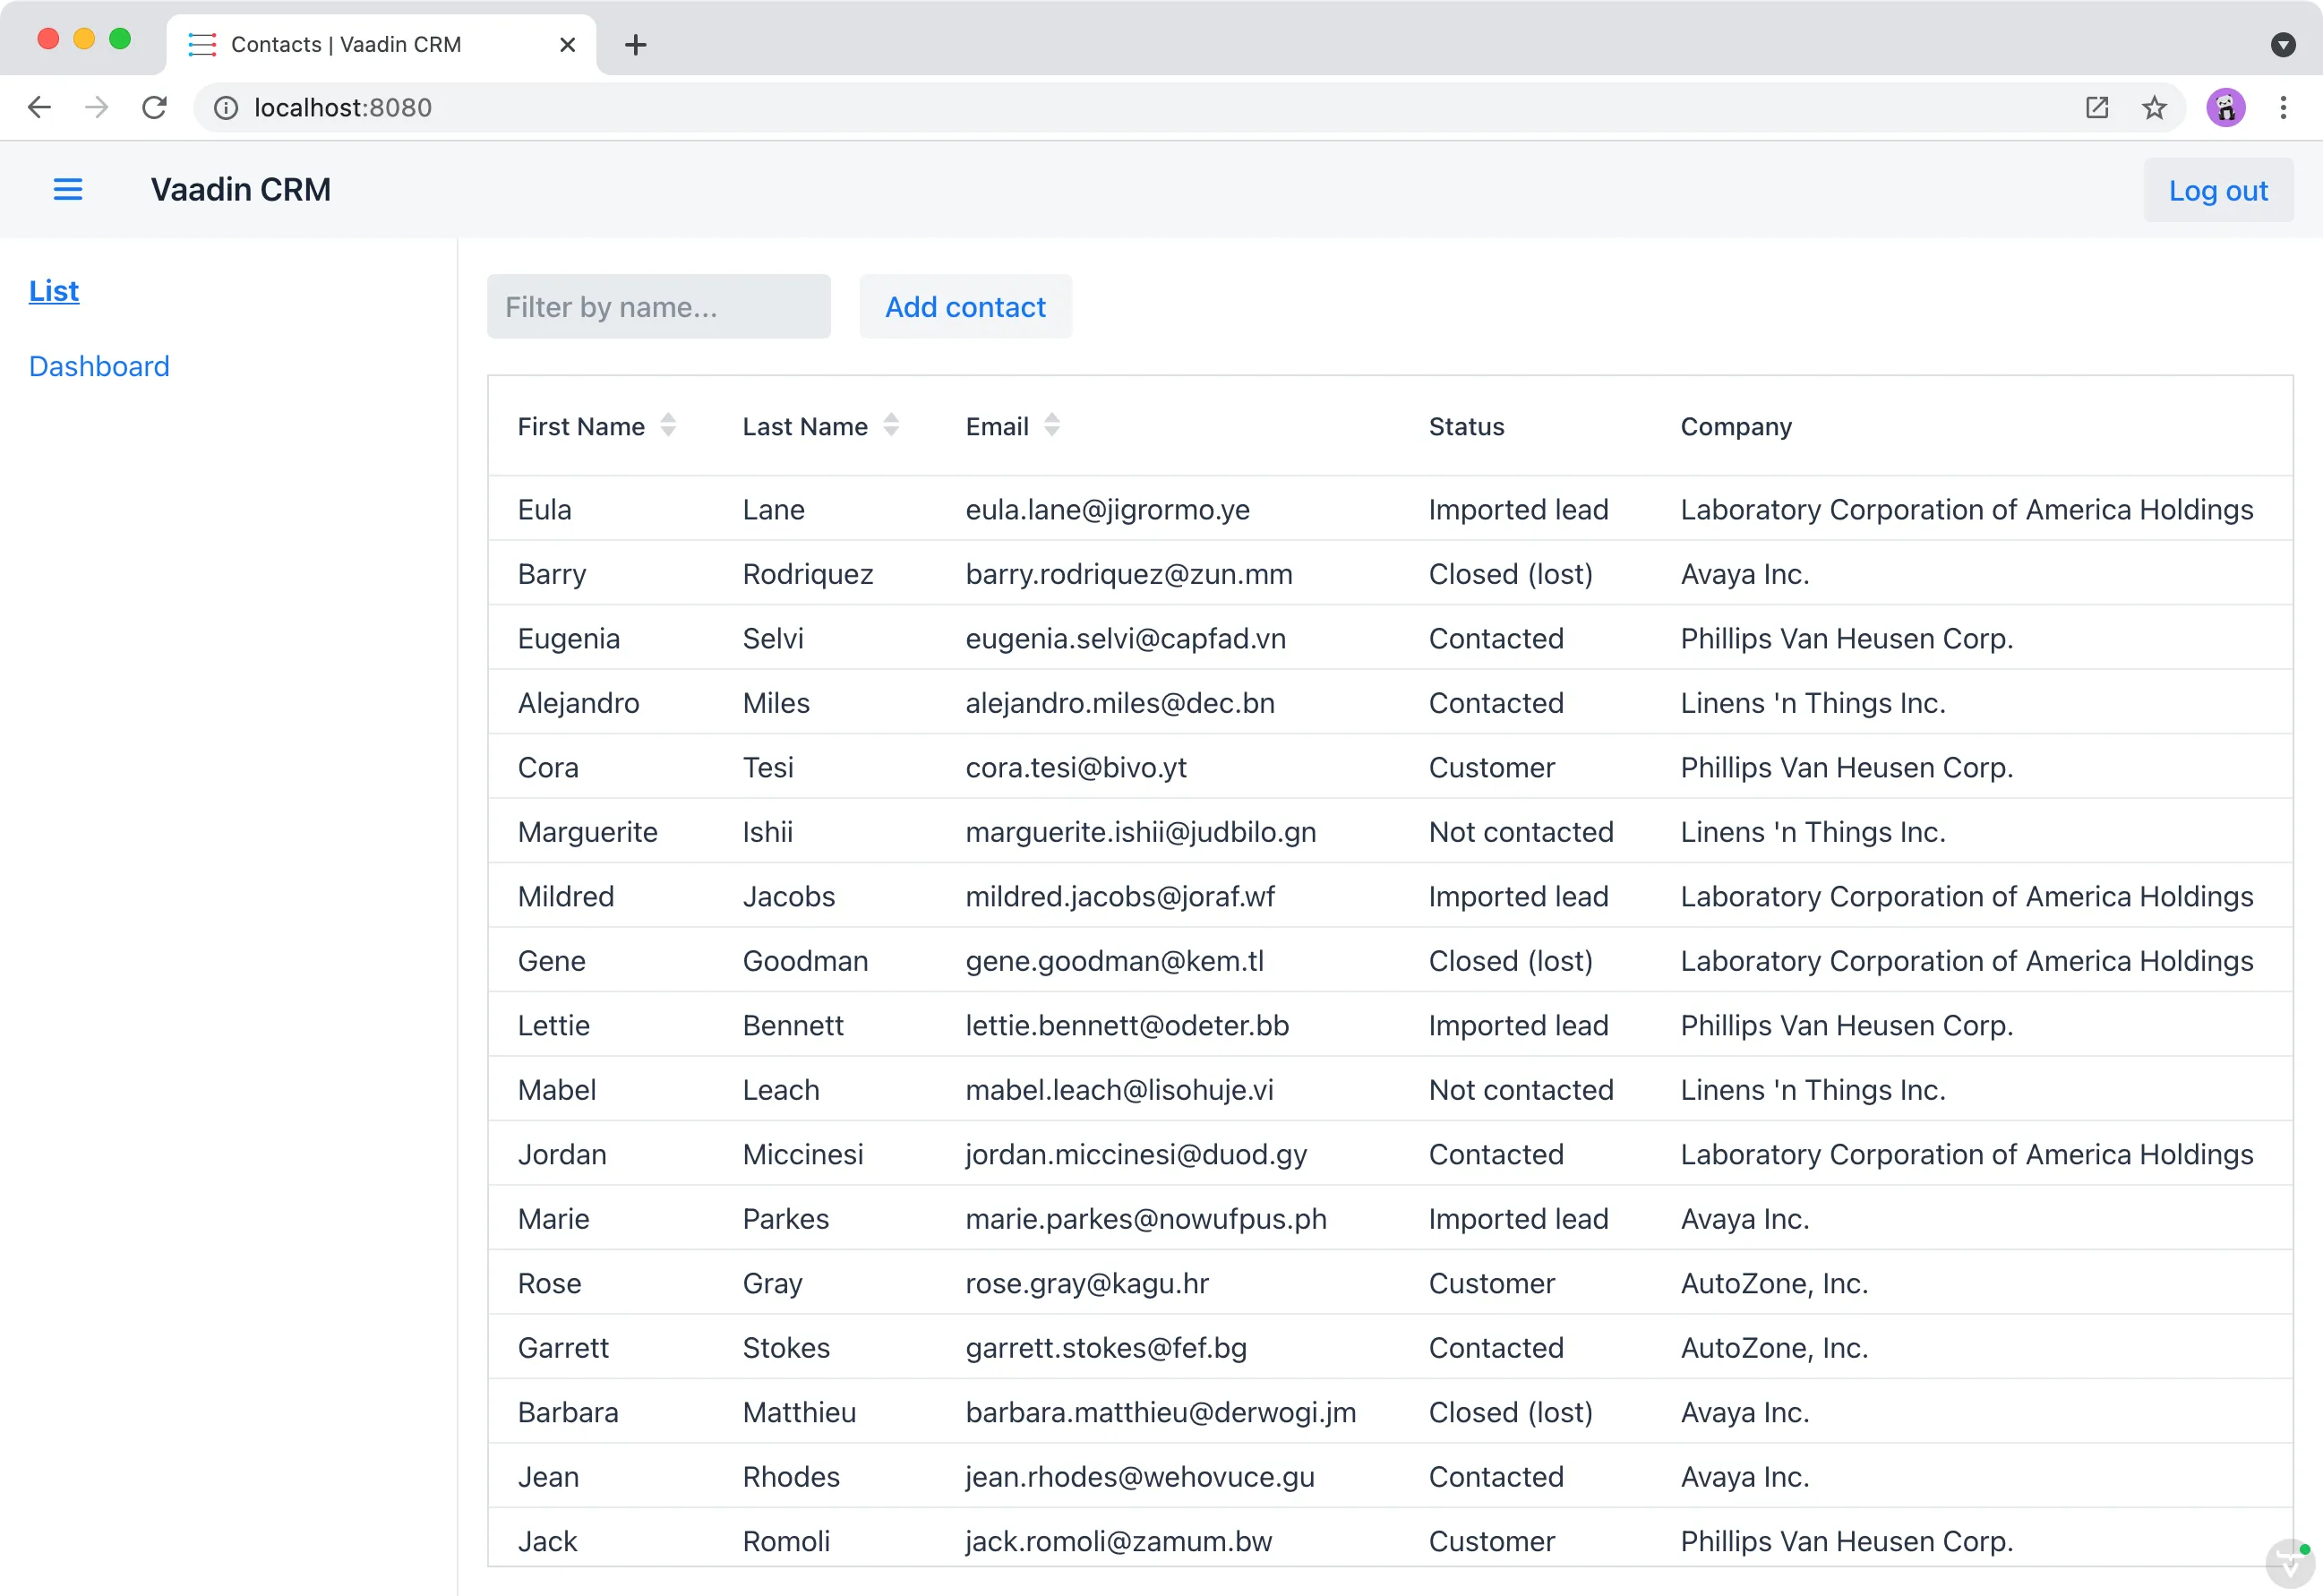
You can now log in to the application. The last item to add is a logout button in the application header.
In MainLayout, add a link to the header:
Source code
MainLayout.java
MainLayout.javapackage com.example.application.views;
import com.example.application.security.SecurityService;
import com.example.application.views.list.ListView;
import com.vaadin.flow.component.applayout.AppLayout;
import com.vaadin.flow.component.applayout.DrawerToggle;
import com.vaadin.flow.component.button.Button;
import com.vaadin.flow.component.html.H1;
import com.vaadin.flow.component.orderedlayout.FlexComponent;
import com.vaadin.flow.component.orderedlayout.HorizontalLayout;
import com.vaadin.flow.component.orderedlayout.VerticalLayout;
import com.vaadin.flow.router.HighlightConditions;
import com.vaadin.flow.router.RouterLink;
public class MainLayout extends AppLayout {
private final SecurityService securityService;
public MainLayout(SecurityService securityService) { 1
this.securityService = securityService;
createHeader();
createDrawer();
}
private void createHeader() {
H1 logo = new H1("Vaadin CRM");
logo.addClassNames("text-l", "m-m");
Button logout = new Button("Log out", e -> securityService.logout()); 2
HorizontalLayout header = new HorizontalLayout(new DrawerToggle(), logo, logout); 3
header.setDefaultVerticalComponentAlignment(FlexComponent.Alignment.CENTER);
header.expand(logo); 4
header.setWidth("100%");
header.addClassNames("py-0", "px-m");
addToNavbar(header);
}
private void createDrawer() {
RouterLink listLink = new RouterLink("List", ListView.class);
listLink.setHighlightCondition(HighlightConditions.sameLocation());
addToDrawer(new VerticalLayout(
listLink,
new RouterLink("Dashboard", DashboardView.class)
));
}
}-
Autowire the
SecurityServiceand save it in a field. -
Create a logout button that calls the
logout()method in the service. -
Add the button to the header layout.
-
Call
header.expand(logo)to make the logo take up all the extra space in the layout. This pushes the logout button to the far right.
Stop and restart the server to pick up the new Maven dependencies. You should now be able to log in and out of the app. Verify that you can’t access http://localhost:8080/dashboard without being logged in. You can log in with:
-
Username:
user -
Password:
userpass
You have now built a full-stack CRM application with navigation and authentication. In the next chapter, you learn how to turn it into a PWA to make it installable on mobile and desktop.

Source code
render-banner.ts
render-banner.ts
234932EC-C4B0-4FA5-A22E-DE6E5A070007