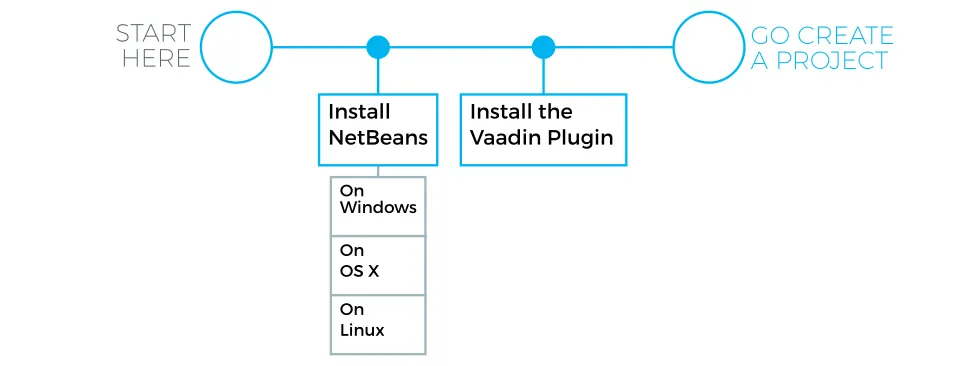
Installing the NetBeans IDE and Plugin
The Vaadin Plug-in for NetBeans supports creating Vaadin projects, updating Vaadin libraries, compiling widget sets, and more. It also allows directly downloading Vaadin add-ons from the Vaadin Directory.
The installation bundle includes a web server, so you do not need that.
Once done with the installation, you can proceed to create a Vaadin project, as described in "Creating a Project with the NetBeans IDE".
Installing the NetBeans IDE
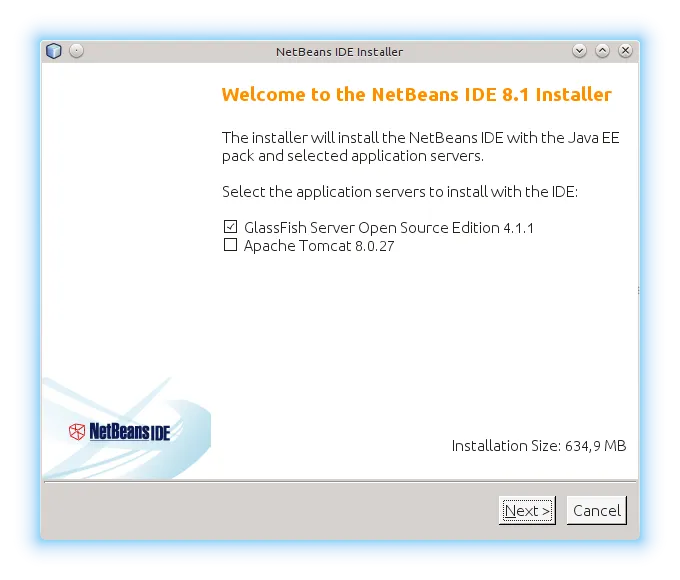
Download NetBeans IDE from the website at netbeans.org. We recommend using the Java EE download bundle, which includes support for Java EE, and also both the GlassFish and Tomcat application servers.
-
Run the installer
-
In OS X and Linux:
Source code
$ sh netbeans-<version>.sh
-
-
Select to install either GlassFish or Apache Tomcat, or both. GlassFish supports Java EE, which is required by Vaadin CDI and Vaadin Spring add-ons, while standard Tomcat does not support it. Click .
-
If you accept the license, click .
-
Choose installation folder and Java SDK.
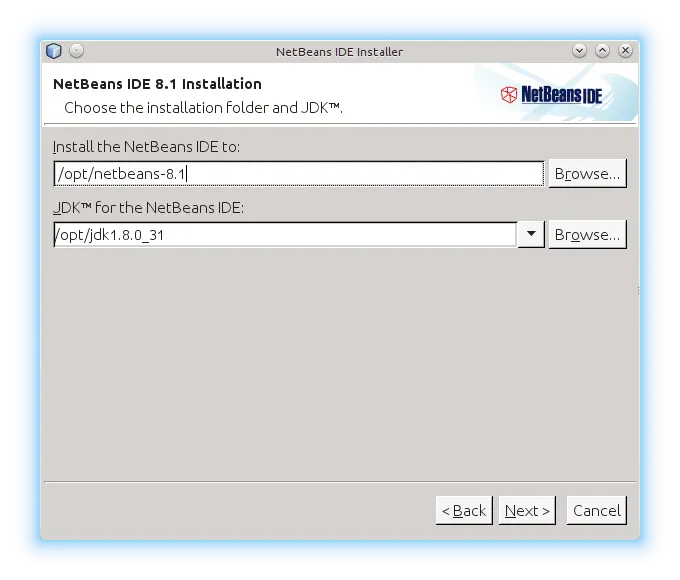
In OS X and Linux, if you ran the installer with root permissions or can write to /opt, the /opt path is standard for such system-wide packages.
Click .
-
Choose the folder for installing the server.

-
Check the settings.
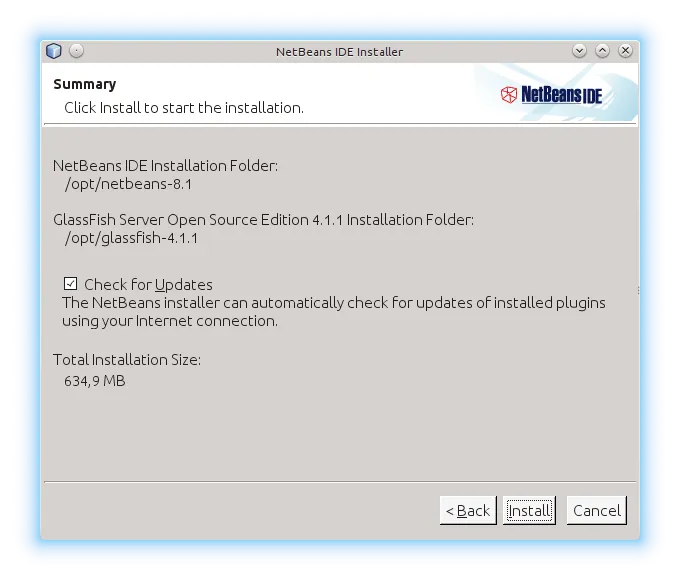
Click . It takes a while to install the NetBeans IDE.
-
Finally, click to exit the installer.
You can now start NetBeans by starting the bin/netbeans from under the installation folder.
In Linux and OS X:
Source code
$ /opt/netbeans-8.1/bin/netbeansYou can now proceed to install the Vaadin Plug-in for NetBeans IDE.
Installing the Vaadin Plug-in for NetBeans IDE
You can install the plug-in from the NetBeans Plugin Portal Update Center as follows.
-
Select from the NetBeans main menu.
-
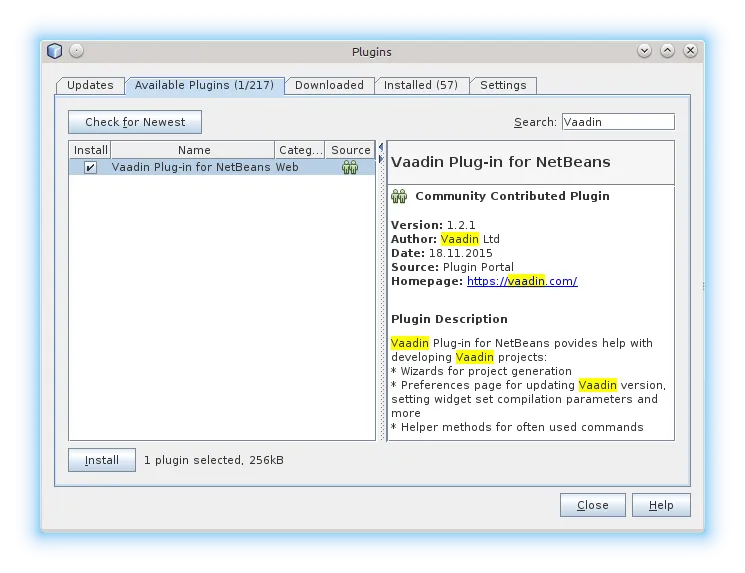
Select the Available Plugins tab.
-
Type "Vaadin" in the Search box and press Enter.
-
Select the Install check box for the Vaadin Plugin for NetBeans.
-
Click .
-
-
In the plugin installation window, click .
-
Accept the license if choose to do so. Click .
-
The Vaadin Plugin is not signed, so you need to verify the certificate. Click .
-
In the final step, select Restart IDE now and click .
You can now proceed to create a Vaadin project, as described in "Creating a Project with the NetBeans IDE".