Create a Project with Vaadin Start
The recommended way to start a Vaadin project.
The recommended way to start a Vaadin project is by using Vaadin Start, which generates a ready-to-run Spring Boot and Maven based project:
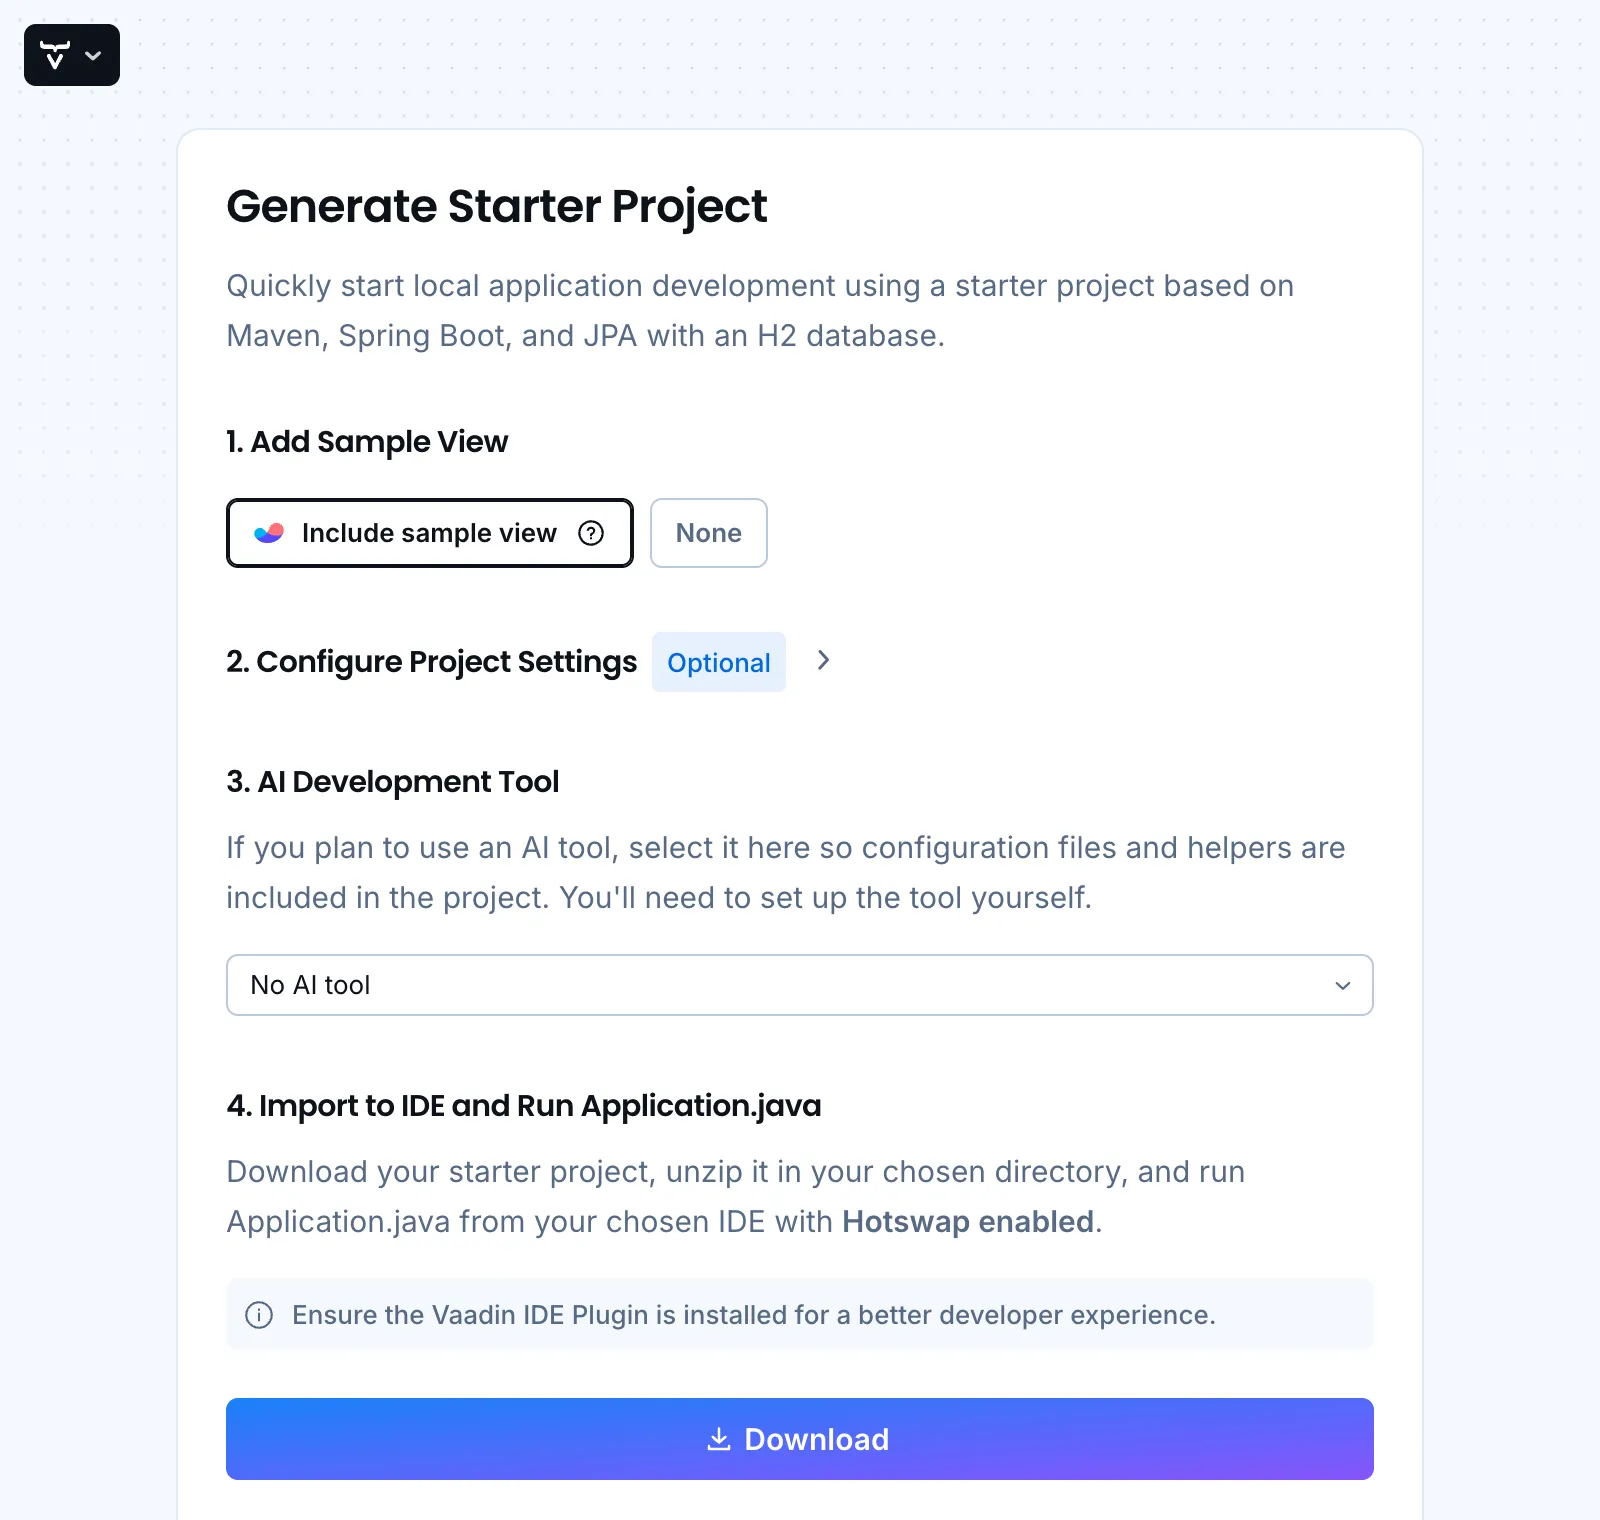
You can choose to include a sample view or create an empty project.
By expanding the Configure Project Settings section, you can customize the project settings:
-
Select Vaadin version
-
Select Java version
-
Specify Maven group ID and artifact ID
If you plan to use an AI tool, select which one in the AI Development Tool section. The project will include the necessary configuration for the selected tool.
When you click the Download button, a ZIP file containing the generated project is downloaded to your computer. You can then extract the ZIP file and open the project in your favorite IDE.