Passing Data and Events Between Vaadin Components
|
Caution
|
This tutorial is for Vaadin 14.
If this is your first time trying out Vaadin, you should read the same tutorial for the latest Vaadin version instead.
|
In the previous chapter, you created a reusable form component to edit contacts. In this chapter, you hook it up to the rest of the view and manage the view state.
The form:
-
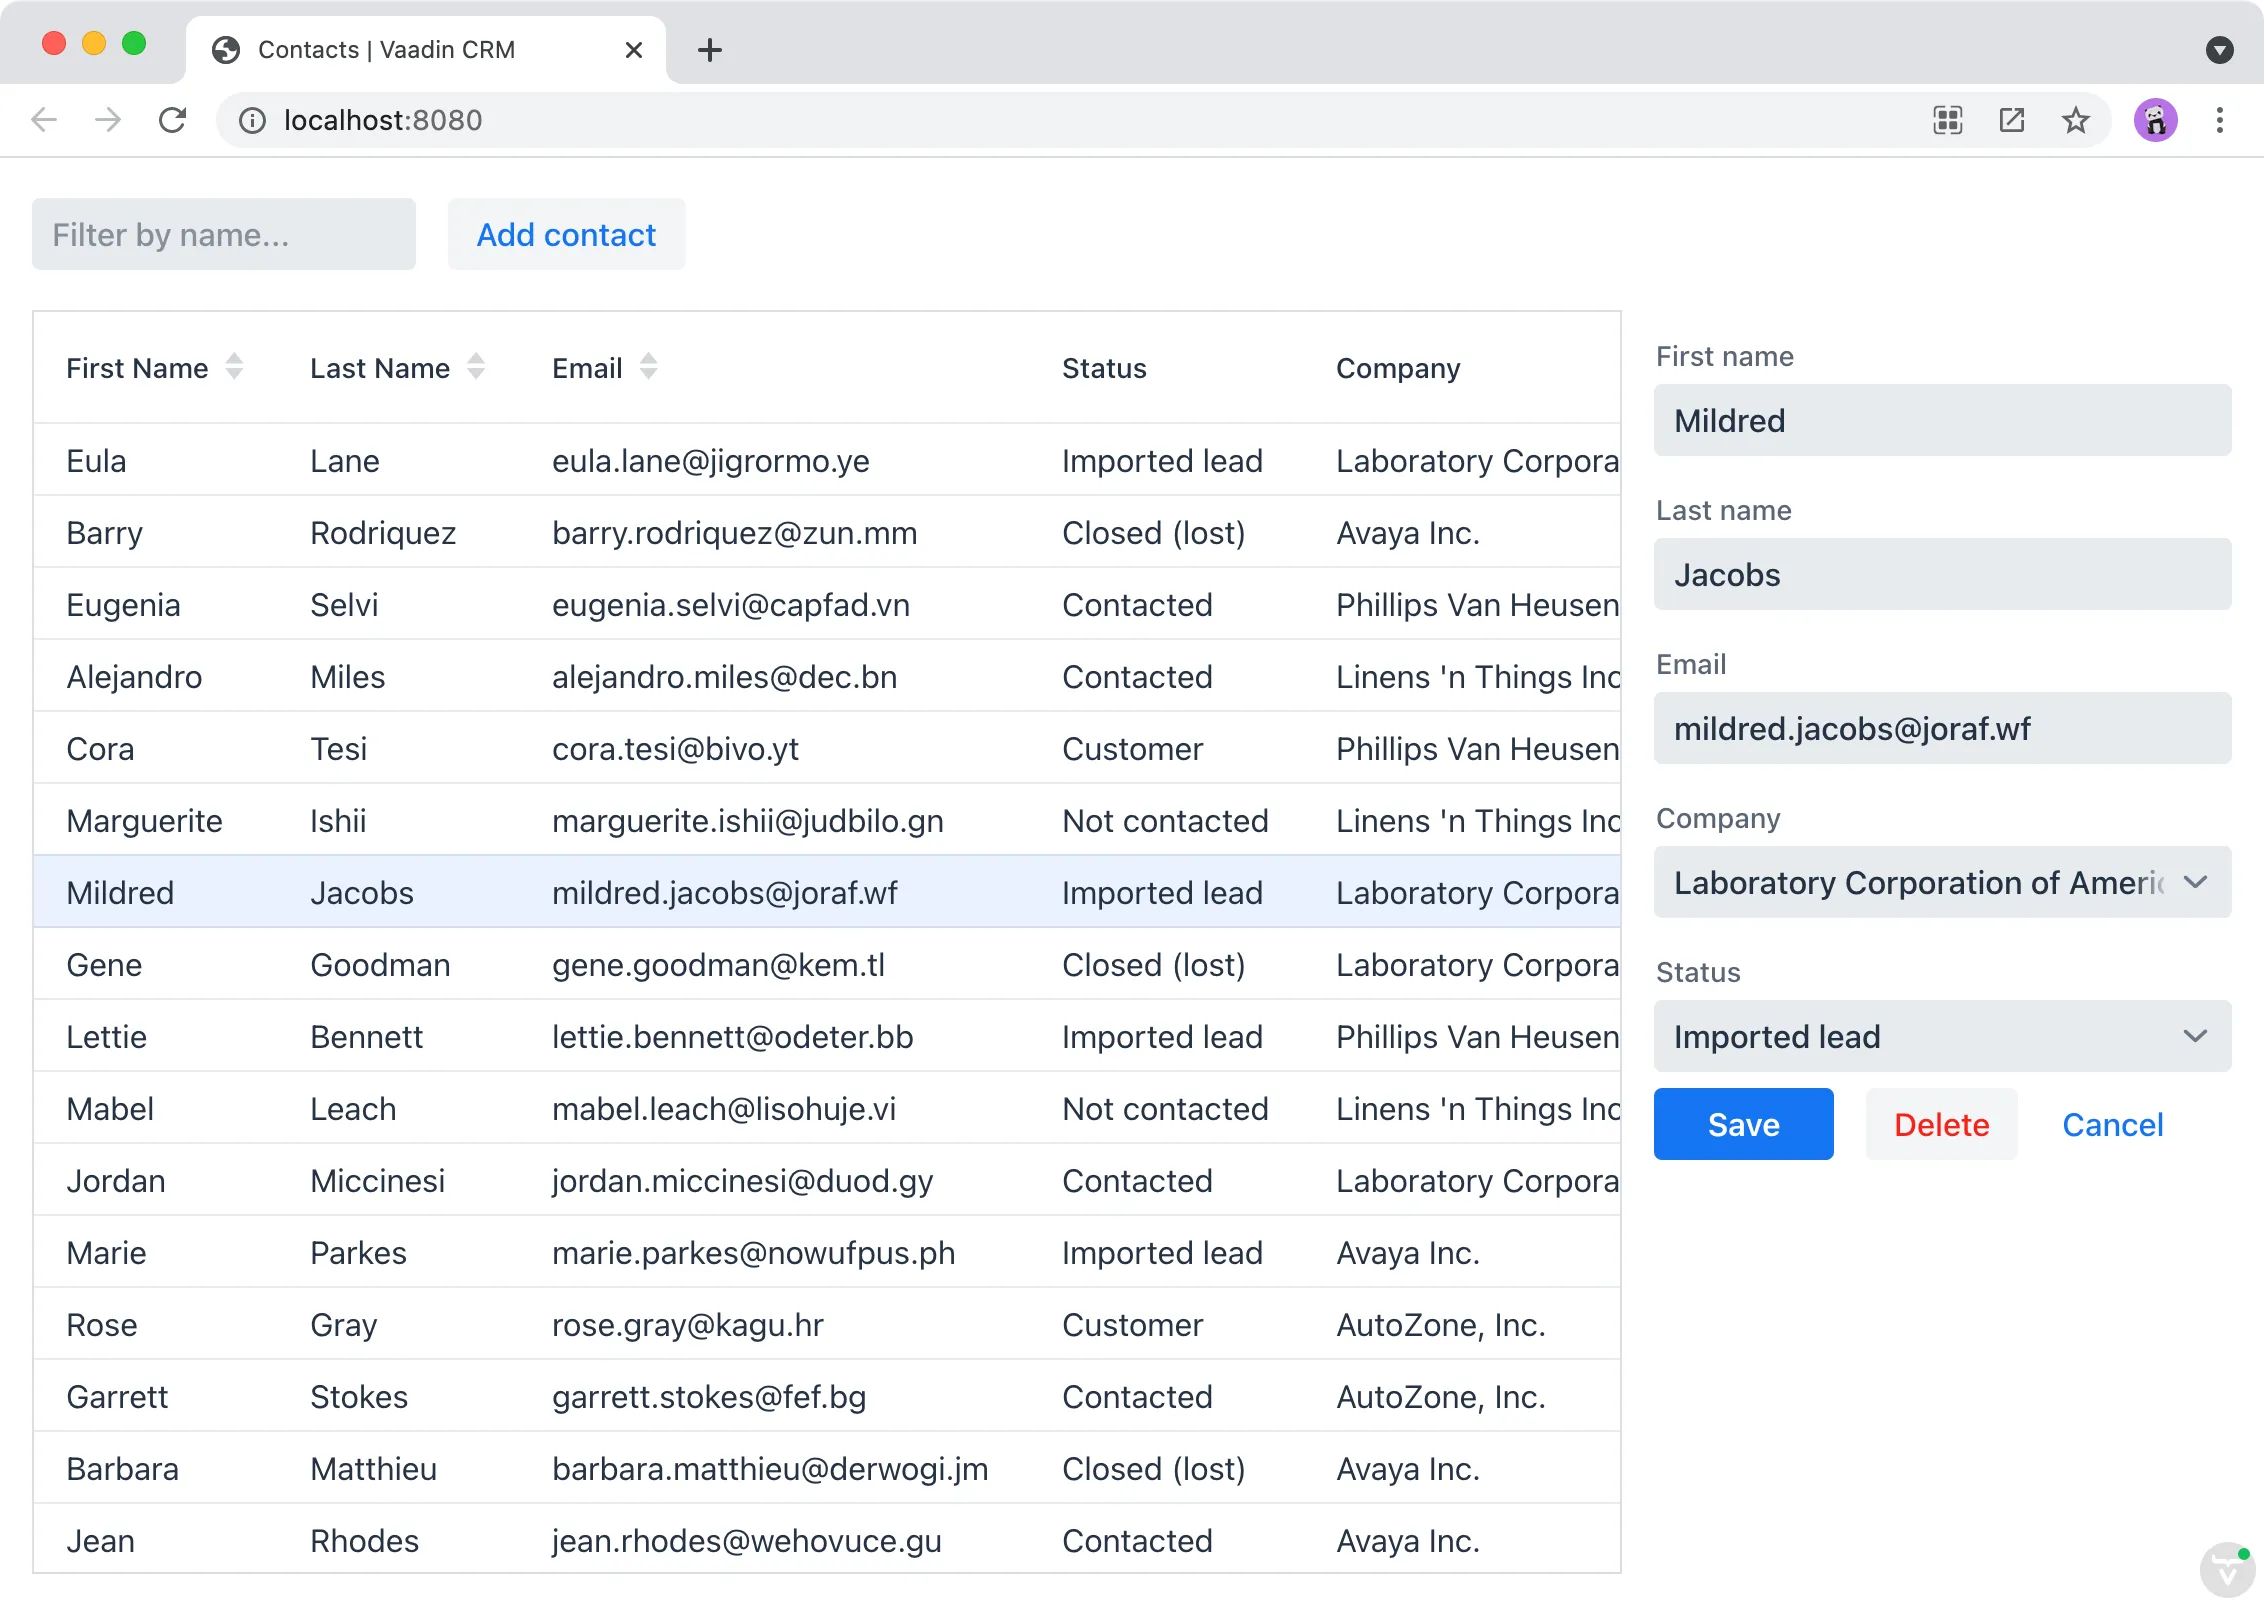
Shows the selected contact in the grid.
-
Is hidden when no contact is selected.
-
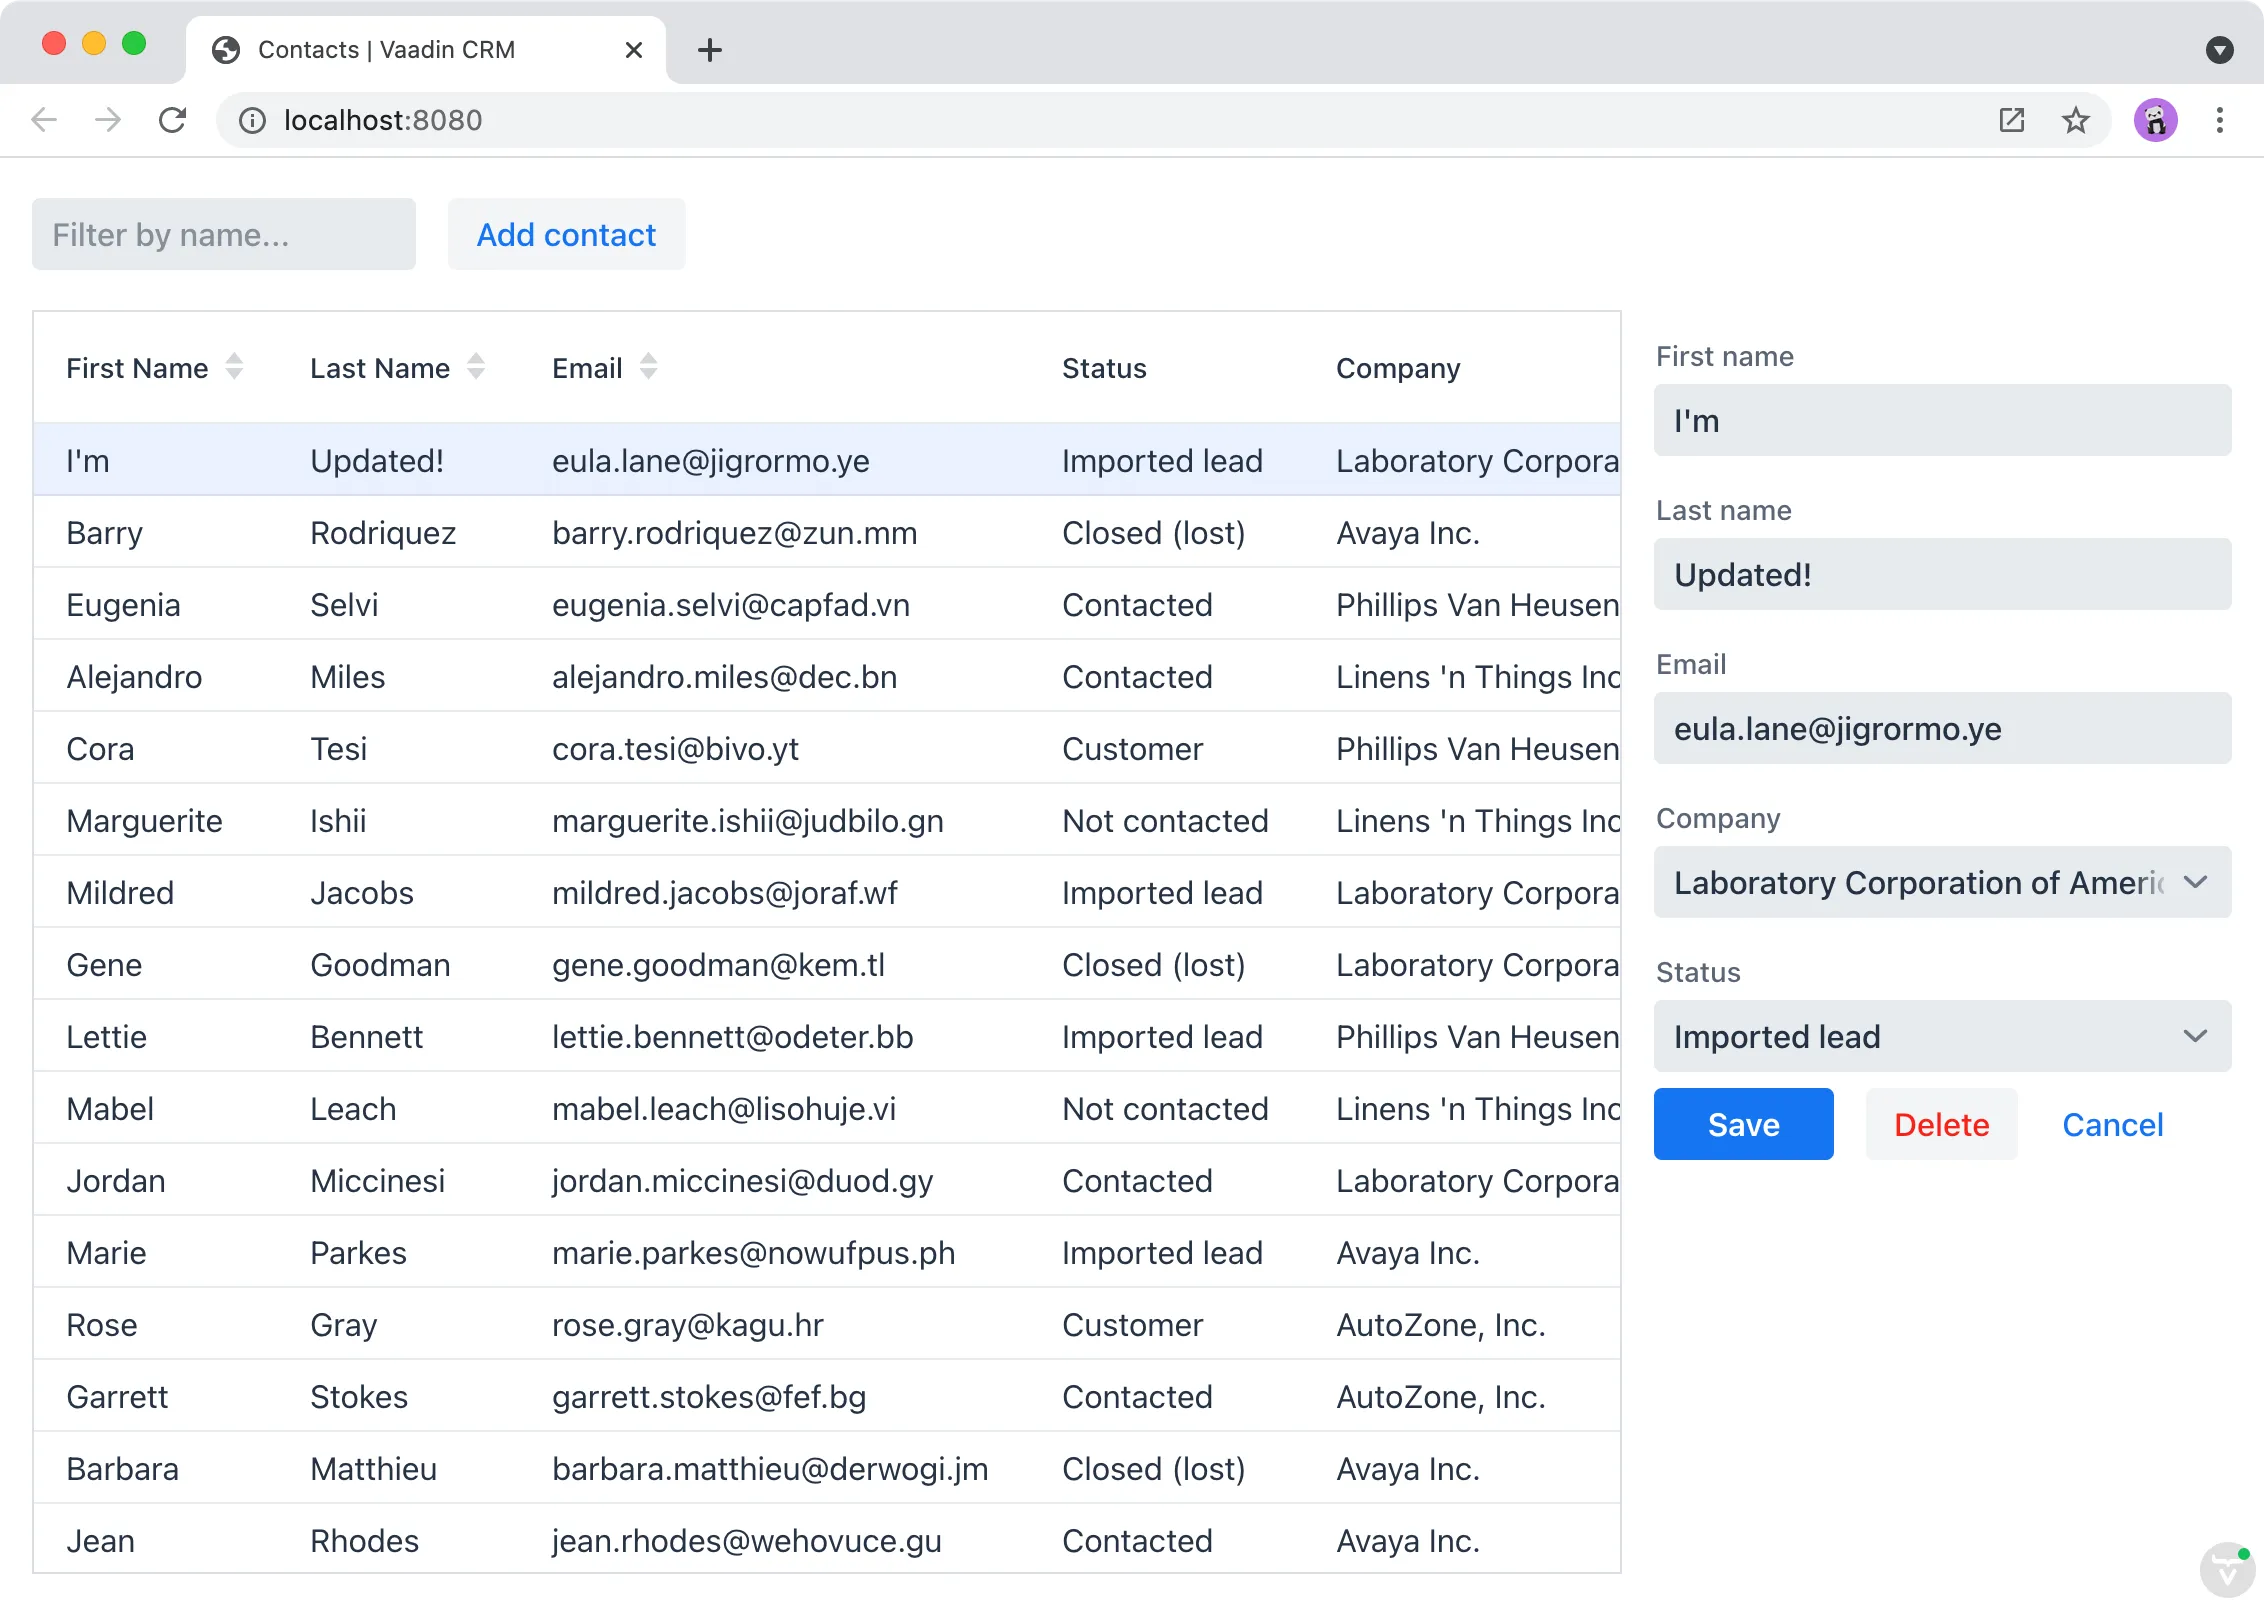
Saves and deletes contacts in the database.
Showing the Selected Contact in the Form
The first step is to show the selected grid row in the form.
To do this, update ListView as follows:
Source code
ListView.java
ListView.javapackage com.example.application.views.list;
import com.example.application.data.entity.Contact;
import com.example.application.data.service.CrmService;
import com.vaadin.flow.component.button.Button;
import com.vaadin.flow.component.grid.Grid;
import com.vaadin.flow.component.orderedlayout.HorizontalLayout;
import com.vaadin.flow.component.orderedlayout.VerticalLayout;
import com.vaadin.flow.component.textfield.TextField;
import com.vaadin.flow.data.value.ValueChangeMode;
import com.vaadin.flow.router.PageTitle;
import com.vaadin.flow.router.Route;
import com.vaadin.flow.theme.Theme;
@Route(value = "")
@Theme(themeFolder = "flowcrmtutorial")
@PageTitle("Contacts | Vaadin CRM")
public class ListView extends VerticalLayout {
Grid<Contact> grid = new Grid<>(Contact.class);
TextField filterText = new TextField();
ContactForm form;
CrmService service;
public ListView(CrmService service) {
this.service = service;
addClassName("list-view");
setSizeFull();
configureGrid();
configureForm();
add(getToolbar(), getContent());
updateList();
closeEditor(); 1
}
private HorizontalLayout getContent() {
HorizontalLayout content = new HorizontalLayout(grid, form);
content.setFlexGrow(2, grid);
content.setFlexGrow(1, form);
content.addClassNames("content");
content.setSizeFull();
return content;
}
private void configureForm() {
form = new ContactForm(service.findAllCompanies(), service.findAllStatuses());
form.setWidth("25em");
}
private void configureGrid() {
grid.addClassNames("contact-grid");
grid.setSizeFull();
grid.setColumns("firstName", "lastName", "email");
grid.addColumn(contact -> contact.getStatus().getName()).setHeader("Status");
grid.addColumn(contact -> contact.getCompany().getName()).setHeader("Company");
grid.getColumns().forEach(col -> col.setAutoWidth(true));
grid.asSingleSelect().addValueChangeListener(event ->
editContact(event.getValue())); 2
}
private HorizontalLayout getToolbar() {
filterText.setPlaceholder("Filter by name...");
filterText.setClearButtonVisible(true);
filterText.setValueChangeMode(ValueChangeMode.LAZY);
filterText.addValueChangeListener(e -> updateList());
Button addContactButton = new Button("Add contact");
addContactButton.addClickListener(click -> addContact()); 3
HorizontalLayout toolbar = new HorizontalLayout(filterText, addContactButton);
toolbar.addClassName("toolbar");
return toolbar;
}
public void editContact(Contact contact) { 4
if (contact == null) {
closeEditor();
} else {
form.setContact(contact);
form.setVisible(true);
addClassName("editing");
}
}
private void closeEditor() {
form.setContact(null);
form.setVisible(false);
removeClassName("editing");
}
private void addContact() { 5
grid.asSingleSelect().clear();
editContact(new Contact());
}
private void updateList() {
grid.setItems(service.findAllContacts(filterText.getValue()));
}
}-
The
closeEditor()call at the end of the constructor-
sets the form contact to
null, clearing out old values, -
hides the form,
-
removes the
"editing"CSS class from the view.
-
-
addValueChangeListener()adds a listener to the grid. TheGridcomponent supports multi- and single-selection modes. You only need to select a singleContact, so you can use theasSingleSelect()method. ThegetValue()method returns theContactin the selected row, or null if there’s no selection. -
Call
addContact()when the user clicks on the "Add contact" button. -
editContact()sets the selected contact in theContactFormand hides or shows the form, depending on the selection. It also sets the"editing"CSS class name when editing. -
addContact()clears the grid selection and creates a newContact.
Build the application. You should now be able to select contacts in the grid and see them in the form. But, none of the buttons work yet.

Making the Layout Responsive
To make the layout responsive and usable on both mobile and desktop, we need to add CSS.
To do this, add the following CSS to frontend/themes/flowcrmtutorial/styles.css:
Source code
styles.css
styles.css@media all and (max-width: 1100px) {
.list-view.editing .toolbar,
.list-view.editing .contact-grid {
display: none;
}
}The CSS media query will hide the grid and the toolbar when you are editing contacts on a narrow screen.
Handling Form Events
The ContactForm API is designed to be reusable; it is configurable through properties and it fires the necessary events.
So far, you have passed a list of companies, statuses, and the contact to the form.
Now, all you need to do is listen for the events to complete the integration.
To handle event listeners, update configureForm() and add saveContact() and deleteContact() methods.
Source code
ListView.java
ListView.javaprivate void configureForm() {
form = new ContactForm(service.findAllCompanies(), service.findAllStatuses());
form.setWidth("25em");
form.addListener(ContactForm.SaveEvent.class, this::saveContact); 1
form.addListener(ContactForm.DeleteEvent.class, this::deleteContact); 2
form.addListener(ContactForm.CloseEvent.class, e -> closeEditor()); 3
}
private void saveContact(ContactForm.SaveEvent event) {
service.saveContact(event.getContact());
updateList();
closeEditor();
}
private void deleteContact(ContactForm.DeleteEvent event) {
service.deleteContact(event.getContact());
updateList();
closeEditor();
}-
The save event listener calls
saveContact(). It:-
uses
contactServiceto save the contact in the event to the database, -
updates the list,
-
closes the editor.
-
-
The delete event listener calls
deleteContact(). It:-
uses
contactServiceto delete the contact from the database, -
updates the list,
-
closes the editor.
-
-
The close event listener closes the editor.
Build the application and verify that you are now able to select, add, update, and delete contacts.

68EBA349-1346-4BBB-ACC7-E810457D47BB
