Turning a Vaadin Flow Application Into an Installable PWA
|
Caution
|
This tutorial is for Vaadin 14.
If this is your first time trying out Vaadin, you should read the same tutorial for the latest Vaadin version instead.
|
In this chapter, you turn the completed CRM application into a progressive web application (PWA), so that users can install it.
What Is a PWA?
The term “PWA” is used to describe modern web applications that offer a native app-like user experience. PWA technologies make applications faster, more reliable, and more engaging. PWAs can be installed on most mobile devices and on desktop when using supported browsers. They can even be listed in the Microsoft Store and Google Play Store. You can learn more about the underlying technologies and features in the Vaadin PWA documentation.
Two main components enable PWA technologies:
-
ServiceWorker: a JavaScript worker file that controls network traffic and enables custom cache control.
-
Web app manifest: a JSON file that identifies the web application as an installable application.
Generating PWA Resources
Vaadin provides the @PWA annotation, which automatically generates the required PWA resources.
Add the @PWA annotation to MainLayout as follows:
Source code
MainLayout.java
MainLayout.java@Theme(themeFolder = "flowcrmtutorial")
@PWA( 1
name = "VaadinCRM", 2
shortName = "CRM" 3
)
public class MainLayout extends AppLayout {
...
}-
The
@PWAannotation tells Vaadin to create aServiceWorkerand a manifest file. -
nameis the full name of the application for the manifest file. -
shortNameshould be short enough to fit under an icon when installed, and should not exceed 12 characters.
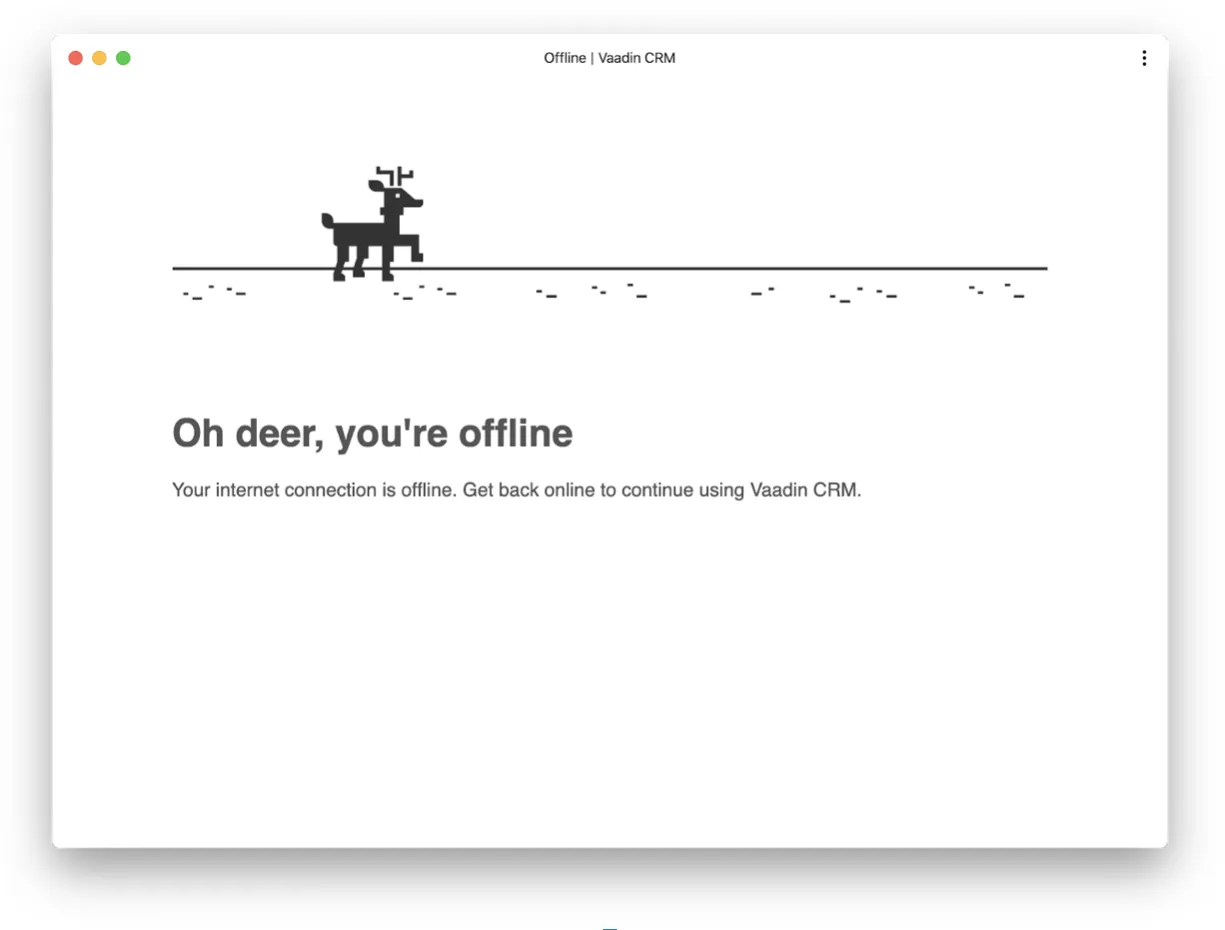
Customize the Offline Page
Vaadin creates a generic offline fallback page that displays when the application is launched offline. Replacing this default page with a custom page that follows your own design guidelines makes your app more polished.
Use the code below to create offline.html in the META-INF/resources folder:
Source code
offline.html
offline.html<!DOCTYPE html>
<html lang="en">
<head>
<meta charset="UTF-8"/>
<meta name="viewport" content="width=device-width, initial-scale=1.0"/>
<meta http-equiv="X-UA-Compatible" content="ie=edge"/>
<title>Offline | Vaadin CRM</title>
<style>
body {
display: flex;
flex-direction: column;
align-items: center;
font-family: sans-serif;
color: #555;
}
.content {
width: 80%;
}
.offline-image {
width: 100%;
margin: 4em 0px;
}
</style>
</head>
<body>
<div class="content">
<img src="./images/offline.png" alt="VaadinCRM is offline" class="offline-image"/>
<h1>Oh deer, you're offline</h1>
<p>Your internet connection is offline. Get back online to continue using Vaadin CRM.</p>
</div>
<script>
window.addEventListener('online', () => window.location.reload()); 1
</script>
</body>
</html>-
The JavaScript snippet reloads the page if the browser detects that it’s back online.
Add the following image (or use one of your own) to the META-INF/resources/images folder and name it offline.png.

Make the files available offline by adding them to the @PWA annotation in MainLayout as follows:
Source code
MainLayout.java
MainLayout.java@PWA(
name = "VaadinCRM",
shortName = "CRM",
offlinePath="offline.html",
offlineResources = { "./images/offline.png"} 1
)-
offlineResourcesis a list of files that Vaadin makes available offline through theServiceWorker.
Restart the app. You can now install the application on supported browsers.
Testing the Offline Page
Shut down the server in IntelliJ and refresh the browser (or launch the installed app). You should now see the custom offline page.
In the next chapter, you will add tests to the application: both unit tests and in-browser tests.

Source code
render-banner.ts
render-banner.ts
EDEDCE07-8351-4A8C-86A6-D6F2A07126FA