Vaadin Flow Project Setup
- Downloading a Vaadin Application Starter
- Importing a Maven Project Into IntelliJ
- Running a Spring Boot Project in IntelliJ
- Enabling Auto Import in IntelliJ
|
Caution
|
This tutorial is for Vaadin 14.
If this is your first time trying out Vaadin, you should read the same tutorial for the latest Vaadin version instead.
|
This chapter covers:
-
Downloading a Vaadin app starter.
-
Importing a Vaadin Maven project in IntelliJ.
-
Configuring IntelliJ for productive development.
Downloading a Vaadin Application Starter
This tutorial uses a preconfigured starter from start.vaadin.com. The starter application includes:
-
A data model consisting of
Contact,Company, andStatusJPA entities. -
Spring Data repositories for persisting and retrieving the entities from an embedded H2 database.
-
A data generator that populates the database with test data.
-
A single, empty view.
-
A Dockerfile.
Download the starter application (zip file) below:
Importing a Maven Project Into IntelliJ
-
Unzip the downloaded archive to a file location of your choice. Avoid unzipping to the download folder, as you could unintentionally delete your project when clearing out old downloads.
-
In IntelliJ, select Open in the Welcome screen or File menu.
-
Find the extracted folder, and select the
pom.xmlfile.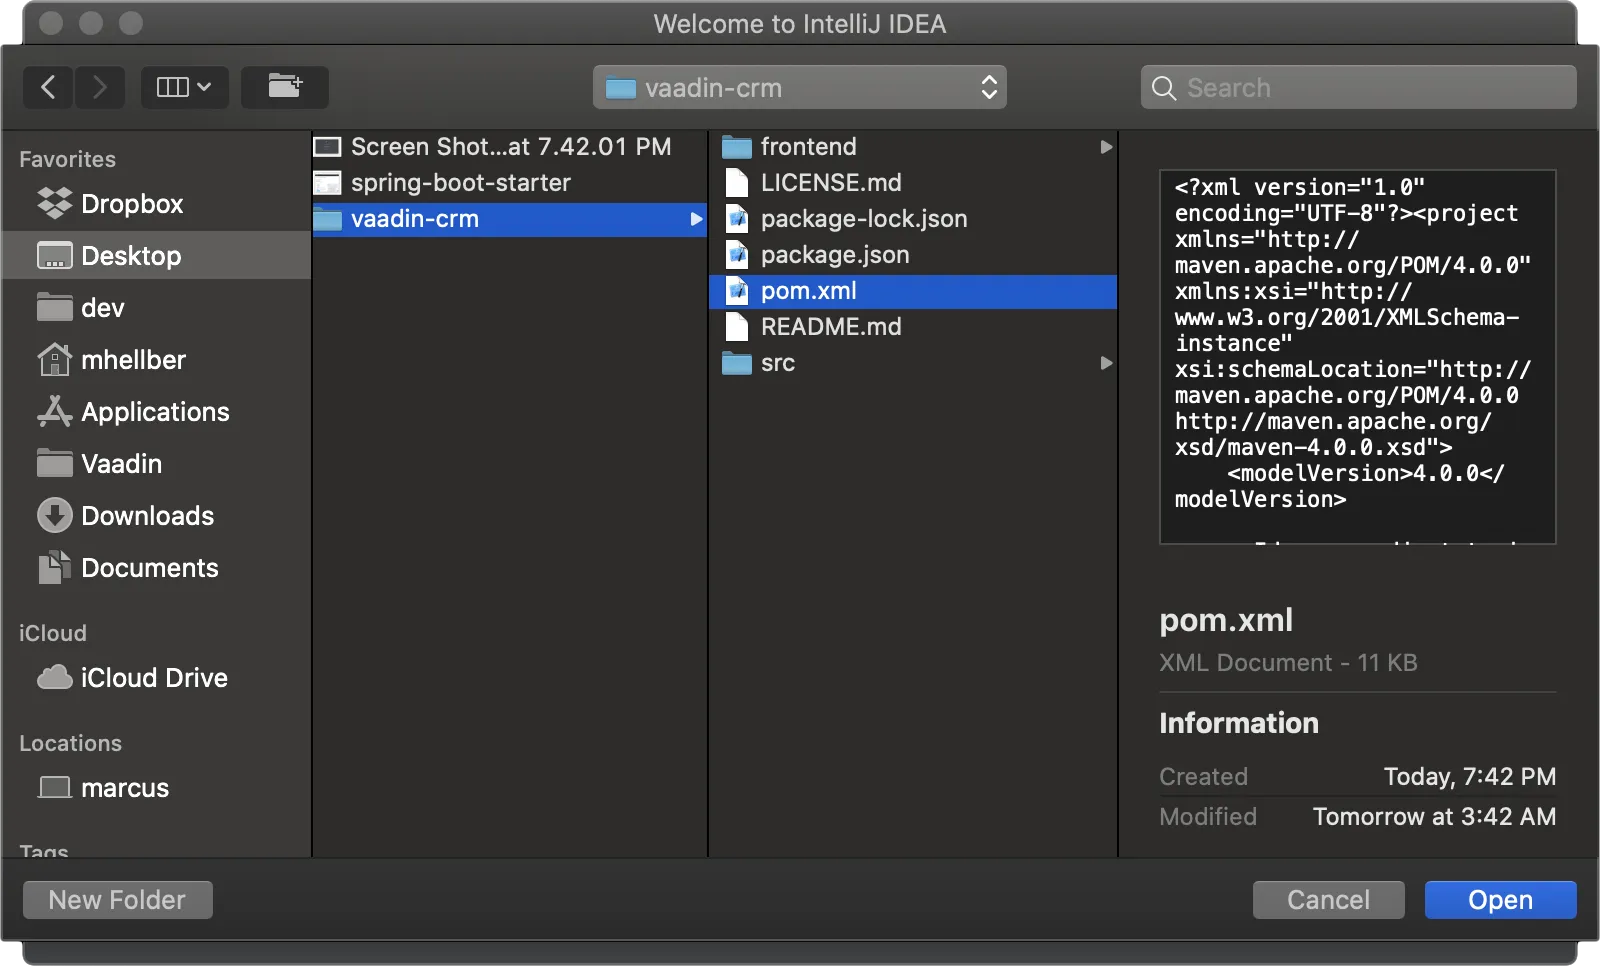
-
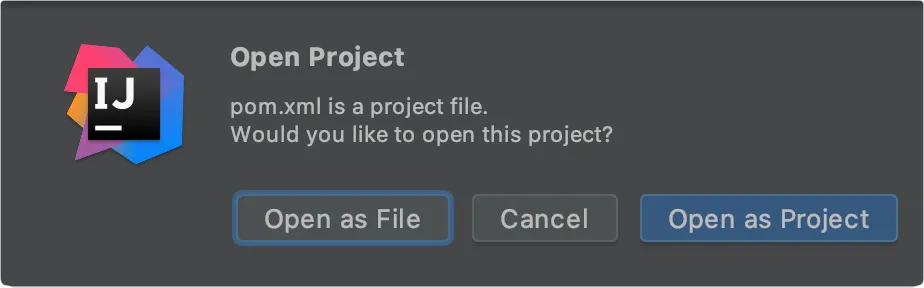
Select Open as Project. This imports a project based on the POM file.
-
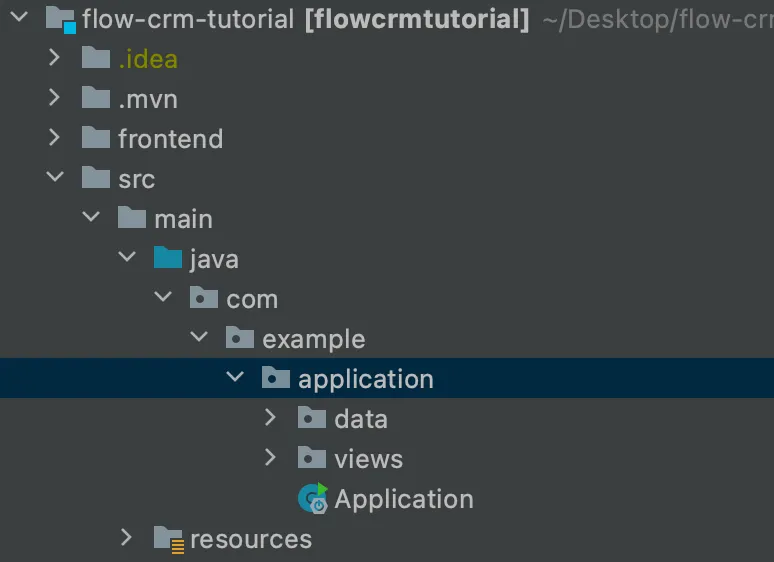
IntelliJ imports the project and downloads all necessary dependencies. This can take several minutes, depending on your internet connection speed.
When the import is complete, your project structure looks like this:
-
Java source files are in the
src/main/javafolder.
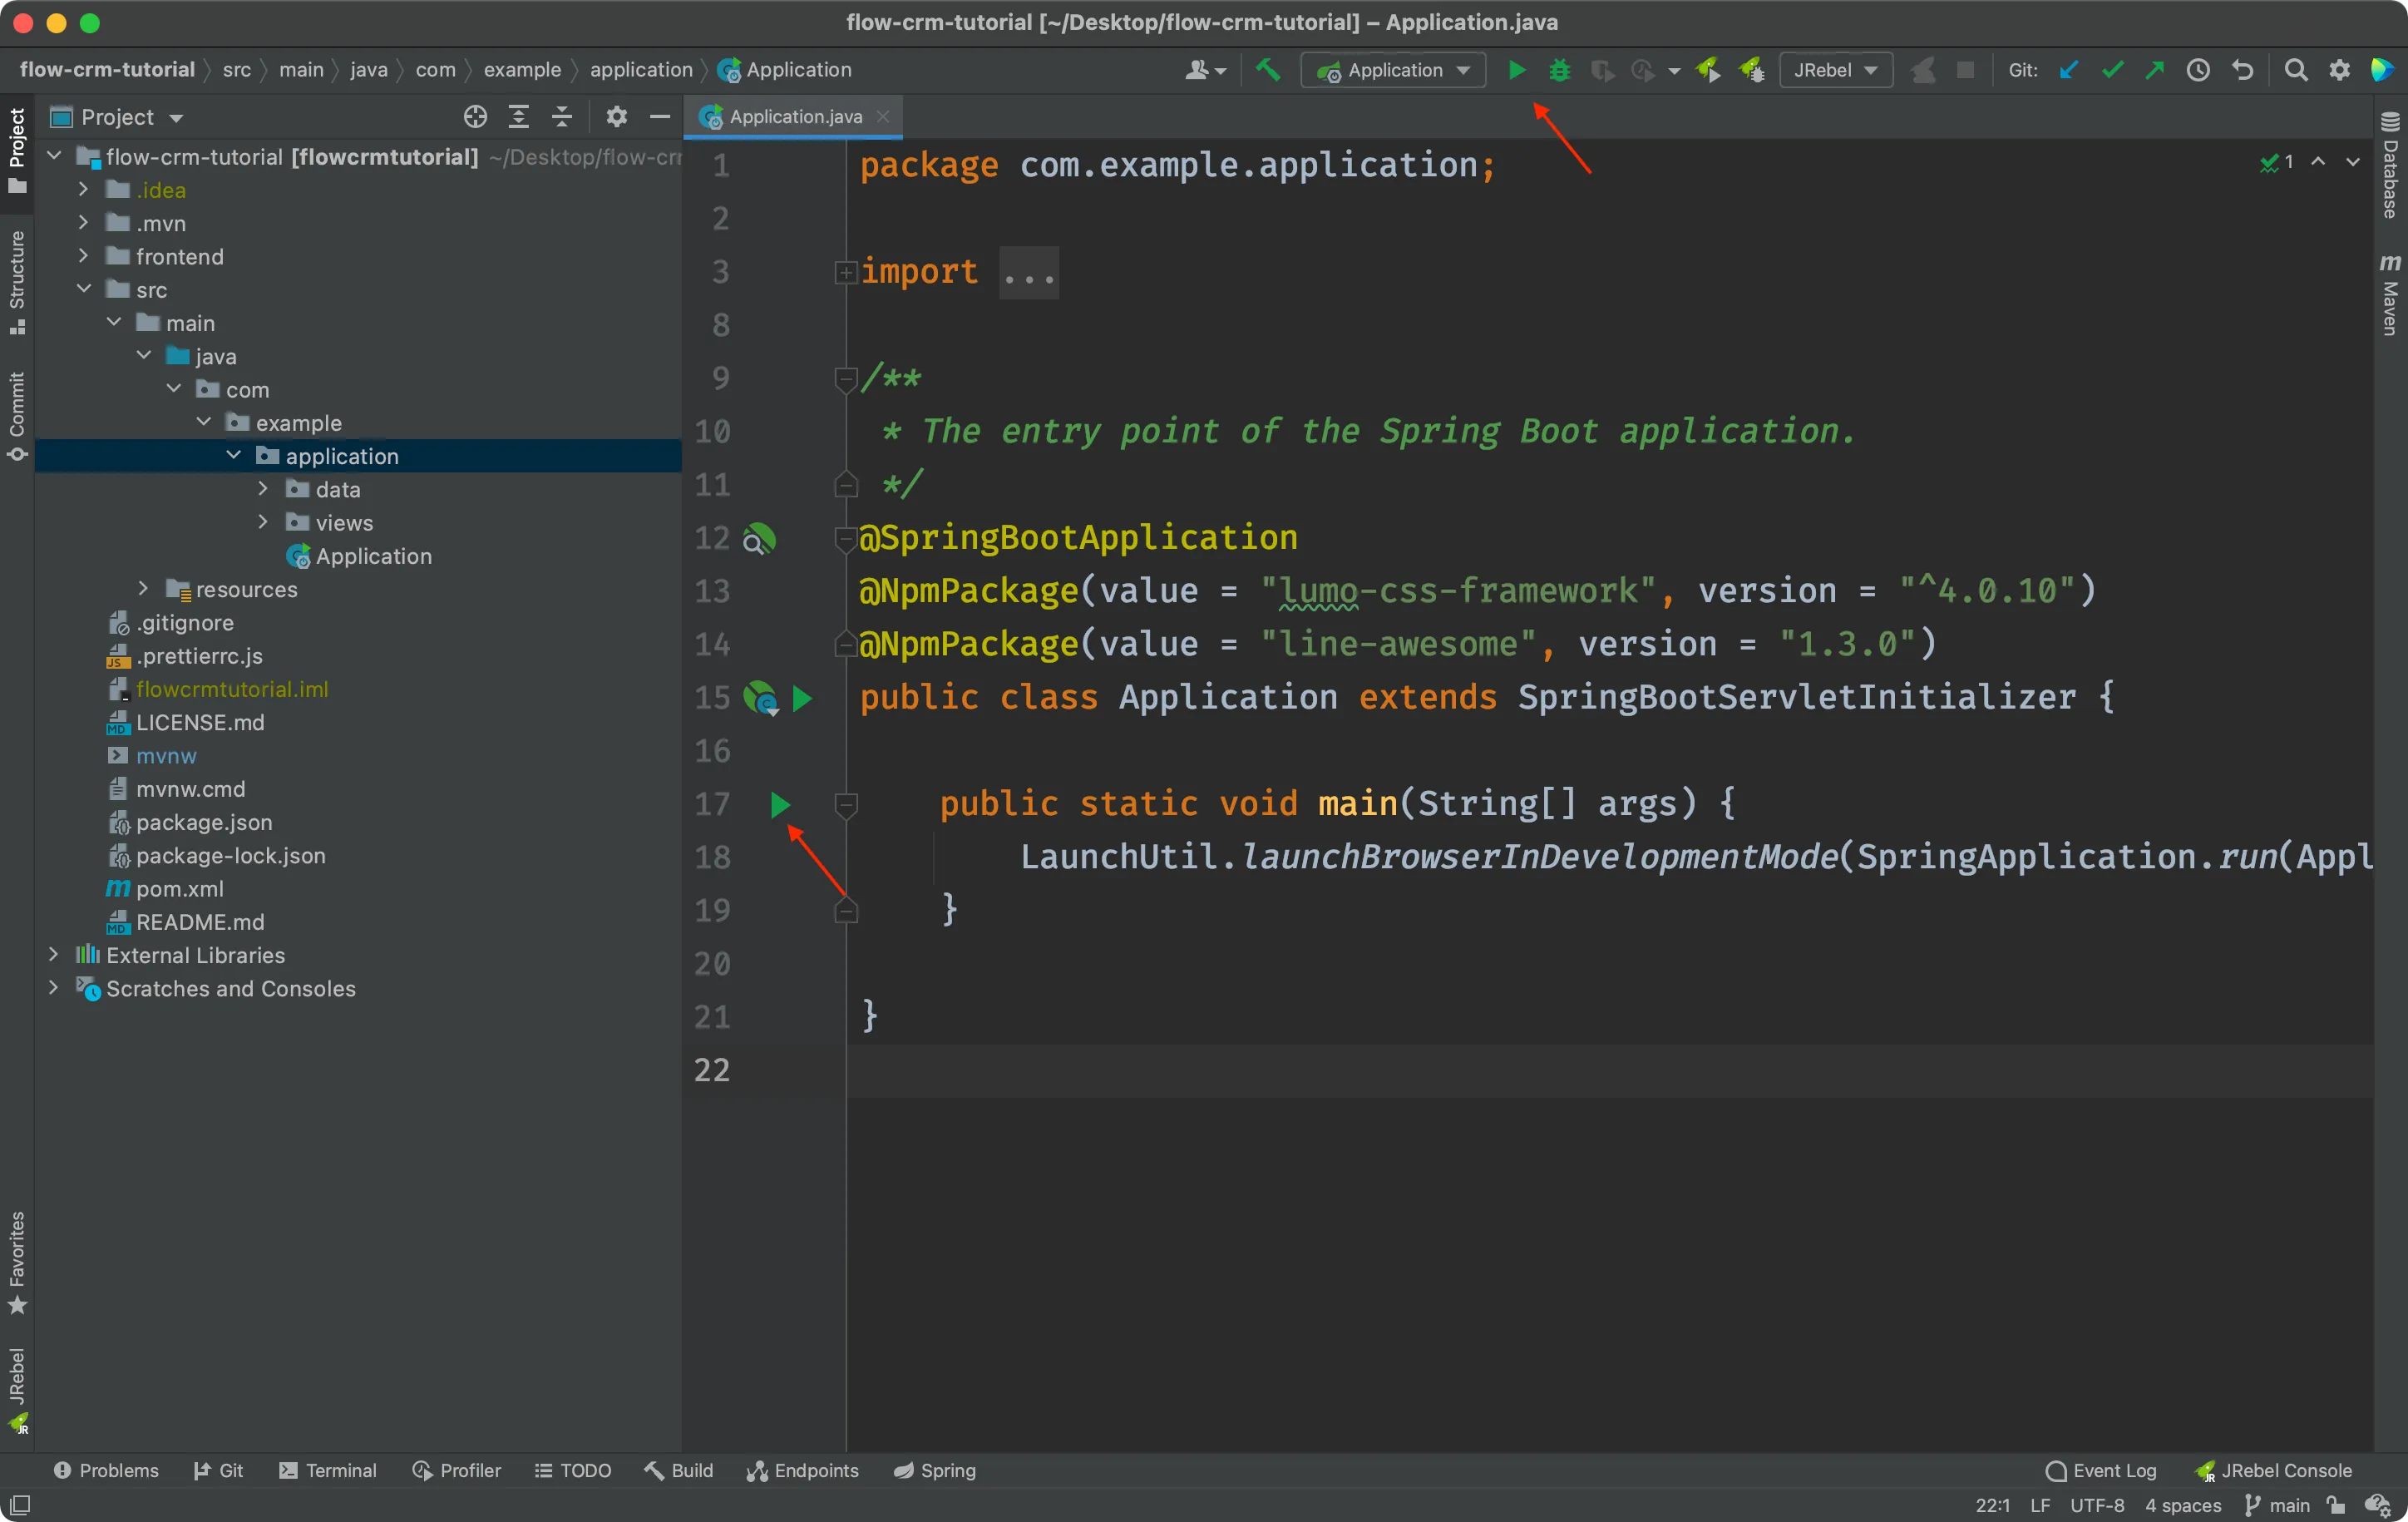
Running a Spring Boot Project in IntelliJ
Spring Boot makes it easier to run a Java web application, because it takes care of starting and configuring the server.
To run your application, run the Application class that contains the main() method that starts Spring Boot. IntelliJ automatically detects that you have a class with a main() method and displays it in the run configurations dropdown.
To start your application:
-
Open
Application.javaand click the play button next to the code line containing themain()method. -
After you have run the application once from the
main()method, it shows up in the run configurations dropdown in the main toolbar. On subsequent runs, you can run the application from there.
The first time you start a Vaadin application, it downloads frontend dependencies and builds a JavaScript bundle.
|
Note
|
After starting the application for the first time, IntelliJ will index all the added dependencies. This can take anywhere from a few seconds to several minutes, depending on your computer. This happens only once. |
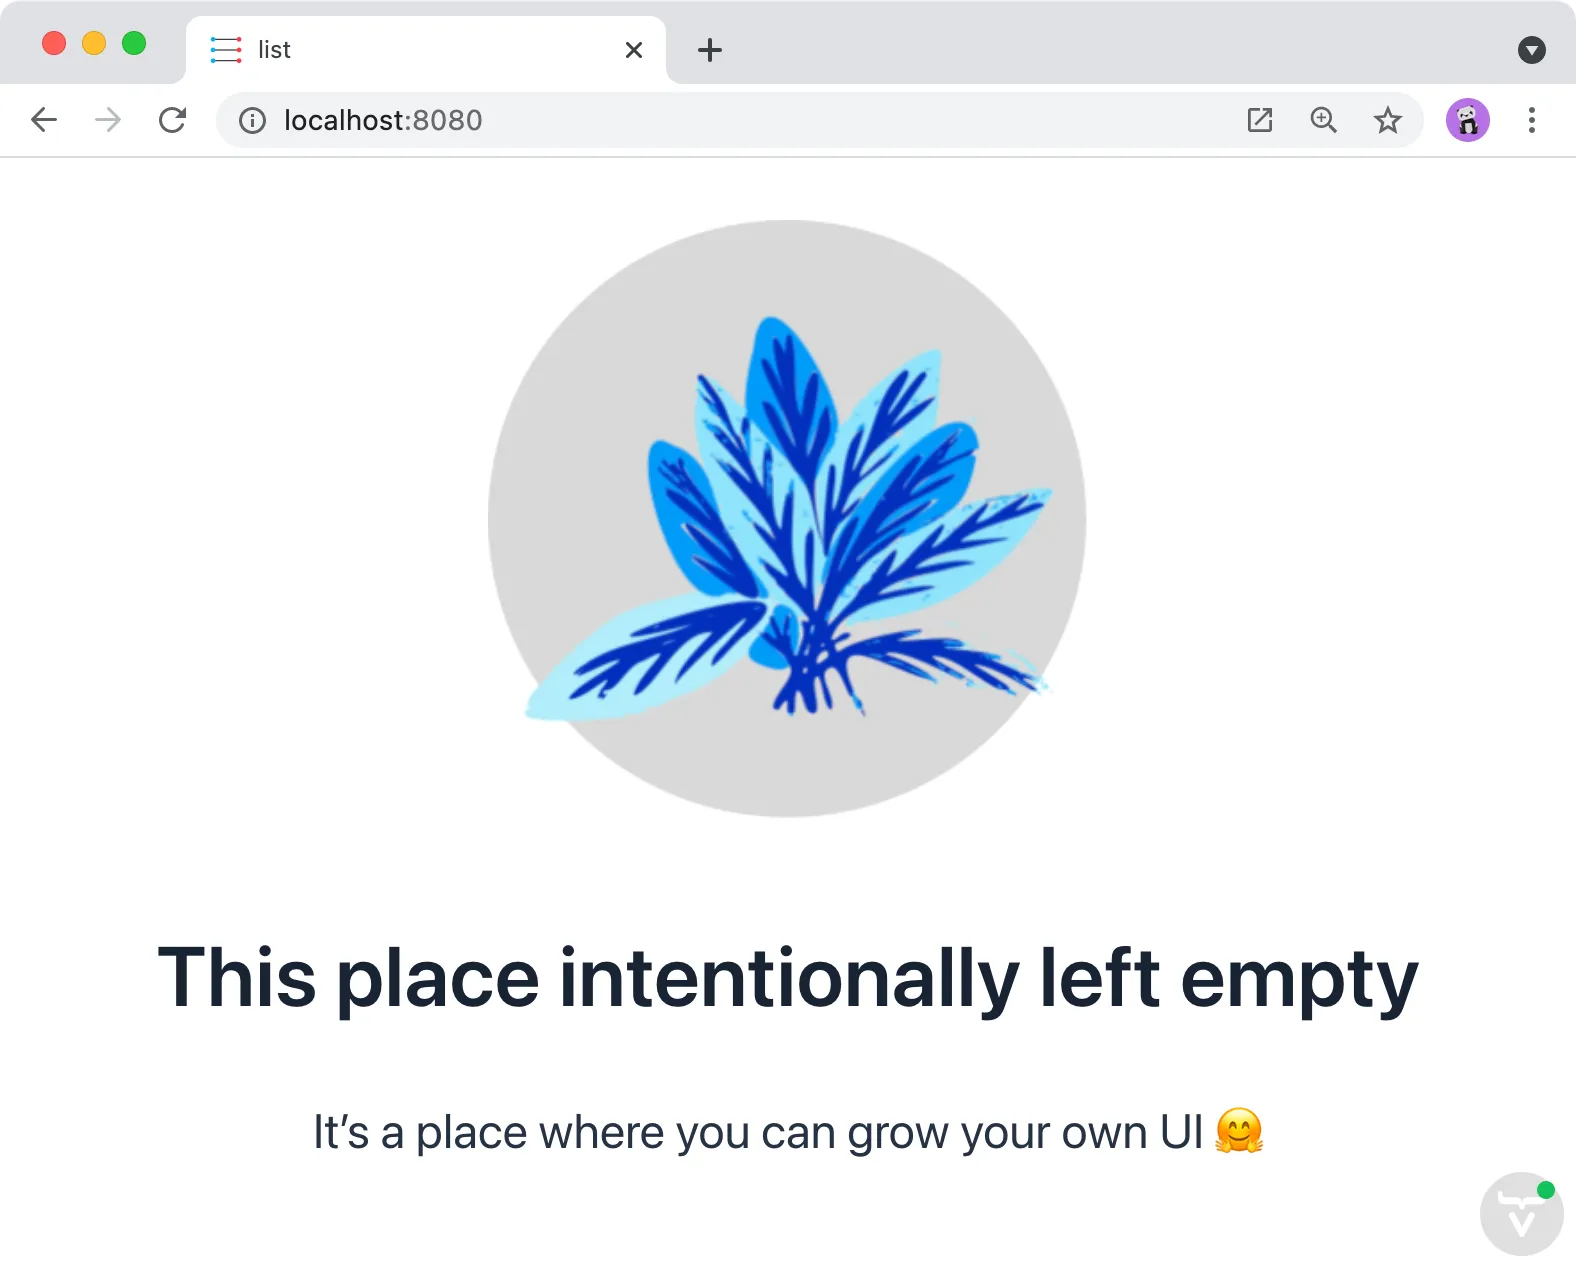
You’ll know that your application has started when you see the following output in the console:
Source code
Started webpack-dev-server. Time: 4047msYou can now open localhost:8080 in your browser.
You’ll see a content placeholder and image.
Enabling Auto Import in IntelliJ
You can configure IntelliJ to automatically resolve imports for Java classes. This makes it easier to copy code from this tutorial into your IDE.
To enable auto import in IntelliJ:
-
Open the Preferences/Settings window and navigate to Editor > General > Auto Import.
-
Enable the following two options:
-
Add unambiguous imports on the fly.
-
Optimize imports on the fly.
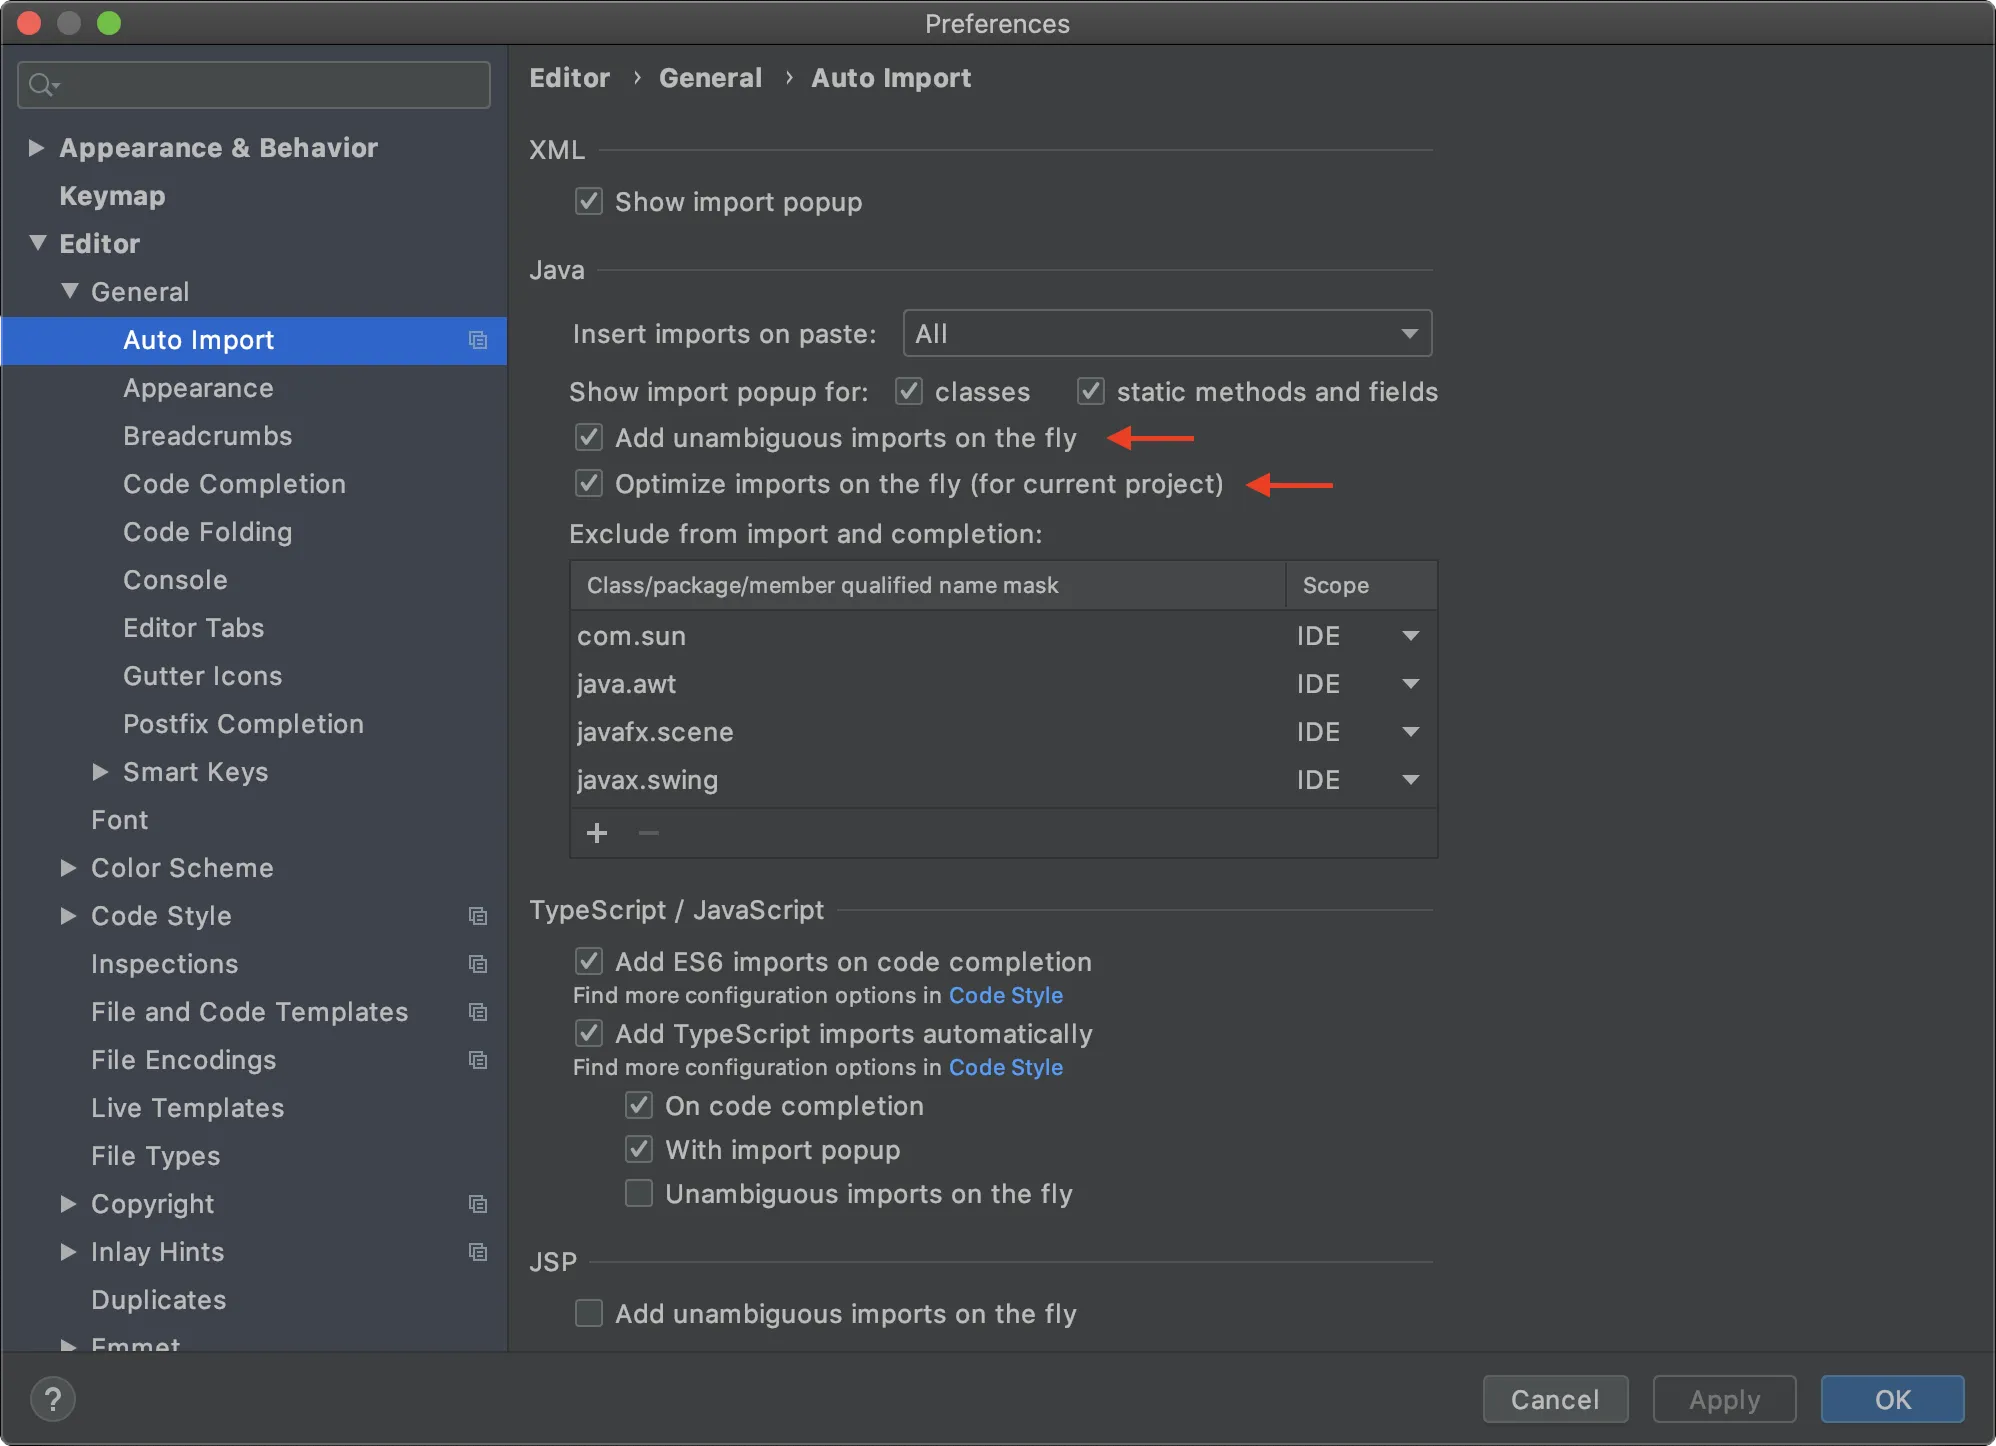
Vaadin shares many class names (like Button) with Swing, AWT, and JavaFX.
-
-
If you don’t use Swing, AWT, or JavaFX in other projects, add the following packages to the Exclude from import and completion list to help IntelliJ select the correct classes automatically.
-
com.sun -
java.awt -
javafx.scene -
javax.swing -
jdk.internal -
sun.plugin
-
Now that you have a working development environment, you are ready to start building a web application.

Source code
render-banner.ts
render-banner.ts
A1575C78-4679-4A39-82F1-15B82921E79D