This tutorial shows how you build and submit your progressive web application (PWA) to the Microsoft Store. We use the PWA from our Modern Web App tutorial series and package it as an AppX package using the PWA builder by Microsoft. You can find more details about the PWA Builder in their GitHub repository.
| You can also use the PWA Builder to turn your existing web app into a PWA. |
PREREQUISITES
Microsoft accounts
-
Sign up for, or log in to, a Microsoft account.
-
Sign up for a Microsoft Developer account.
| There is a one-time sign-up fee for a Microsoft Developer account. See the pricing list for details. |
A PWA
We’ll be using the PWA Builder to package a PWA for submission to the Microsoft Store. The PWA Builder can be used to transform existing websites into PWAs and also to package them for app store submission.
If you don’t have a PWA, we recommend getting started with Vaadin. Our comprehensive tutorial series, and technical documentation make it easy to build your first PWA!
Alternatively, follow one of our framework-independent basic tutorials to turn your existing web app into a PWA.
Reserve an app name
-
Log into the Microsoft Dev Center dashboard.
-
Go to Overview and select Create New App.
-
Enter the name you want to use and check for its availability. Repeat this step until you find an available name.
-
Select Reserve Product Name.
Run PWA builder
Build a Windows 10 application
| You can skip this step if your PWA already runs as a Windows 10 application. |
| You can also build your Windows 10 application in Visual Studio. |
-
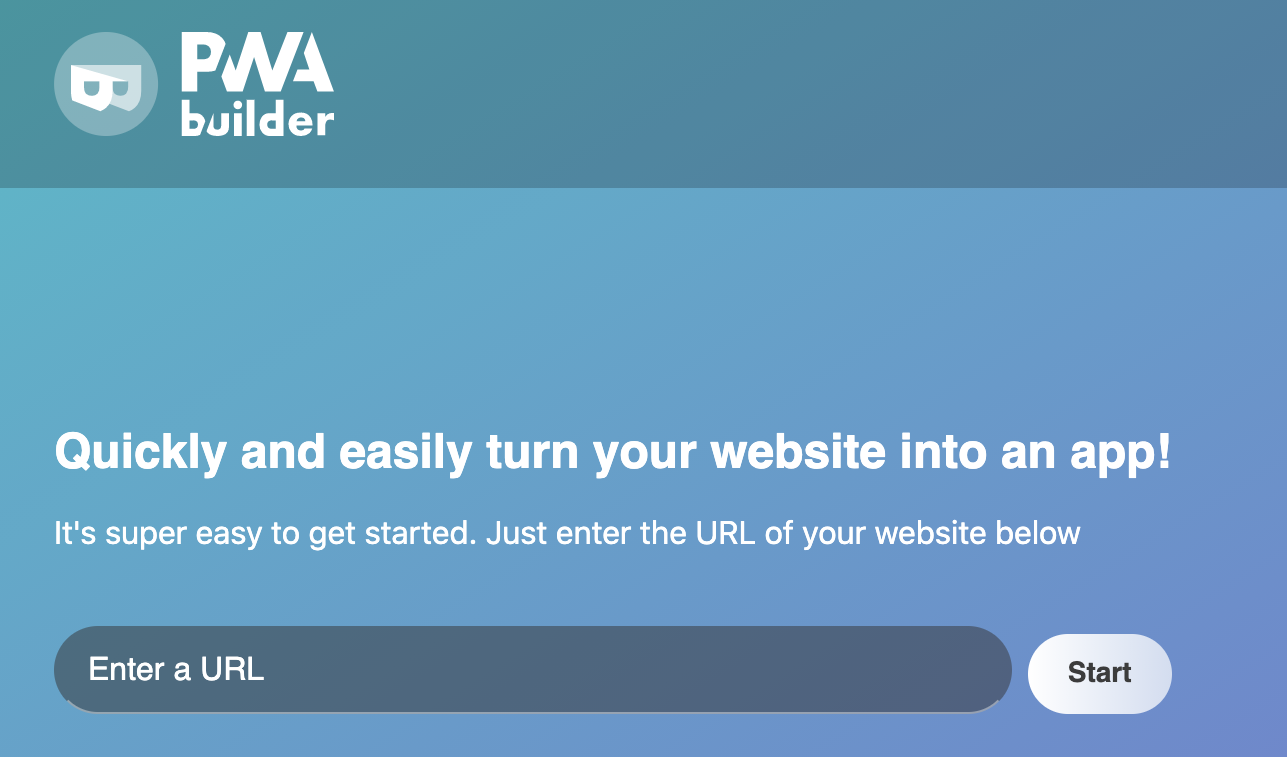
Go to https://www.pwabuilder.com/ and enter the URL of your PWA:

-
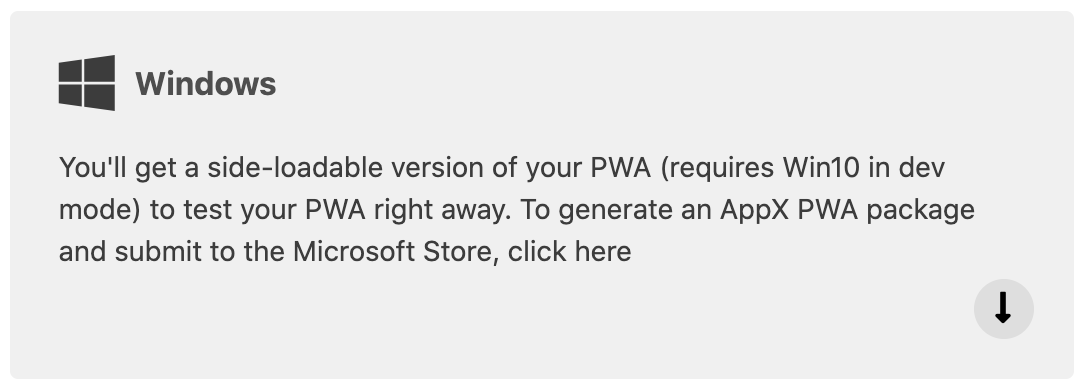
Wait for PWA Builder to finish processing your application and then select Windows in the menu on the left:

-
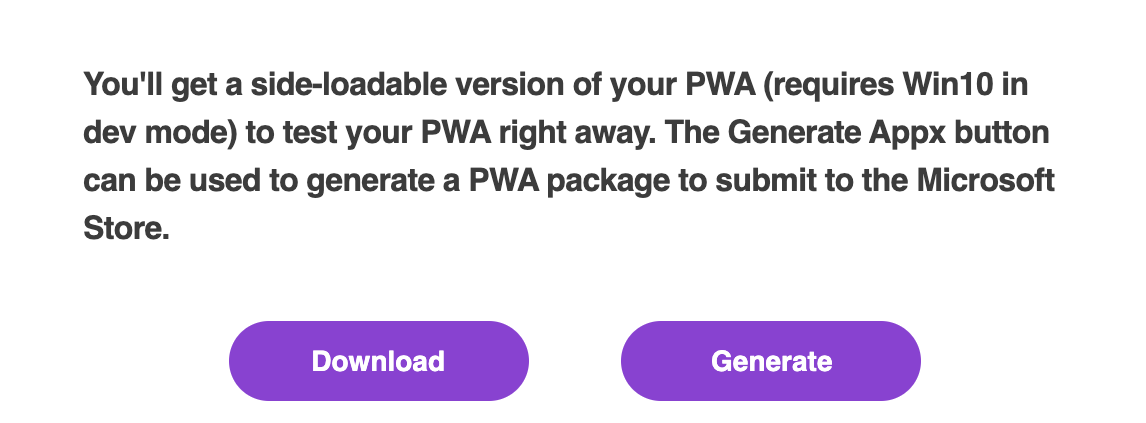
Select Download to download a Windows 10 application:

You can test your app with the Microsoft App Certification Kit (Windows 10 required). You can find more details on the App Certification Kit download page.
Create an AppX package
Update your app manifest
-
In the Dev Center Dashboard, go to App management > App Identity.
-
Navigate to the generated
appxmanifest.xmlfile atwindows10/appxmanifest/appxmanifest.xml. -
Open
appmanifest.xmland replace the following values with the ones assigned in the Dev Center:<Identity Name=" Package/Identity/Name
<Identity Publisher=" Package/Identity/Publisher
<DisplayName > Name you reserved for your app
<PublisherDisplayName > Package/Properties/PublisherDisplayName`Example
appmanifest.xml:Package xmlns="http://schemas.microsoft.com/appx/manifest/foundation/windows10" xmlns:mp="http://schemas.microsoft.com/appx/2014/phone/manifest"xmlns:uap="http://schemas.microsoft.com/appx/manifest/uap/windows10" xmlns:build="http://schemas.microsoft.com/developer/appx/2015/build" IgnorableNamespaces="uap mp build">
<Identity Name="INSERT-YOUR-PACKAGE-IDENTITY-NAME-HERE" Publisher="CN=INSERT-YOUR-PACKAGE-IDENTITY-PUBLISHER-HERE" Version="1.0.0.0" ProcessorArchitecture="neutral"/>
<mp:PhoneIdentity PhoneProductId="addf1fab-1ee6-18fd-f7fa-8390158a94a3" PhonePublisherId="00000000-0000-0000-0000-000000000000"/>
<build:Metadata>
<build:Item Name="GenerationTool" Version="pwabuilder-api"/>
<build:Item Name="GenerationToolVersion" Version="2.0.1-rc.0"/>
<build:Item Name="PlatformId" Value="windows10"/>
<build:Item Name="PlatformPackage" Value="pwabuilder-windows10"/>
<build:Item Name="PlatformVersion" Version="2.0.4-rc.6"/>
<build:Item Name="GeneratedFrom" Value="Website Wizard"/>
<build:Item Name="GenerationDate" Value="2020-09-14 13:18:39 Z"/>
<build:Item Name="GeneratedURL" Value="https://crm.demo.vaadin.com/manifest.webmanifest"/>
</build:Metadata>
<Properties>
<DisplayName>CRM</DisplayName>
<PublisherDisplayName>
INSERT-YOUR-PACKAGE-PROPERTIES-PUBLISHERDISPLAYNAME-HERE
</PublisherDisplayName>
<Logo>images\StoreLogo.png</Logo>
</Properties>
<Dependencies>
<TargetDeviceFamily Name="Windows.Universal" MinVersion="10.0.10586.0" MaxVersionTested="10.0.16299.0"/>
</Dependencies>
<Resources>
<Resource Language="en-us"/>
</Resources>
<Applications>
<Application Id="CRM" StartPage="https://crm.demo.vaadin.com/">
<uap:VisualElements DisplayName="CRM" Square150x150Logo="images\Square150x150Logo.png" Square44x44Logo="images\Square44x44Logo.png" Description="Vaadin CRM"BackgroundColor="#F2F2F2">
<uap:InitialRotationPreference>
<uap:Rotation Preference="portrait"/>
</uap:InitialRotationPreference>
</uap:VisualElements>
<uap:ApplicationContentUriRules>
<uap:Rule Type="include" WindowsRuntimeAccess="none" Match="http://*"/>
<uap:Rule Type="include" WindowsRuntimeAccess="none" Match="https://*"/>
<uap:Rule Type="include" WindowsRuntimeAccess="all" Match="https://crm.demo.vaadin.com/"/>
</uap:ApplicationContentUriRules>
</Application>
</Applications>
<Capabilities>
<Capability Name="internetClient"/>
</Capabilities>
</Package>
Option 1: Use the PWA Builder website
You can use the PWA Builder online to create the AppX package if you’re running your Windows PWA locally or have it deployed on a server. See Option 2 below, if your Windows app is not deployed yet.
-
Go to https://www.pwabuilder.com/ and enter the URL of your PWA:

-
Wait for PWA Builder to finish processing your application and then select Windows in the menu on the left:

-
Select Generate to build an AppX PWA package:

-
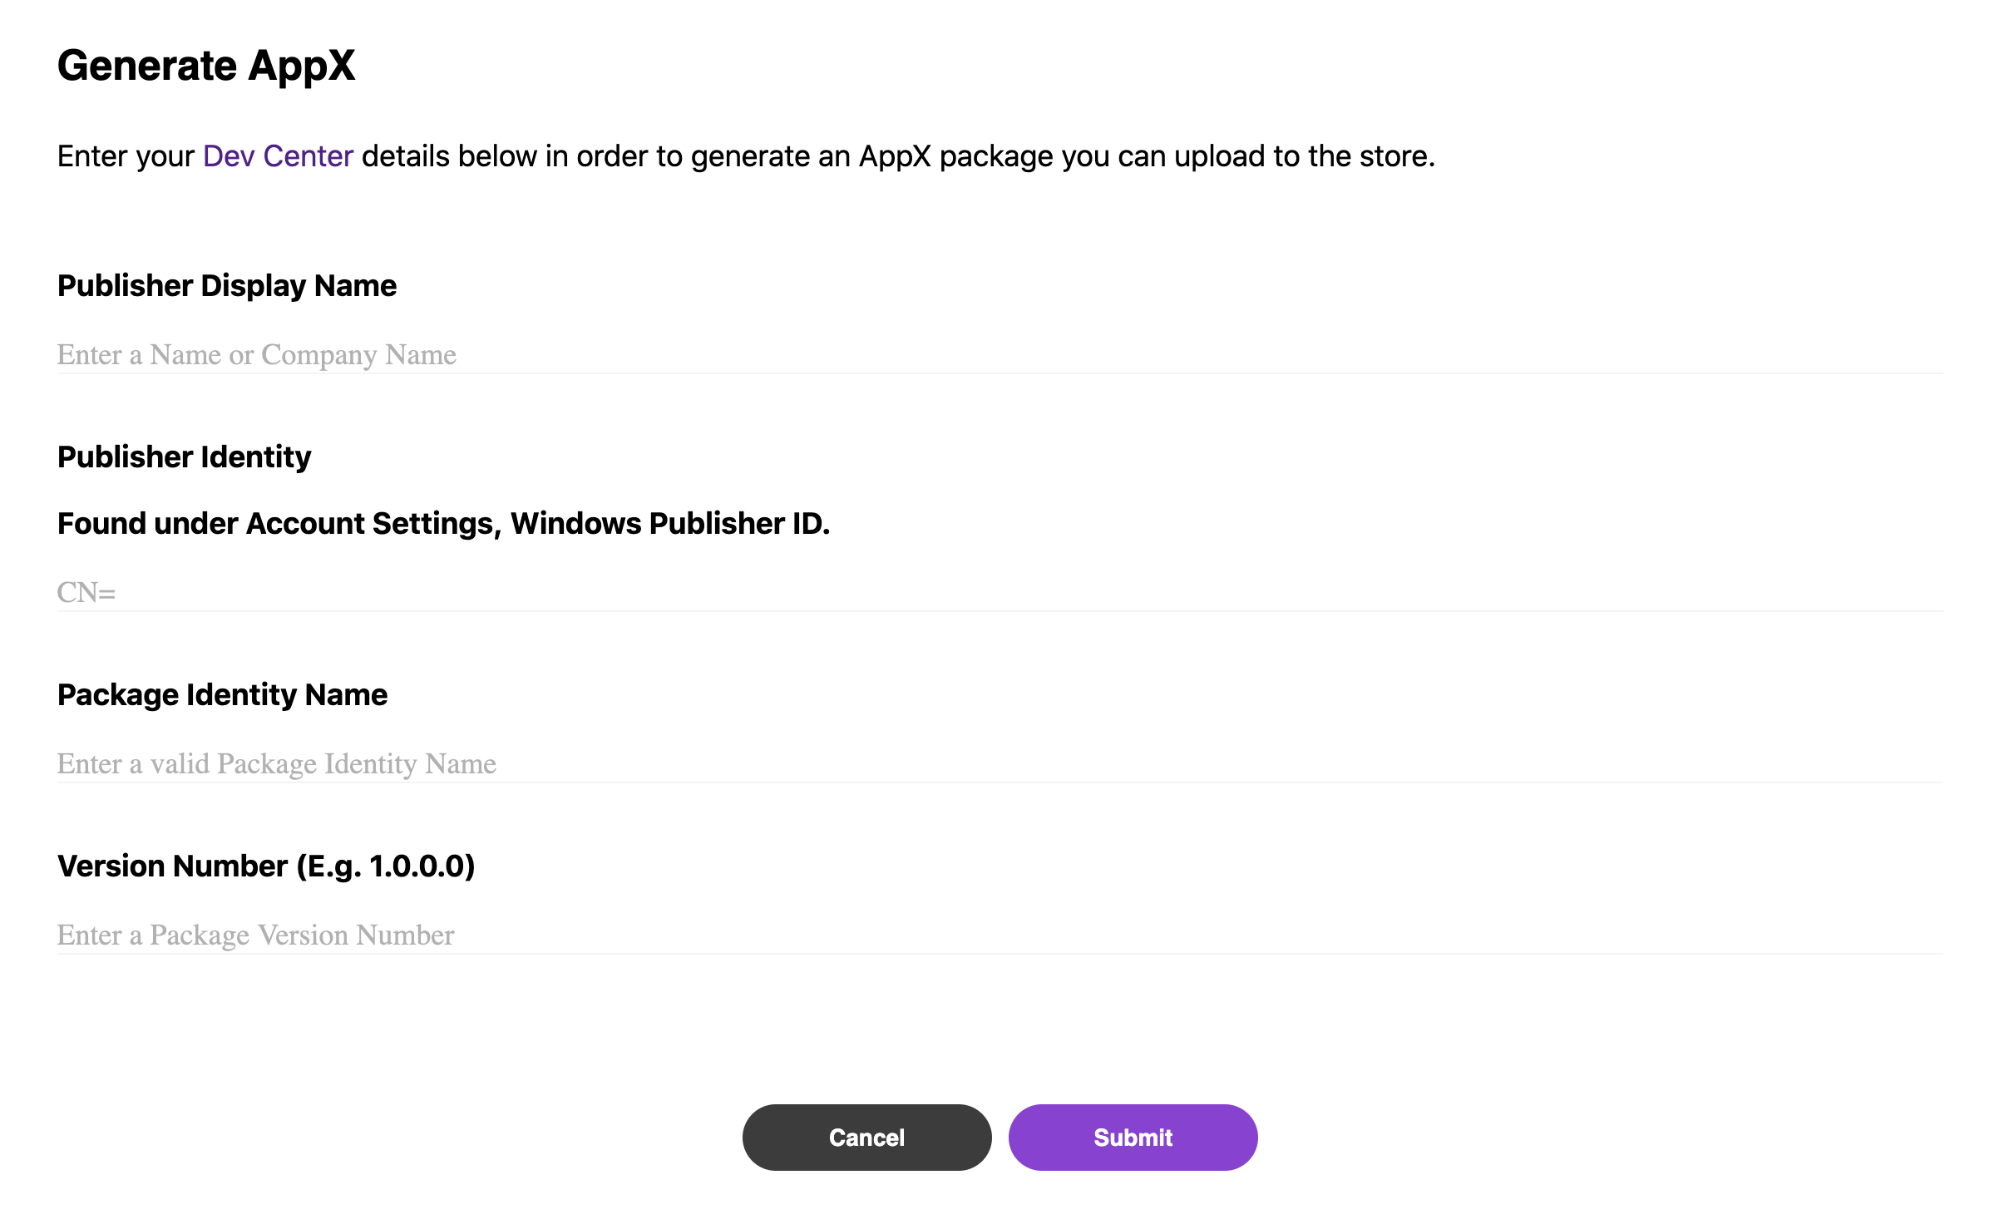
Enter the details in your Microsoft Developer account and
appmanifest.xmlfile and click Submit:
Option 2: Build from your terminal
-
Install the PWA Builder CLI with the
npm install -g pwabuildercommand. -
Open a terminal window in the downloaded root folder and run the
pwabuilder package -p windows10 -l debugcommand to build an AppX package:mikael@MacBook-Pro projects 2 % pwabuilder package -p windows10 -l debug
[debug] pwabuilder : Available platforms within project: windows10
[debug] pwabuilder : Packaging the following platforms: windows10
[debug] pwabuilder : Loading platform module: pwabuilder-windows10
mikael@MacBook-Pro projects 2 %Your
.appxfile will be located atPWA\Store packages\windows10\package\windows.appx.
Upload your AppX package
-
Log into the Microsoft Dev Center dashboard.
-
Go to Submissions > Submission 1.
-
Upload your AppX package by dragging it into the Upload window or by selecting Browse for files.
| You can find a full list of options, services and requirements on the Windows Dev Center documentation page. |
>Optional: Prevent Bing from automatically submitting your PWA
Your PWA can be automatically submitted into the Microsoft Store if it meets certain set criteria. You can opt out of this feature by creating a robot.txt file into your PWA’s root folder with the following content:
User-agent: bingbot
Disallow: /manifest.json
Next Steps
Congratulations on submitting your application! If you are looking for more information on PWAs, check out our PWA Handbook. If you are new to progressive web app development, I’d recommend our comprehensive tutorial series that takes you through every step from start to deployment of a complete PWA with Vaadin.