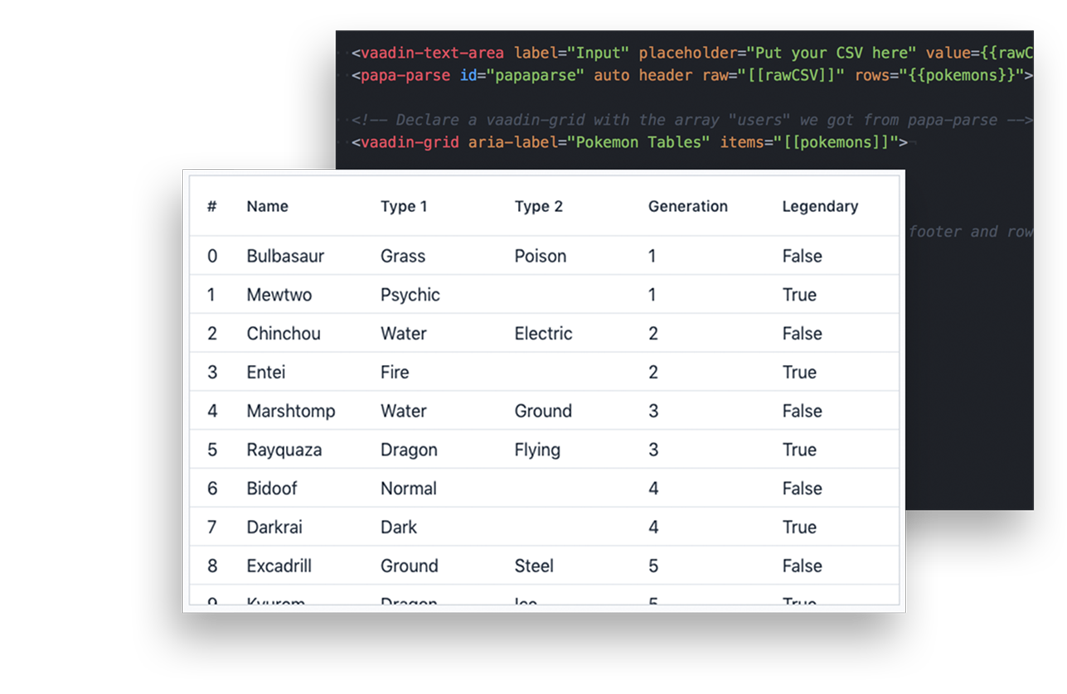
 Two weeks ago, we introduced papa-parse in the blog Papa-parse, the powerful web component for in-browser CSV parsing. As explained in the article, papa-parse is able to manipulate your CSV files in many ways.
In this tutorial, we will show how you can use papa-parse to import the pokemon sheets CSV, then convert it to JSON standard, and finally display that data in vaadin-grid.
Estimated completion time: 20-30 minutes
Tutorial structure:
Step 1: Set up
In this step you will:
-
Install Bower and Polymer CLI
-
Create the working environment
-
Install the dependencies
-
Import the dependencies
Install Bower and Polymer CLI
You can install those two packages with npm. Please note that for the installations to complete, it also requires some prerequisite packages. For best guidance, follow the Polymer CLI install guide and Bower install guide.
Create the working environment
Create a new directory called papa-loves-grid and open that folder:
mkdir papa-loves-grid && cd papa-loves-grid
Then, run this command to create a bower.json file, you can use the default values for all fields:
bower init
Create index.html in the root folder with this following command:
touch index.html
Now your top-level project folder should look like this:
    papa-loves-grids
    ├─bower.json
    └─index.html
Install the dependencies
To install the dependencies, run these commands. The --save and --save-dev flag will make sure bower.json is updated
    bower install --save vaadin-grid
    bower install --save PolymerVis/papa-parse
    bower install --save-dev vaadin-text-area
You will see an extra folder named bower_components/created, which is the storage of the project dependencies.
Now your bower.json dependencies should look like this:
    "dependencies": {
      "papa-parse": "PolymerVis/papa-parse#^2.0.1",
      "vaadin-grid": "^5.0.4"
    },
    "devDependencies": {
      "vaadin-text-field": "^2.0.1"
    }
Import the dependencies
Use your favorite editor to open index.html. Then, write these lines in the beginning of the file:
These lines will import all the needed components for this project, as well as load the polyfill, in case your browser does not support web components natively.
Step 2: Create a grid
For all of the cases, we will be using the same grid structure, which consists of 6 columns (id, Name, Type 1, Type 2, Generation & Legendary). Hence, we add the grid first, then the next step will be getting the CSV from different locations.
In this step you will:
-
Add a dom-bind template
-
Create a grid with the index column
-
Fill the table
Add a dom-bind template
Dom-bind tag enables Polymer’s binding features, and is only available to templates that are managed by Polymer. Since we want to get the data from one component to another, we need to add the dom-bind template:
    <dom-bind>
      <template>
      </template>
    </dom-bind>
Create a grid with columns
We create a grid with one index column:
    <dom-bind>
      <template>

        <!-- CODE FROM STEP 3 WILL BE INSERTED HERE -->

        <vaadin-grid aria-label="Pokemon Tables" items="[[pokemons]]">

          <vaadin-grid-column flex-grow="0">
            <template class="header">#</template>
            <template>[[index]]</template>
          </vaadin-grid-column>

        </vaadin-grid>

      </template>
    </dom-bind>
You can see that vaadin-grid has an attribute item with the value pokemons. This is the parsed data that we will get from papa-parse.
The flex-grow attribute indicates that this column will not grow more than the originally allocated width. Inside vaadin-grid-column, we see two pairs of template tags. The first one is to declare which part it is (header, row-detail or footer) and its name. The latter is to set the data for that specific column. In this case, index is one of vaadin-grid built-in template variables, which will return the row index.
Fill the table
We are going to fill the rest of the table with more pokemon information. Add these columns after the index column:
    <vaadin-grid-column>
      <template class="header">Name</template>
      <template>[[item.Name]]</template>
    </vaadin-grid-column>

    <vaadin-grid-column>
      <template class="header">Type 1</template>
      <template>[[item.Type1]]</template>
    </vaadin-grid-column>

    <vaadin-grid-column>
      <template class="header">Type 2</template>
      <template>[[item.Type2]]</template>
    </vaadin-grid-column>

    <vaadin-grid-column>
      <template class="header">Generation</template>
      <template>[[item.Generation]]</template>
    </vaadin-grid-column>

    <vaadin-grid-column>
      <template class="header">Legendary</template>
      <template>[[item.Legendary]]</template>
    </vaadin-grid-column>
item.<xyz> is how we can access the object from the parsed array, pokemons.
Step 3: Fetch CSV and convert it to JSON
In this step, you will:
-
Learn to import a CSV file with papa-parse from different sources:
-
Remote source
-
Local storage
-
Raw CSV string
-
-
Run the live demo
Remote source
Copy and paste this code before vaadin-grid:
<papa-parse auto header url="https://rawgit.com/binhbbbb/61616a996afecd6a329bb09db3dbf249/raw/598abf64651b56e40b13219f8dbf08efd541aeee/poke-sheet.csv" rows=""></papa-parse>
Let's look at the attributes:
-
auto: automatically parse the CSV whenever input is updated -
header: output an array of objects, each with keys and value instead of an array of row data. It is extremely important to turn on this flag, otherwise the output data will not be compatible. -
url: the URL of the CSV source -
rows: the output array
Note: auto, header and rows will be used for every case.
Run the live demo
To check the result, we need to run a local web server with this following command:
polymer serve
The windows will show something like this:
    Files in this directory are available under the following URLs
        applications: http://127.0.0.1:8081
        reusable components: http://127.0.0.1:8081/components/papa-loves-grid/
Go to your browser and enter the reusable components link: http://127.0.0.1:8081/components/papa-loves-grid/. Note that the application link won’t work since we have used relative imports for the dependencies.
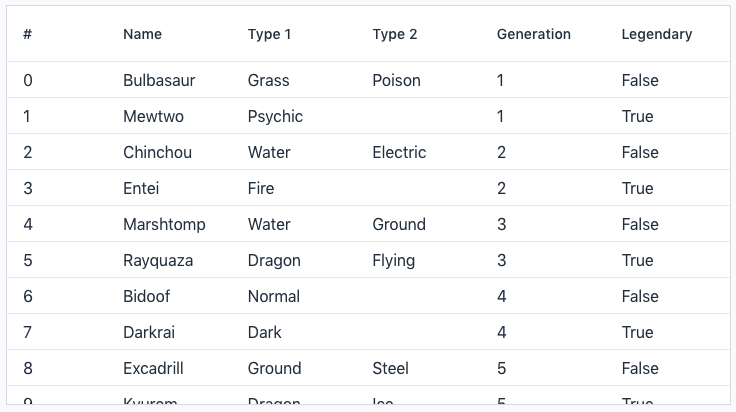
The result:

Local storage
In order to use the local storage, we need to create an input for getting local files. First, let's add the input and papa-parse. Replace the previous one with the following code:
    <input id="selectfile" type="file"></input>
    <papa-parse id="papaparse" auto header file="[[file]]" rows=""></papa-parse>
Then, add this script so that papa-parse knows when you upload a file:
The result:

Raw CSV string
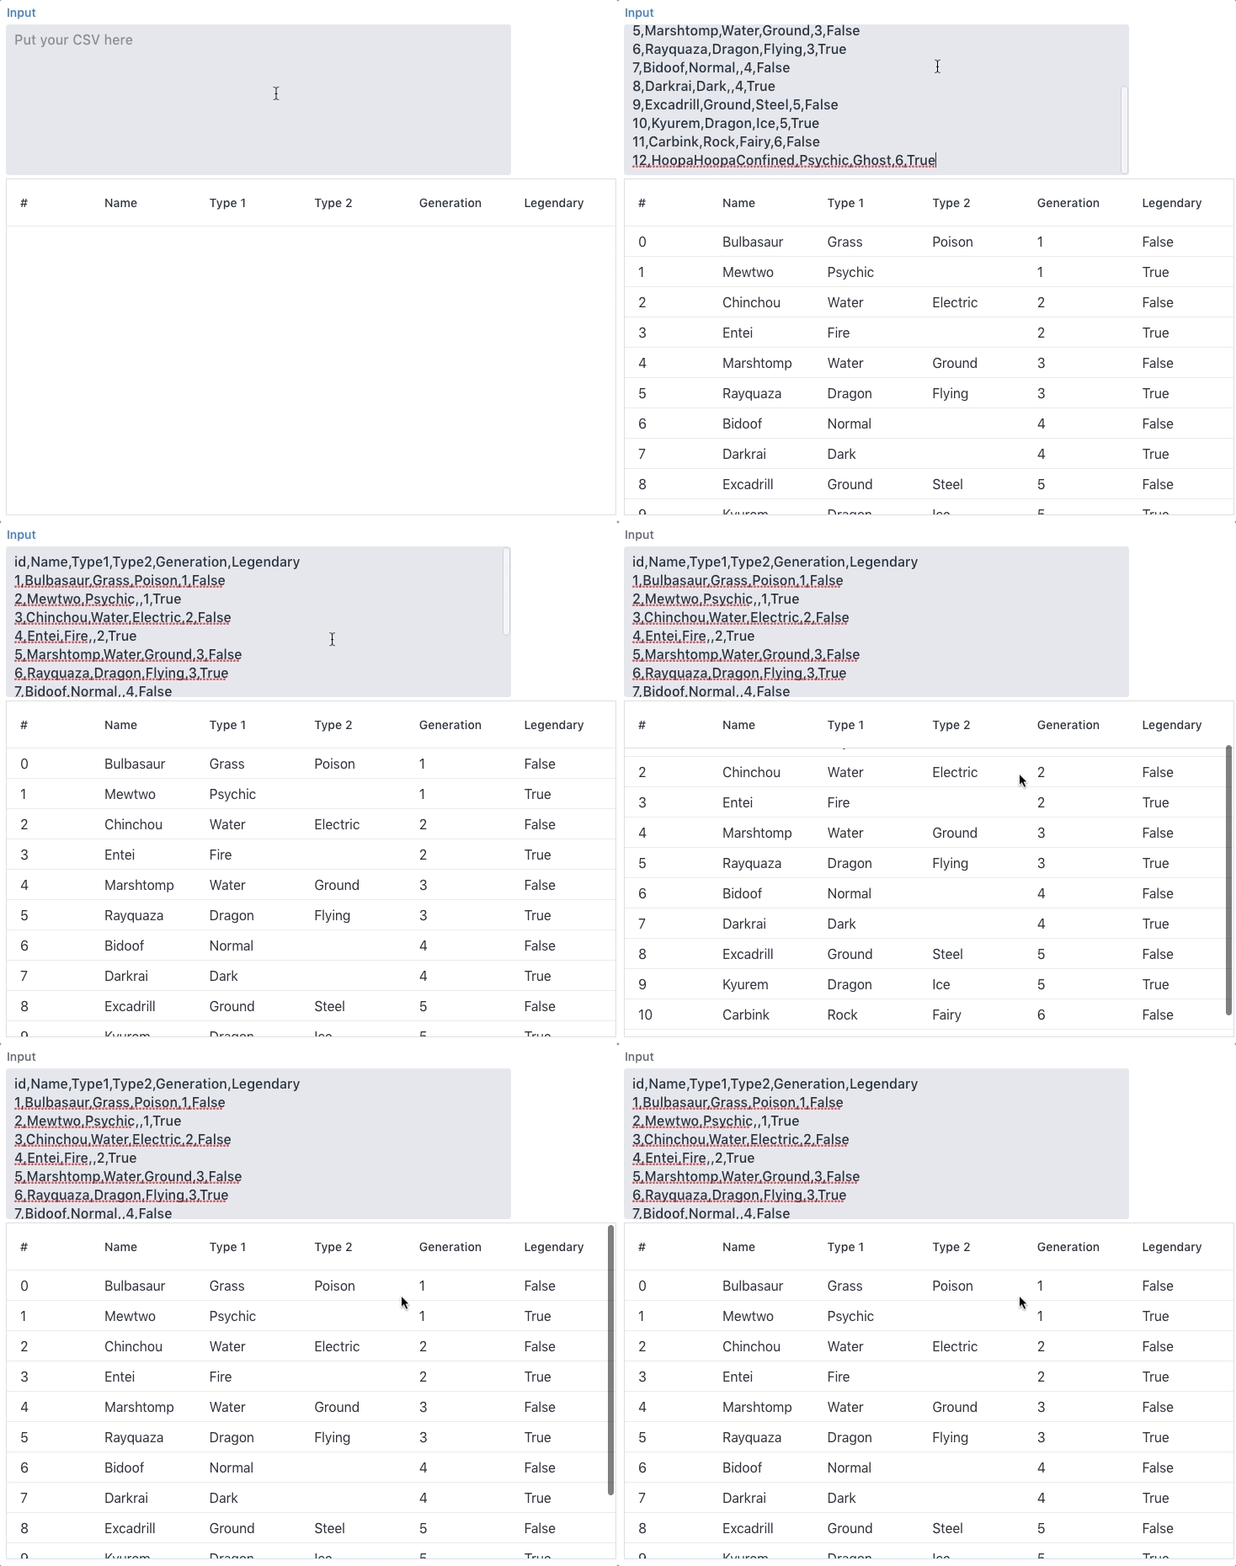
Most of the time you will be working with a thousand line CSV file so parsing raw CSV is not that frequently seen. Nonetheless, papa-parse supports importing raw data. We will use vaadin-text-area for a string input:
    <vaadin-text-area label="Input" placeholder="Put your CSV here" value=></vaadin-text-area>
    <papa-parse id="papaparse" auto header raw="[[rawCSV]]" rows=""></papa-parse>
Some stylings for vaadin-text-area, put these after the imports:
    <style>
      vaadin-text-area {
        height: 200px;
        width: 600px;
      }
    </style>
The result:

Final words
With this tutorial, we hope that you master using papa-parse to integrate CSV with vaadin-grid in your next project. If you were able to complete this tutorial, well done! If not, feel free to ask any question below.
Click here for more awesome web components