
This tutorial shows how you build and submit your progressive web application (PWA) to the Google Play Store. We use the PWA from our Modern Web App tutorial series as an example and wrap it as a Trusted Web Activity (TWA) using the Bubblewrap CLI by Google Chrome Labs. You can find more details about Bubblewrap in their GitHub repository.
| Every PWA submitted to Google Play Store must pass their review process before it is published in the store. |
 PREREQUISITES
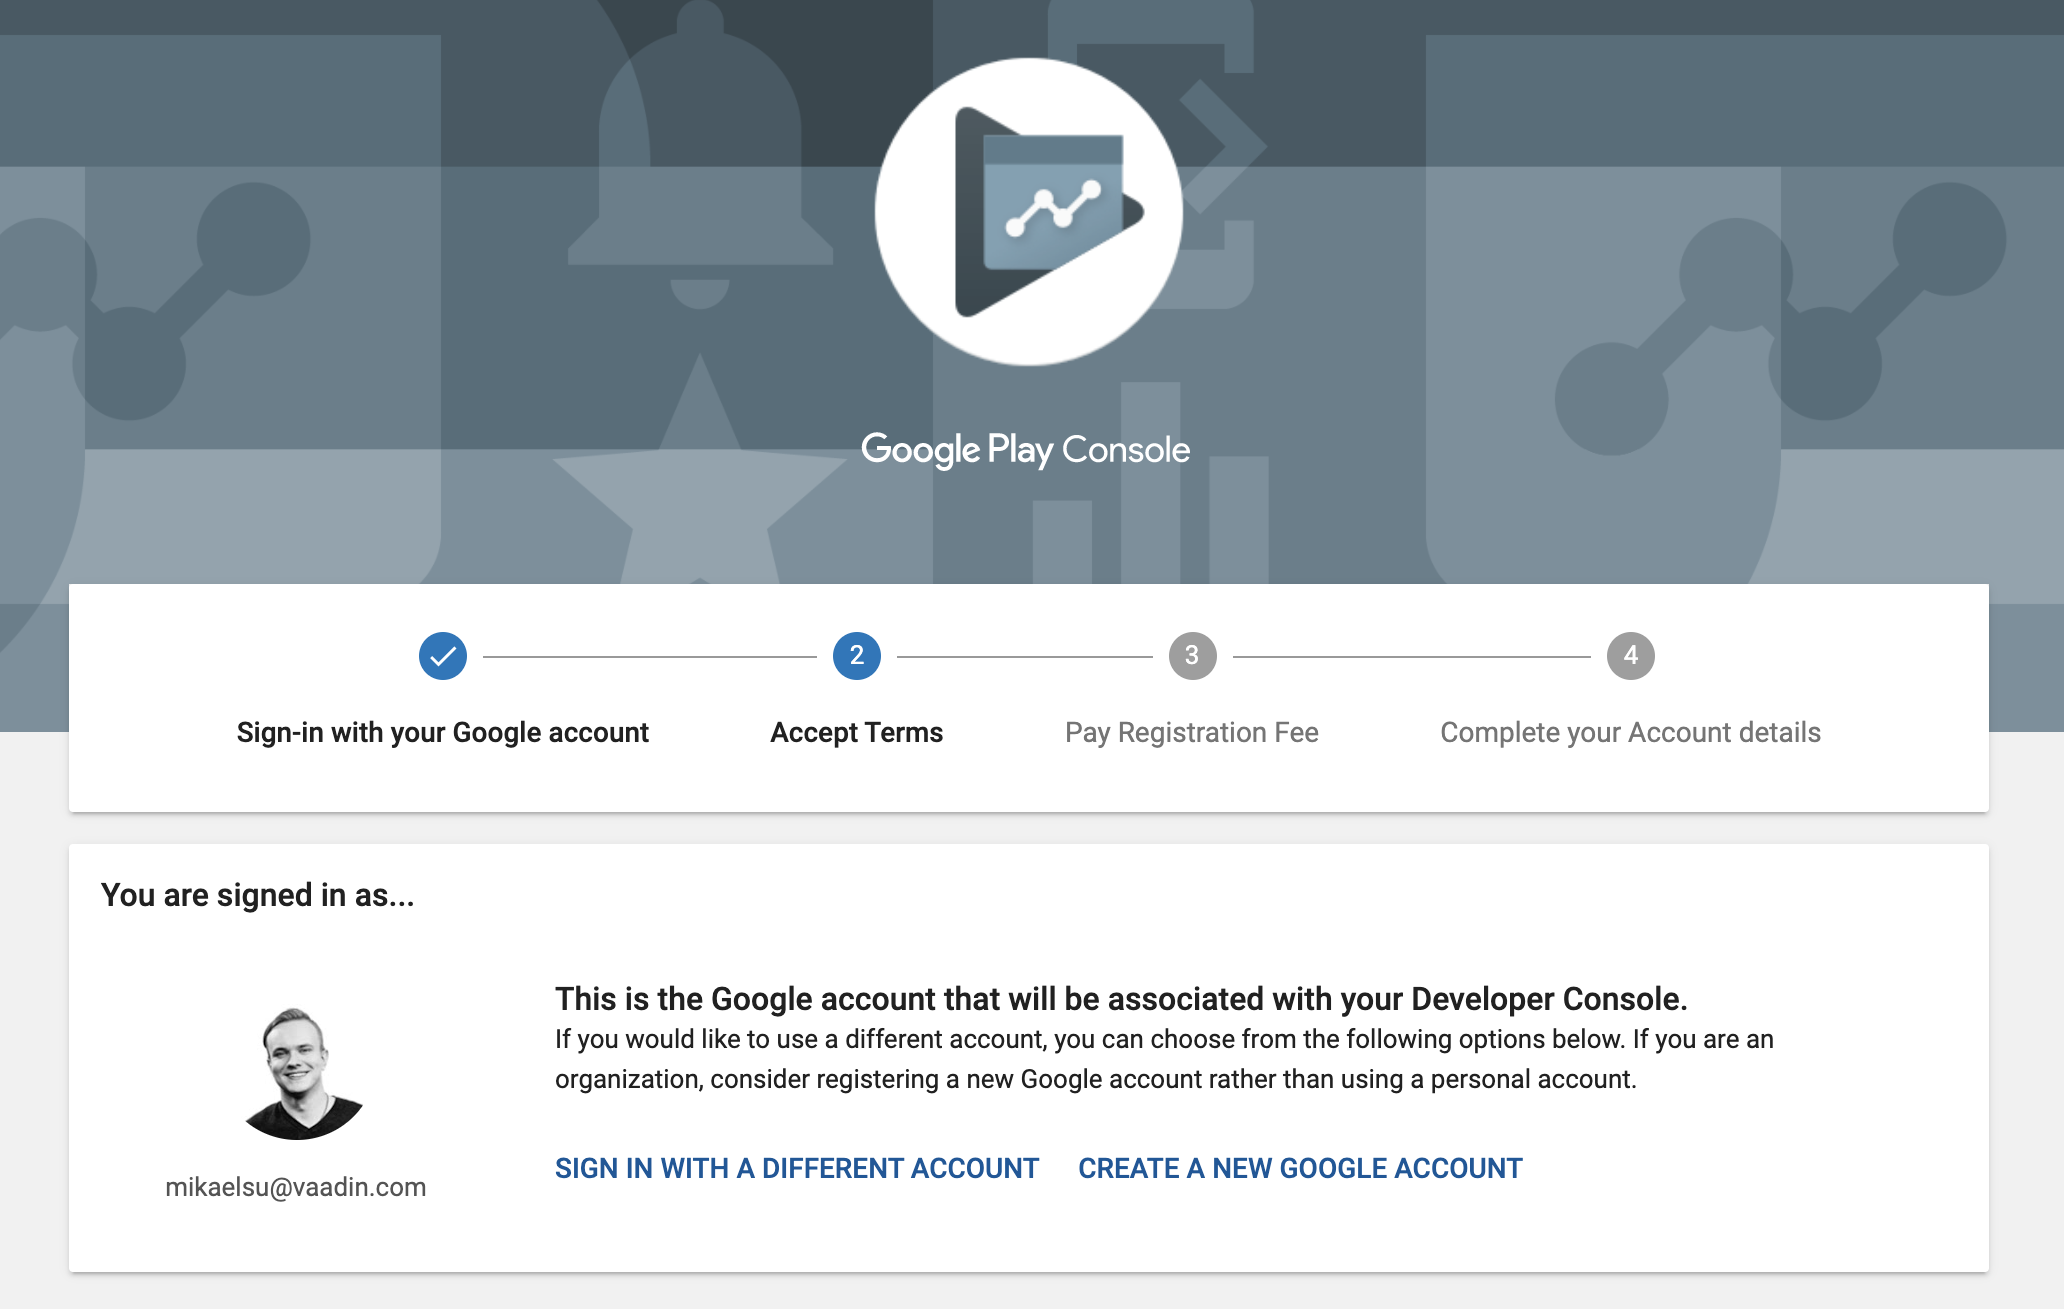
Google accounts
-
Sign up for, or log in to, a Google account.
-
Sign up for a Google Play Developer account.
| There is a one-time $25 sign-up fee for a Google Developer account. |
Graphics
At a minimum, you need the following images to upload your application:
-
High-resolution icon
-
Featured graphic
You can find a full list of requirements, recommendations and guidelines in the Play Console Help documentation.
Tools and software
You need the following software before creating a TWA from your PWA. Install the following tools and make a note of their installation paths for the next step:
-
Android SDK (Windows/Linux/Mac/ChromeOS).
-
Node.js (version 10 or higher).
| Older or newer Java versions may not be compatible with the Bubblewrap CLI. |
A Progressive Web Application
We’ll be using the Bubblewrap CLI to wrap a PWA for deployment to the Google Play Store.
If you don’t have a PWA, we recommend getting started with Vaadin. Our comprehensive tutorial series, and technical documentation make it easy to build your first PWA!
Alternatively, follow one of our framework-independent basic tutorials to turn your existing web app into a PWA.
Install the Bubblewrap CLI
After your have installed Node, JDK 8 and Android SDK, run the npm i -g @bubblewrap/cli command in your terminal to download and install the Bubblewrap CLI:
mikael@MacBook-Pro ~ % npm i -g @bubblewrap/cli

/usr/local/bin/bubblewrap -> /usr/local/lib/node_modules/@bubblewrap/cli/bin/bubblewrap.js
+ @bubblewrap/cli@1.5.0
added 172 packages from 259 contributors in 13.225s
If you already have an older version of Bubblewrap installed, you can update to the latest version using the npm install -g npm command. |
mikael@MacBook-Pro ~ % npm install -g npm
/usr/local/bin/npm -> /usr/local/lib/node_modules/npm/bin/npm-cli.js
/usr/local/bin/npx -> /usr/local/lib/node_modules/npm/bin/npx-cli.js
+ npm@6.14.8
added 17 packages from 3 contributors, removed 18 packages and updated 20 packages in 4.452s
The installer will ask for the installation path for the Java 8 JDK and Android SDK. Enter the installation directory path you noted in the previous step:
? Path to the JDK: /Library/Java/JavaVirtualMachines/adoptopenjdk-8.jdk
? Path to the Android SDK: /usr/local/lib/node_modules/@bubblewrap/cli/node_modu
les/@bubblewrap/core/dist/lib/androidSdk
Initializing application from Web Manifest:
	-  /Users/mikael/Downloads/pwa-tutorial-basic-master/manifest.json
Convert your PWA to a TWA
Initialize Bubblewrap by running the bubblewrap init --manifest=https://COMPLETE URL/manifest.json command. Replace COMPLETE_URL with the URL link of your PWA. The example below is running an app on a local HTTP server:
mikael@MacBook-Pro ~ % bubblewrap init --manifest=http://localhost:5000/manifest.json
,-----.        ,--.  ,--.  ,--.
|  |) /_,--.,--|  |-.|  |-.|  |,---.,--.   ,--,--.--.,--,--.,---.
|  .-.  |  ||  | .-. | .-. |  | .-. |  |.'.|  |  .--' ,-.  | .-. |
|  '--' '  ''  | `-' | `-' |  \   --|   .'.   |  |  \ '-'  | '-' '
`------' `----' `---' `---'`--'`----'--'   '--`--'   `--`--|  |-'
                                                           `--'
Initializing application from Web Manifest:
	-
The Bubblewrap CLI client automatically extracts values from the manifest.json file, but you can configure your application details manually, if you like.
| You can skip the optional details by pressing the Enter key. |
Web app details (1/5)

The application generated by Bubblewrap will open a Progressive Web App when
started from the Android launcher. Please enter the following details about
the PWA:

	- Domain: the domain / origin where the PWA is hosted.
	  Example: example.com

	- URL path: an URL path relative to the root of the origin,
	  opened when the application is started from the home screen.
	  Examples:

		- To open https://example.com/: /
		- To open https://example.com/path-to-pwa/: /path-to-pwa/

? Domain: .
? URL path: http://localhost:5000/manifest.json

Android app details (2/5)

Please, enter details regarding how the Android app will look when installed
into a device:

	- Application name: the name used in most places,
	  including the App information screen and on the Play Store.

	- Short name: an alternate name for the app, limited to
	  12 characters, used on a device launch screen.

	- Application ID: also known as Package Name, this is
	  the unique identifier for the application on an Android device or
	  the Play Store. The name must contain at least two segments,
	  separated by dots, each segment must start with a letter and all
	  characters must be alphanumeric or an underscore (_).

	- Display mode: how the app will be displayed on the
	  device screen when started. The default mode, used by most apps,
	  is standalone. fullscreen causes the device status bar and
	  navigation bars to be removed and is suitable for games or media
	  players. For more information on the status bars and navigation
	  bar on Android, go to:
	   - https://material.io/design/platform-guidance/android-bars.html.

	- Status bar color: sets the status bar color used when the
	  application is in foreground. Example: #7CC0FF

? Application name: vaadin_pwatest
? Short name: vpwa
? Application ID: localhost_5000.twa
? Display mode: standalone
? Status bar color: #2A3443

Launcher icons and splash screen (3/5)

The Android app requires an image for the launcher icon. It also displays a
splash screen while the web content is loading, to avoid displaying a flash of
a blank white page to users.

	- Splash screen color: sets the background colour used for the
	  splash screen. Example: #7CC0FF

	- Icon URL: URL to an image that is at least 512x512px. Used to
	  generate the launcher icon for the application and the image for
	  the splash screen.

	- Maskable Icon URL (Optional): URL to an image that is at least
	  512x512px to be used when generating maskable icons. Maskable
	  icons should look good when their edges are removed by an icon
	  mask. They will be used to display adaptive launcher icons on the
	  Android home screen.

? Splash screen color: #2A3443
? Icon URL: http://localhost:5000/img/icons/icon-512x512.png
? Maskable icon URL:

Optional Features (4/5)

	- Include app shortcuts: This question is only prompted if a
	  'shortcuts' section is available on the input Web Manifest. When
	  answered “yes”, Bubblewrap uses the information to generate
	  shortcuts on the Android app. Read more about app shortcuts at
	  https://web.dev/app-shortcuts/.

	- Monochrome icon URL: URL to an image that is at least 48x48px to
	  be used when generating monochrome icons. Monochrome icons should
	  look good when displayed with a single color, the PWA's
	  theme_color. They will be used for notification icons.

? Monochrome icon URL:
Generate or locate signing keys
You need Android signing keys to deploy to the Play Store. The Bubblewrap CLI client will use an existing key at ./android.keystore, if you already have a key. If you do not, Bubblewrap will prompt you to create new keys:
Signing key information (5/5)

Please, enter information about the key store containing the keys that will be used
to sign the application. If a key store does not exist on the provided path,
Bubblewrap will prompt for the creation of a new keystore.

	- Key store location: The location of the key store in the file
	  system.

	- Key name: The alias used on the key.

Read more about Android signing keys at:
	 https://developer.android.com/studio/publish/app-signing

? Key store location: ./android.keystore
? Key name: android
Saving Config to: ./twa-manifest.json
Generating Android Project.
 >> [████████████████████████████████████████] 100%
Type Y to begin creating signing keys. Fill in the required details and enter separate passwords for the Key Store and the Key. Note the passwords for the next step.
Signing key creation

An existing key store could could not be found at "./android.keystore".

? Do you want to create one now? Yes
? First and Last names (eg: John Doe): Mikael Sukoinen
? Organizational Unit (eg: Engineering Dept): Marketing
? Organization (eg: Company Name): Vaadin
? Country (2 letter code): FI
? Password for the Key Store: ***********************
? Password for the Key: ***************
keytool Signing Key created successfully

Project generated successfully. Build it by running bubblewrap build
Build the APK
Run the bubblewrap build command to build an Android application package (APK) from the project.
mikael@MacBook-Pro ~ % bubblewrap build
,-----.        ,--.  ,--.  ,--.
|  |) /_,--.,--|  |-.|  |-.|  |,---.,--.   ,--,--.--.,--,--.,---.
|  .-.  |  ||  | .-. | .-. |  | .-. |  |.'.|  |  .--' ,-.  | .-. |
|  '--' '  ''  | `-' | `-' |  \   --|   .'.   |  |  \ '-'  | '-' '
`------' `----' `---' `---'`--'`----'--'   '--`--'   `--`--|  |-'
                                                           `--'
Installing Android Build Tools. Please, read and accept the license agreement.
build Installing Build Tools
License android-sdk-license:            ] 10% Computing updates...

Terms and Conditions

This is the Android Software Development Kit License Agreement
Accept the license and terms by pressing Y. Then enter your Key Store password:
Please, enter passwords for the keystore ./android.keystore and alias android.

? Password for the Key Store: ***********************
? Password for the Key: ***************

Building the Android App...
	- Generated Android APK at ./app-release-signed.apk
	- Generated Digital Asset Links file at ./assetlinks.json
This process outputs 2 files:
-
assetlinks.jsonthat validates the domain within a TWA. -
app-release-sgned.apk, an Android application that can be tested on a development device and submitted to the Play Store.
The build command also tests the application with Google’s Lighthouse to validate the build and check for best PWA practises.
Finally, add the assetlinks.json file to your web application’s root directory at .well-known/assetlinks.json.
Run the bubblewrap install command with a development device or Android emulator connected to test your app locally. You can find detailed instructions in the Android Developer documentation. |
Submit to Play Store
You can now sign in to the Google Play Console to submit your packaged PWA. You can find detailed instructions on how to upload and review your application in the Play Console Help documentation.
Source code on GitHub.
Next steps
Congratulations on submitting your application! If you are looking for more information on PWAs, check out our PWA Handbook. If you are new to progressive web app development, I’d recommend our comprehensive tutorial series that takes you through every step from start to deployment of a complete PWA with Vaadin.