
In this tutorial, we learn how to build a reactive chat application. The backend consists of a Spring Boot Application, reactive data types from Project Reactor, and Vaadin for the UI layer.
Downloading the starter project
Start by going to https://vaadin.com/start/latest/project-base-spring. You can leave the group id and name as they are unless you want to change them.
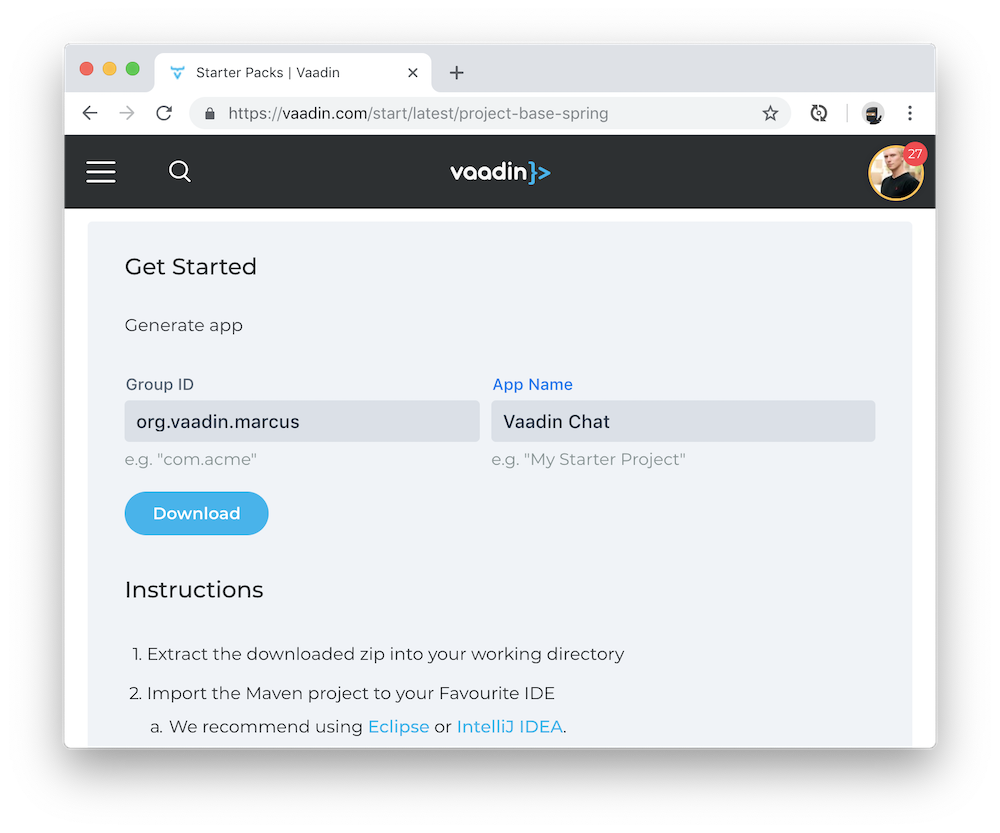
The application is a Maven project that extends the Spring Boot starter project and adds some example Vaadin code.
Once downloaded, unzip the project and open it up in your editor of choice.
Add Project Reactor dependency
Before we can start, we need to add a dependency to Project Reactor for the reactive data types.
In the <dependencies>-section of pom.xml, add the following dependency:
pom.xml
<dependency>
    <groupId>io.projectreactor</groupId>
    <artifactId>reactor-core</artifactId>
</dependency>
Delete unneeded code
Delete MessageBean.java, and clean out all the code from the MainView constructor, so we have a clean slate to start from.
MainVew.java
@Route
@PWA(name = "Vaadin Chat", shortName = "Vaadin Chat")
public class MainView extends VerticalLayout {

  public MainView() {
    // Delete all code from here
  }
}
Set up main layout and header
By default, a VerticalLayout is only as big as the content in it requires. We need to make the main layout full size so that we can put the message input layout all the way at the bottom. We also want to center all the content.
Also, add a header and a class name so we can style it with CSS.
MainVew.java
@CssImport("./styles/styles.css")
public MainView() {
  setSizeFull();
  setDefaultHorizontalComponentAlignment(Alignment.CENTER);
  addClassName("main-view");

  H1 header = new H1("Vaadin Chat");
  header.getElement().getThemeList().add("dark"); (1)

  add(header);
}-
The
darktheme variant will give the heading a dark background and light text.
Then, create a new CSS file for the styles:
frontend/styles/styles.css
.main-view h1 {
  margin: 0;
  padding: 16px;
  width: 100%;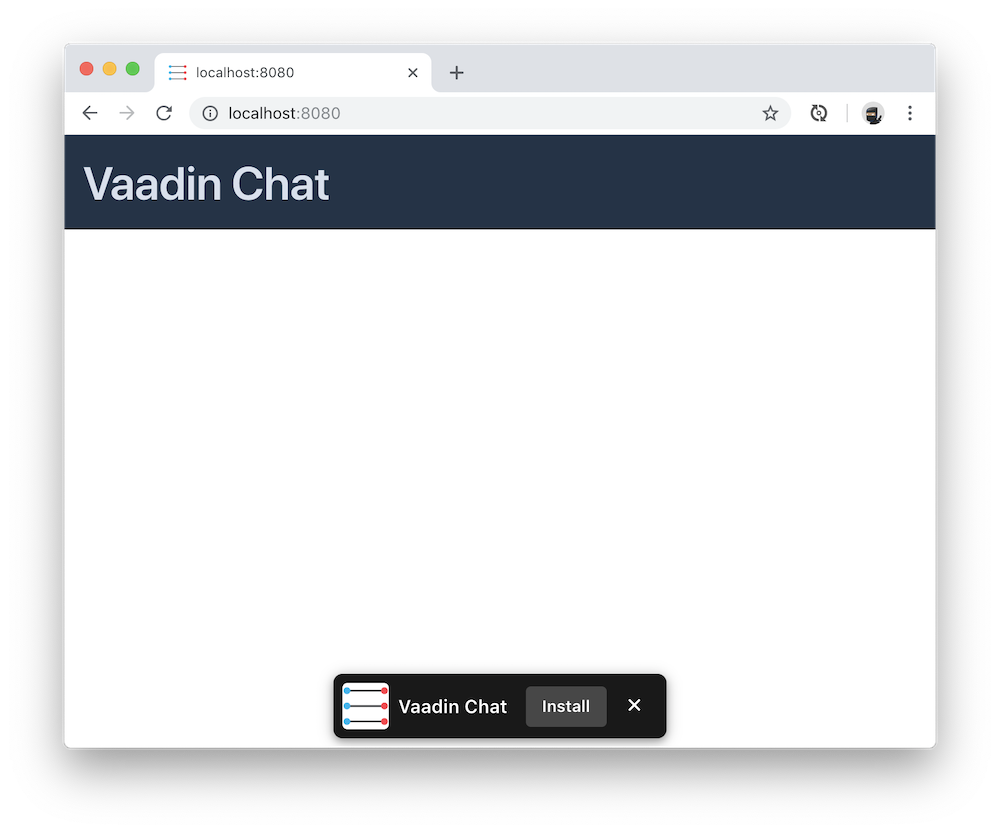
}Run the Spring Boot application. You can do this either by right-clicking on Application.java and selecting "Run," or by running mvn spring-boot:run in the terminal. Spring Boot devtools will monitor for changes as you compile the project.
Open your browser to localhost:8080. You should see the following:
Signing in
With the header in place, the next thing we need is to identify the person that opens the application.
In the MainView constructor, call askUsername() and implement the method underneath.
MainVew.java
public MainView() {
  // omitted
  askUsername();
}

private void askUsername() {
  HorizontalLayout layout = new HorizontalLayout();
  TextField usernameField = new TextField();
  Button startButton = new Button("Start chat");
  layout.add(usernameField, startButton);
  add(layout);
}
Notice that we wrap the text field and button in a HorizontalLayout to place them next to each other. Then, we add that layout to the main VerticalLayout.
Next, add a click listener on the button to collect the username.
MainVew.java
private String username; (1)

private void askUsername() {
  // omitted
  startButton.addClickListener(click -> {
    username = usernameField.getValue();
    remove(layout);
    showChat();
  });
}

private void showChat() {

}-
Define the
usernamefield at the top of the file.
The listener saves the value of the username text field into a field on MainLayout, removes the layout, and finally calls showChat.
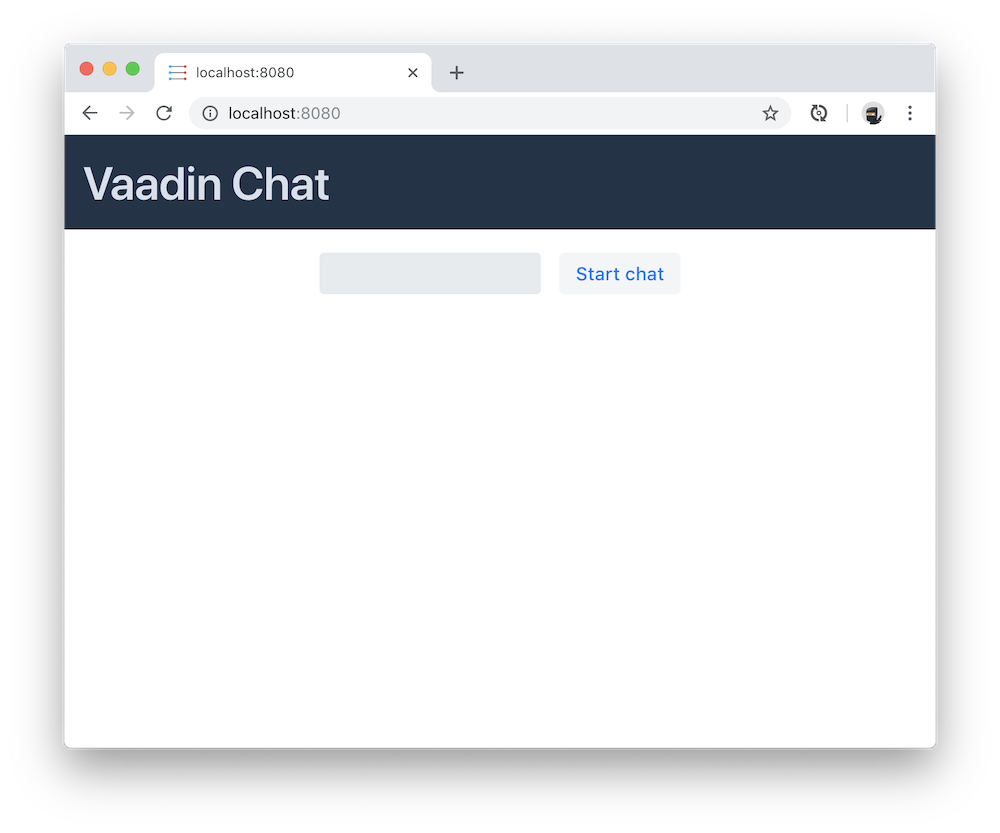
Build the application, and you should now see this in your browser. If you click the button, you should notice the layout disappear.
Build a custom component for the message list
We need to create a custom component to handle the message list. We need it to be able to scroll when the number of messages exceeds the available space. We also want to have the latest message scrolled into view on updates.
MessageList.java
public class MessageList extends Div {

  public MessageList() {
    addClassName("message-list");
  }

  @Override
  public void add(Component... components) {
    super.add(components); (1)

    components[components.length-1]
        .getElement() (2)
        .callFunction("scrollIntoView"); (3)
  }
}-
Let the parent take care of adding the components.
-
Get the last added component and call
getElementto get a handle to its DOM element. -
Use
callFunctionto call the JavaScript functionscrollIntoViewon the element.
Then, add the following to the stylesheet to enable scrolling.
styles.css
.message-list {
    overflow-y: scroll;
    width: 100%;
}

.message-list p {
    width: 100%;
}
Build the main layout
Now that we have a component that can handle a long list of chat messages, we are ready to build the main chat layout.
MainVew.java
private void showChat() {
  MessageList messageList = new MessageList();
  add(messageList, createInputLayout());
}

private Component createInputLayout() {
  HorizontalLayout layout = new HorizontalLayout();

  TextField messageField = new TextField();
  Button sendButton = new Button("Send");
  sendButton.addThemeVariants(ButtonVariant.LUMO_PRIMARY); (1)

  layout.add(messageField, sendButton);
  return layout;
}-
The
LUMO_PRIMARYtheme variant for the button makes it more visually distinct to help users understand its the primary action.
If you build the app and refresh your browser, you should now see this:
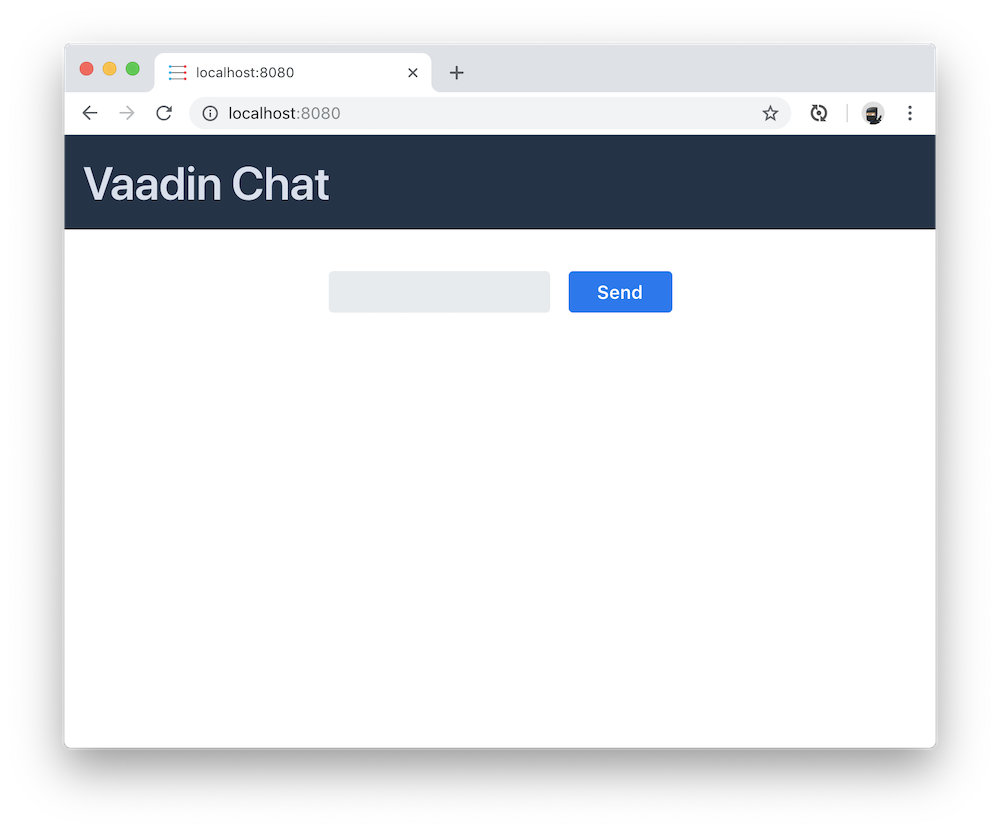
Although we have all the components visible, they still need some tweaking.
Use expand to allocate size between components
Vaadin layouts have an expand method that can be used to instruct it how to allocate space to its children. If you call expand on one component in a layout, it will grow to take up all the space in a layout that is not needed by other components.
MainVew.java
private void showChat() {
// omitted
expand(messageList);
}
private Component createInputLayou() {
// omitted
layout.setWidth("100%");
layout.expand(messageField);
return layout;
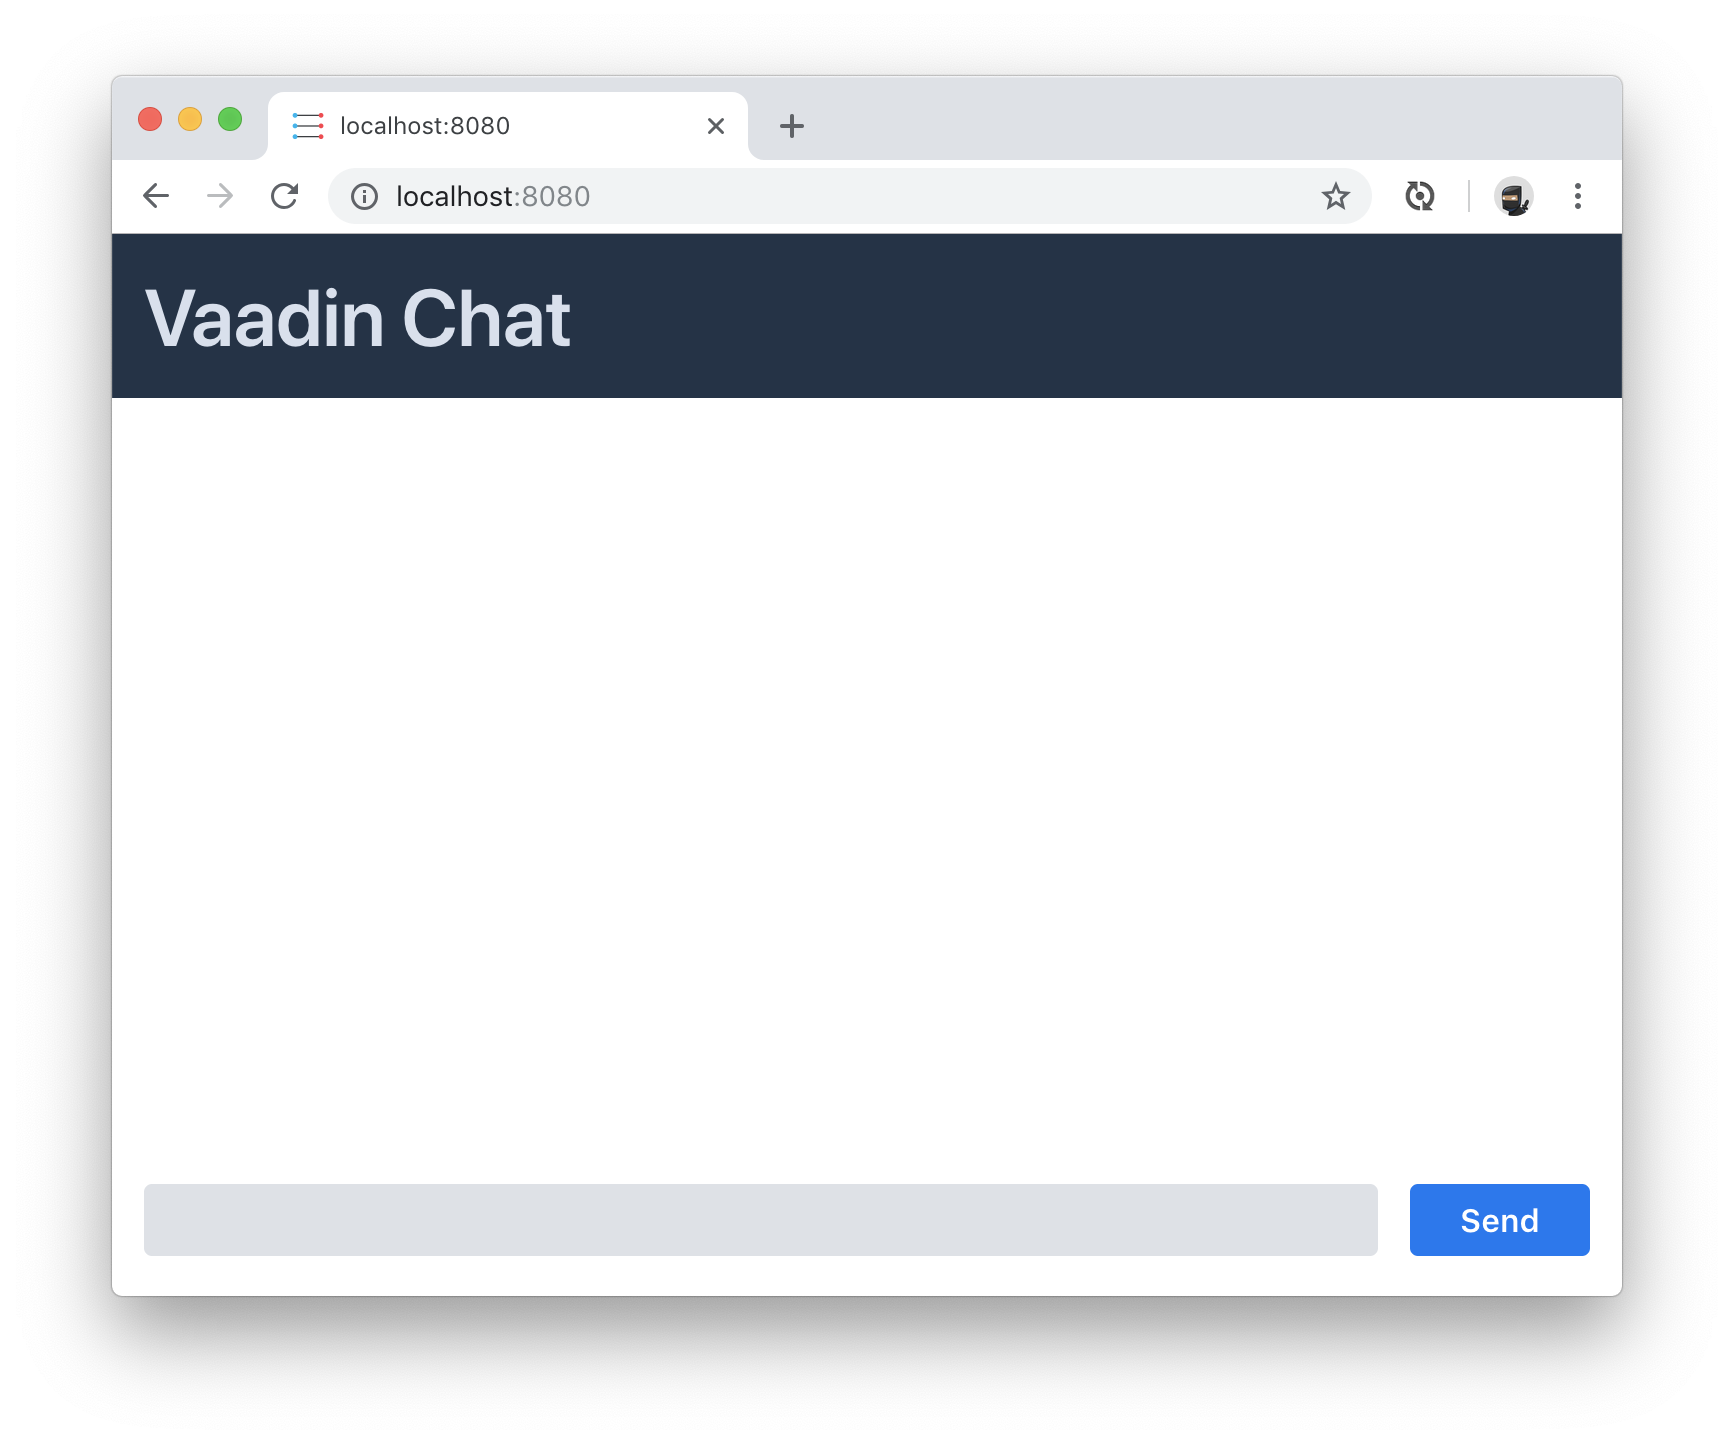
}Build and run the app, and you should now see the correct layout.
Reactive backend for handling the messages
The UI is now built as far as we can build it without having a backend.
Start off by creating a new file, ChatMessage.java, as the data object for a single chat message.
ChatMessage.java
class ChatMessage {
  private String from;
  private String message;

  ChatMessage(String from, String message) {
    this.from = from;
    this.message = message;
  }

  String getFrom() {
    return from;
  }

  String getMessage() {
    return message;
  }
}
Then, open Application and declare two beans:
ChatMessage.java
@Bean
UnicastProcessor<ChatMessage> publisher(){
    return UnicastProcessor.create();
}
@Bean
Flux<ChatMessage> messages(UnicastProcessor<ChatMessage> publisher) {
    return publisher.replay(30).autoConnect();
}
The UnicastProcessor is the central place to which all clients will post their messages.
The Flux listens to that UnicastProcessor, buffering the last 30 messages, and can be subscribed to by all connected clients.
To use these, we need to autowire them into MainView. Modify the constructor to take them as parameters, and bind them to fields.
MainView.java
private final UnicastProcessor<ChatMessage> publisher;
private final Flux<ChatMessage> messages;

public MainView(UnicastProcessor<ChatMessage> publisher,
                Flux<ChatMessage> messages) {
  this.publisher = publisher;
  this.messages = messages;
  //omitted
}
//omitted
We now have all the backend code we need to continue building the UI.
Send messages
Go back into createInputLayout in MainLayout and add a listener to the send button. The listener should create a new ChatMessage object and pass it to producer.onNext.
MainView.java
sendButton.addClickListener(click -> {
  publisher.onNext(new ChatMessage(username, messageField.getValue()));
  messageField.clear();
  messageField.focus();
});
messageField.focus();
In addition to sending the message, clear out and focus the input field so that the user can continue writing their next message without having to clear out the input themselves.
Receive messages
Now that we’re able to send messages, the next step is to listen for incoming messages and displaying them. In the showChat method, subscribe to the messages flux, and append each message to the MessageList component we created earlier.
MainView.java
messages.subscribe(message -> {
  messageList.add(
    new Paragraph(message.getFrom() + ": " +
                  message.getMessage()))
});
Use websockets for two way communication
The final thing we need to take care of is sending messages out to all clients. By default, Vaadin uses XHR requests for communication. This means that by default all interactions are initiated by the browser. In our case, we want the server to be able to push out new messages to all connected clients. We can do this by using a websocket to send and receive messages.
Add a @Push annotation on the MainView class to instruct Vaadin to use a websocket.
MainView.java
@Push
public class MainView extends VerticalLayout {
Then, we need to assure Vaadin that we know what we’re doing when we are updating the UI from an outside thread (messages from other users are triggered outside the normal request-response cycle of the user). We can do this by using the access helper on the main UI class. It takes in a Command and ensures safe concurrent access and that Vaadin updates the changes to the client.
Change the message subscription in the showChat method to the following:
MainView.java
messages.subscribe(message -> {
  getUI().ifPresent(ui -> (1)
      ui.access(() -> (2)
          messageList.add(
              new Paragraph(message.getFrom() + ": " +
                  message.getMessage())
          )
      ));
});-
The UI getter returns an
Optional. It may be empty if the component is not attached at the moment. In our case it will always be attached. -
Pass the message adding logic into the
accessmethod.
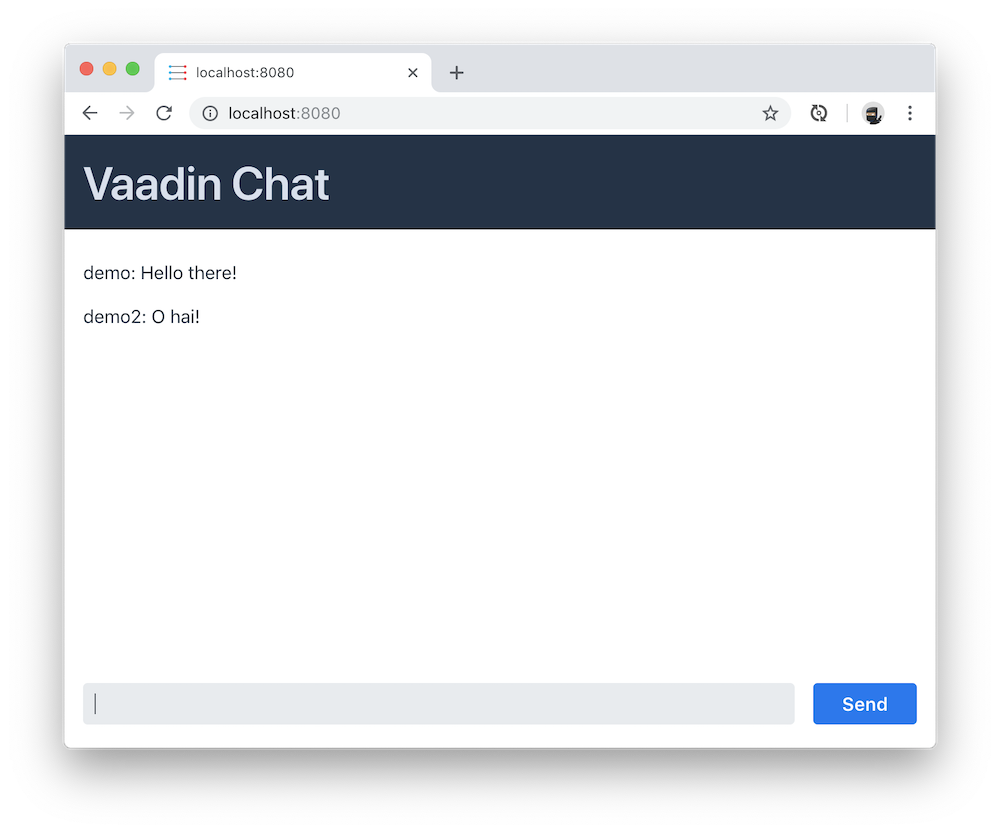
Wrapup
Build the application and refresh your browser. You should now have a working chat application with a reactive backend and web socket support. Open a second window and try chatting with multiple participants.
Source code on GitHub.