
Saving and displaying images is an essential part of many Web applications. A typical use case is to store profile pictures.
There are 2 common methods to store images:
- Storing the image in a folder and saving the path in the database.
- Storing the image (bytes) in the database.
The first method is quite straightforward to implement but causes some extra hassle with authorization, and also deployment. The method described in this tutorial is the second one, which focuses on saving and retrieving images from the database.
Now with distributed native file systems and Content Delivery Networks, the first method is more efficient. However, there are some projects where images need to be saved in a DB, especially in the health sector when the images contain sensitive information.
Storing Image Bytes
The first step is to create the JPA entity where the image will be stored.
In the case of a profile picture, the user entity would be:
@Entity(name = "UserInfo") // "User" is a reserved word in some SQL implementations
public class User extends IdentifiedStorageObject {

    private String name;
    private String surname;
    private String email;

    @Lob
    @Basic(fetch = FetchType.LAZY)
    private byte[] profilePicture;

    ...
}
Note: @javax.persistence.Lob signifies that the annotated field should be represented as BLOB (binary data).
Creating an Image from Bytes
To create an image from bytes, it is necessary to encapsulate the bytes inside a ByteArrayInputStream and create a StreamResource that will be given to the constructor of the image.
public Image generateImage(User user) {
    Long id = user.getId();
    StreamResource sr = new StreamResource("user", () ->  {
        User attached = userRepository.findWithPropertyPictureAttachedById(id);
        return new ByteArrayInputStream(attached.getProfilePicture());
    });
    sr.setContentType("image/png");
    Image image = new Image(sr, "profile-picture");
    return image;
}
Displaying an Image
Once the image is created, attributes such as height and width can be modified. After that, it can be added to a container/layout (Div, Horizontal/Vertical layout) to be displayed.
Image image = generateImage(user);

if (image != null) {
    image.setWidth("75px");
    image.setHeight("75px");
}
Uploading an Image
The initUploaderImage creates an uploader that saves the image in the database and shows the uploaded image inside a container(Div).
private void initUploaderImage() {
    MultiFileMemoryBuffer buffer = new MultiFileMemoryBuffer();
    upload = new Upload(buffer);
    upload.setAcceptedFileTypes("image/jpeg","image/jpg", "image/png", "image/gif");

    upload.addSucceededListener(event -> {
        String attachmentName = event.getFileName();
        try {
            // The image can be jpg png or gif, but we store it always as png file in this example
            BufferedImage inputImage = ImageIO.read(buffer.getInputStream(attachmentName));
            ByteArrayOutputStream pngContent = new ByteArrayOutputStream();
            ImageIO.write(inputImage, "png", pngContent);
            saveProfilePicture(pngContent.toByteArray());
            showImage();
        } catch (IOException e) {
            e.printStackTrace();
        }
    });
    add(upload);
}

private void saveProfilePicture(byte[] imageBytes) {
    user.setProfilePicture(imageBytes);
    user = userRepository.save(user);
}

private void showImage() {
    Image image = imageService.generateImage(user);
    image.setHeight("100%");
    imageContainer.removeAll();
    imageContainer.add(image);
}
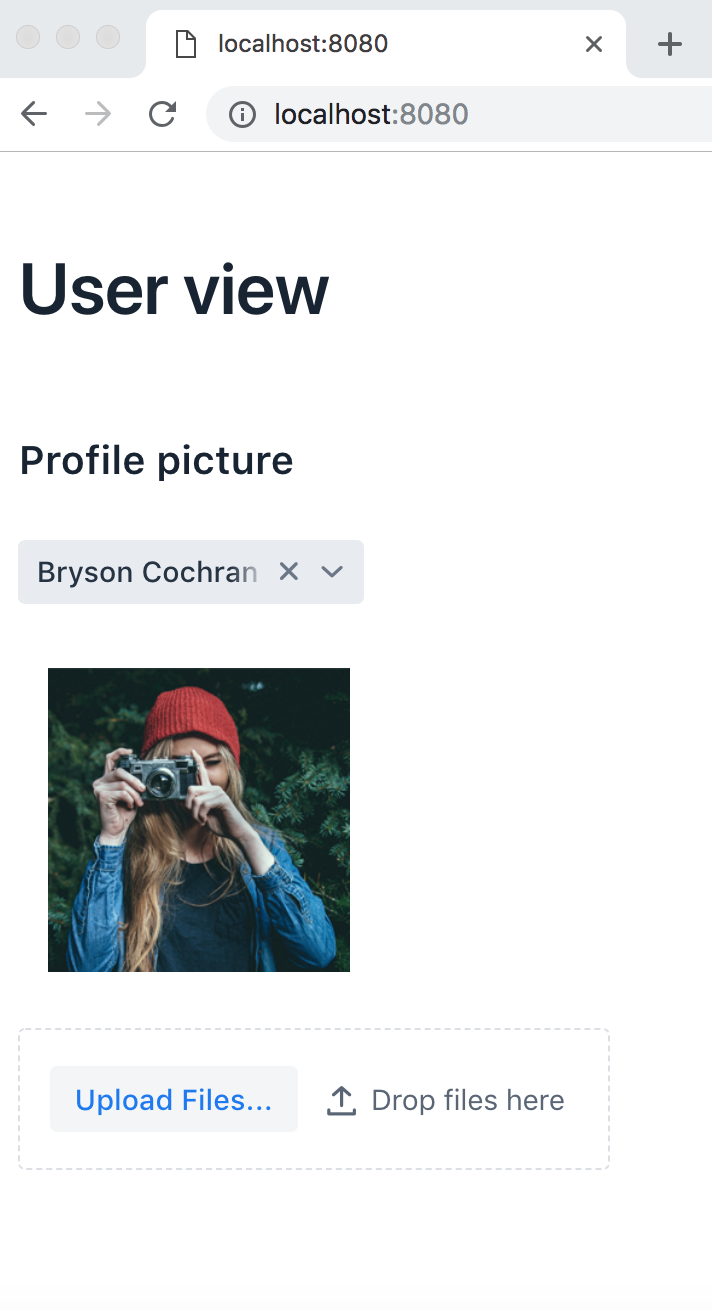
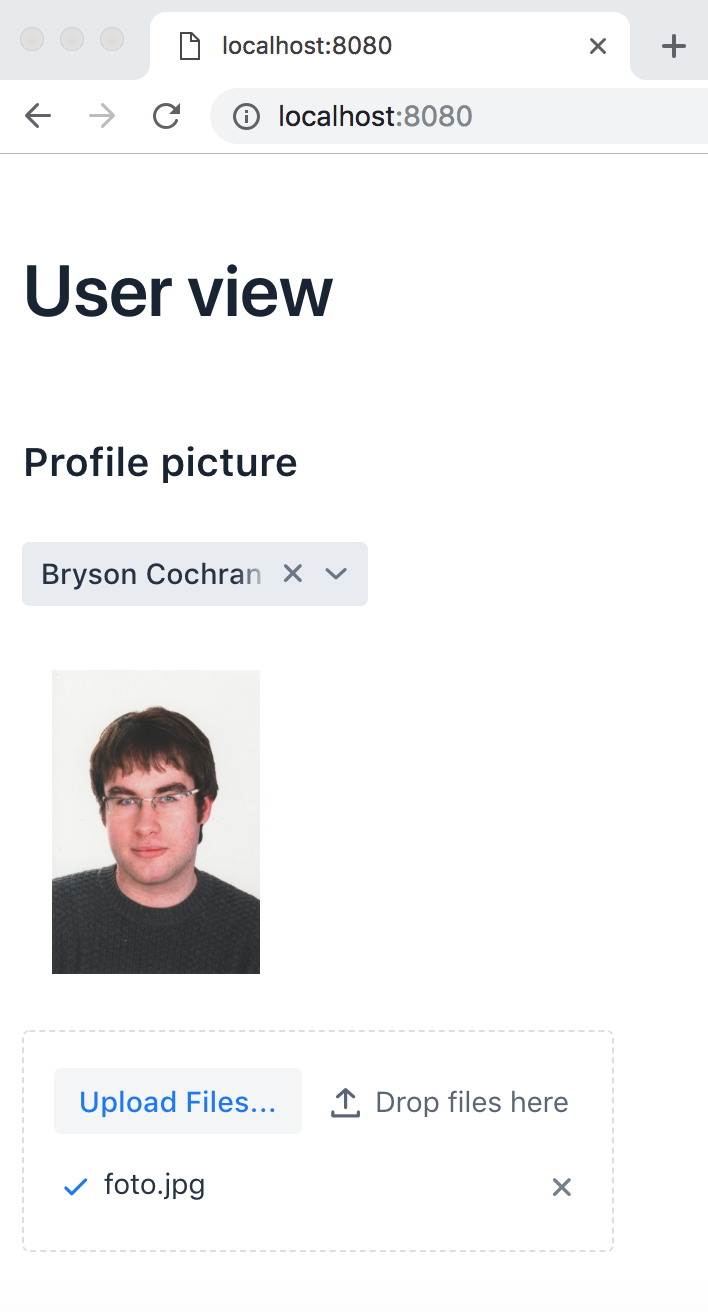
Result
If everything goes well, a new profile picture should be set when the user uploads a new image. The result should be something similar to this:
Code
An example can be found in the following GitHub repository: