
In the previous article of this series, we implemented a Discovery Server to allow microservices to consume other microservices without knowing their exact location. The code is available on GitHub, and you can find the instructions to run the demo application in the first article of this series.
In this article, we’ll learn about externalized configuration, a pattern that allows an application to run in multiple environments (e.g. development, test, production) without any modifications in the application itself.
Why do we need this?
In microservices architectures, systems are split into several services (microservices), each one usually running in a separate process. Each process can be deployed and scaled independently, and this means there may be many instances of the same microservice running at a certain time.
Let’s say you want to modify the configuration for a microservice that has been replicated a hundred times (one hundred processes are running). If the configuration for this microservice is packaged with the microservice itself, you’ll have to redeploy each of the one hundred instances. This can result in some instances using the old configuration, and some using the new one, at some point. Moreover, sometimes microservices use external connections which, for example, require URLs, usernames, and passwords. If you want to update these settings, it would be useful to have this configuration shared across services.
How does it work?
Externalized configuration works by keeping the configuration information in an external store, such as a database, file system, or environment variables. At startup, microservices load the configuration from the external store. During runtime, microservices provide an option to reload the configuration without having to restart the service.
The demo application includes a config-server application that provides configuration data to microservices. The config-server application can be registered with the discovery-server application to allow microservices to discover it without knowing its exact location. The following figure shows the process:

1. The biz-application starts up and asks the discovery-server for the location of the config-server.
2. The discovery-server returns the location of the config-server.
3. The biz-application asks the config-server for the configuration (key/value pairs in configuration files).
4. The config-server reads the current values form the external store which happens to be in a Git repository.
5. The values are returned to the biz-application.
6. The administrator of the application modifies the configuration the files stored in the Git repository and commits the changes.
7. The administrator notifies the biz-application about the change in the configuration and the need to reload it.
Implementing a configuration server with Spring Cloud Config
There are many ways to implement externalized configuration. Netflix’s Archaius and Spring Cloud offer ready-to-use and well-tested solutions. Cloud services such as AWS and Kubernetes offer similar services, as well. The demo application uses Spring Cloud Config which includes both the server and the client part of the equation.
Use the Spring Initializr to create a new Spring Boot application named config-server and include the Eureka Server, Actuator (optional), and Config Server dependencies:

Open up the ConfigServerApplication class and activate the discovery client and the configuration server by using the following annotations:
@SpringBootApplication
@EnableConfigServer
@EnableDiscoveryClient
public class ConfigServerApplication {
   ...
}
Remove the application.properties file and create a new application.yml file with the following content:
server.port: 8001

spring:
 application.name: config-server
 cloud.config.server.git.uri: https://github.com/alejandro-du/vaadin-microservices-demo-config.git

eureka:
 client:
   serviceUrl:
     defaultZone: http://localhost:7001/eureka/
   registryFetchIntervalSeconds: 1
 instance:
   leaseRenewalIntervalInSeconds: 1
This configures the application’s port (8001) and name (config-server), and the URI Spring Cloud Config should use to read the configuration from. We are using a Git repository hosted on GitHub. In this repository, you’ll find the configuration files for all the microservices in the demo application. For example, the admin-application.yml file is used by the admin-application microservice. Alternatively, you can clone the repository and connect to it using the file system. For example, if you clone the repository into your home directory, you can use the following URI:
file://${user.home}/vaadin-microservices-demo-config Git repositories are not the only data source you can use. You can also store the configuration in the file system (without Git), Vault, JDBC-compatible databases, or a combination of these. Keep in mind that the data source should be reliable enough, given its central role in a microservices architecture. The same is true for the configuration server (config-server in the demo application): It must be reliable and highly available. This is usually accomplished by replicating the configuration server itself.
Changing the configuration at runtime
In order to change the configuration, you need to clone the repository. Change to your home directory and run the following:
git clone https://github.com/alejandro-du/vaadin-microservices-demo-config.git
Update the Git URI in the application.yml file of the config-server application:
spring:
  application.name: config-server
  cloud.config.server.git.uri: file://${user.home}/vaadin-microservices-demo-config
Compile and run the application as described in the first article of this series. Make sure you have one instance of each microservice running (for simplicity, keep one and only one instance of each service).
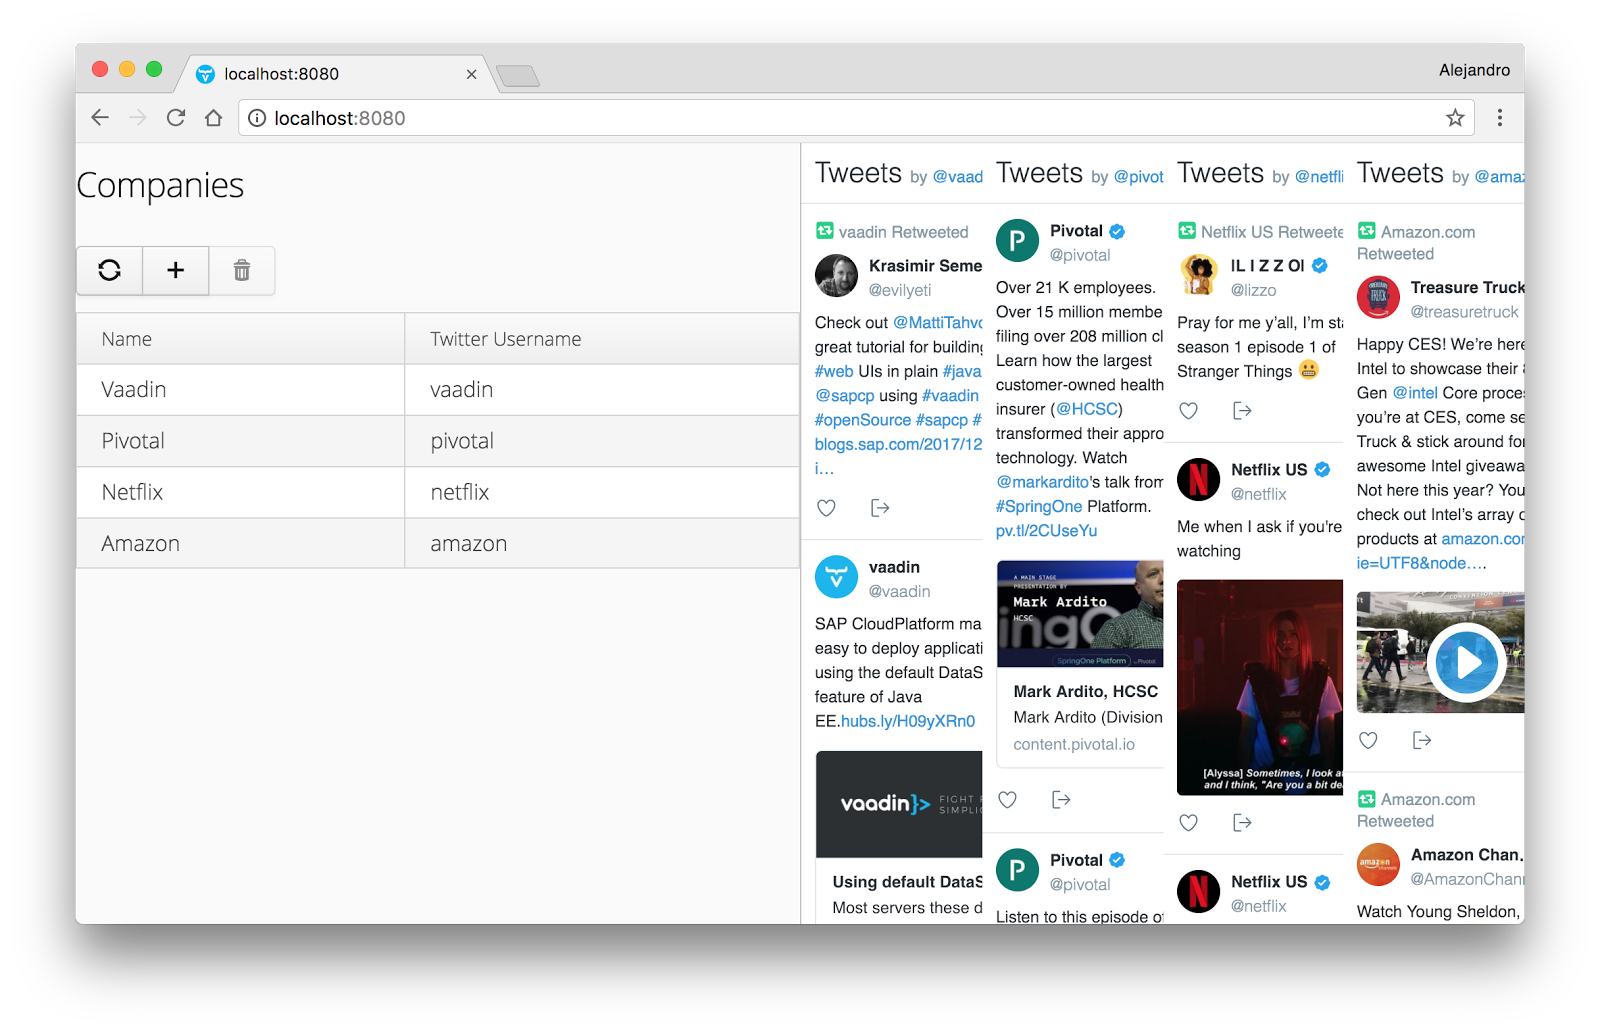
Confirm that the application is running correctly in the browser at http://localhost:8080. Notice the position of the split line dividing the two main parts of the UI. By default, the left part takes 30% of the space on the page:

This can be configured via properties. Let’s assign 50% of the space for each part. Add the following line to the website-application.yml file in the vaadin-microservices-demo-config Git repository:
ui.split.position: 50
Commit the changes by running:
git commit -am "Changed split position"
Confirm that the config-server application sees the change by pointing your browser to http://localhost:8888/website-application/default:

Notify the website-application about the change in the configuration by invoking the refresh endpoint that Spring Actuator and Spring Cloud Config provide. You can do this from the command line by running:
curl -X POST http://localhost:9001/application/refresh
Reload the application at http://localhost:8080 and see the split in the new position:
We’ll continue exploring other microservices and patterns in the next articles of this series.