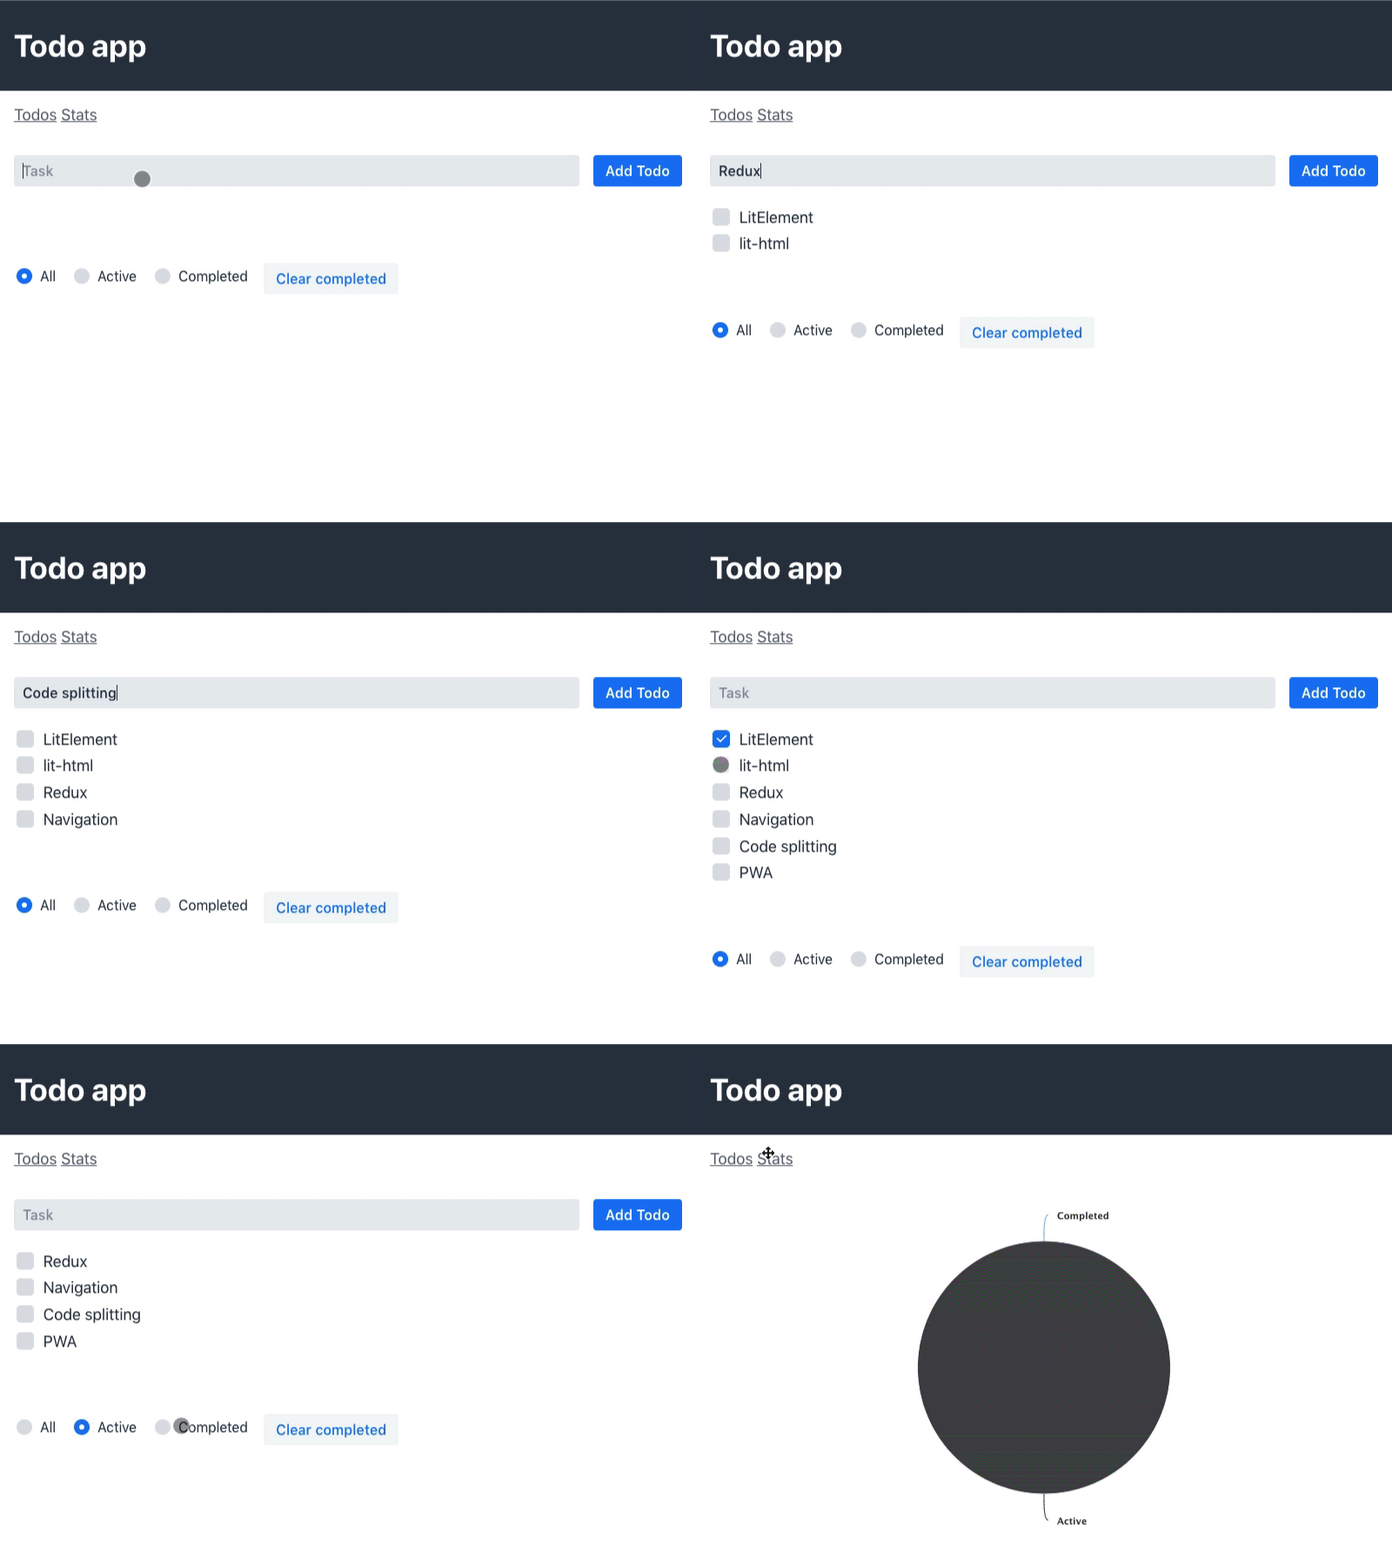
In this tutorial, you'll learn how to build an application using Web Components and LitElement.
The topics we cover are:
-
Starting a LitElement project
-
lit-html templating and events
-
State management with Redux
-
Navigation and code splitting
-
PWA and offline

Video tutorial for this part
Download the LitElement starter
We are using Webpack to serve the application during development and for building the application for production. This tutorial does not cover Webpack configuration. Instead, we start with a pre-configured project skeleton.
Once you have downloaded the starter, unzip it and run:
$ npm install$ npm run devThen start the development server and navigate to http://localhost:8080.
If everything went well, you should see the empty application. You are now ready to get started!

Creating the first component
Start by installing LitElement.
$ npm install --save lit-elementCreate a new folder views in the src folder, and create a file todo-view.js in it. We always name our files the same as their HTML tag names to make it easier to navigate the source.
views/todo-view.js
import { LitElement, html } from 'lit-element'; (1)

class TodoView extends LitElement { (2)
  render() {
    return html` (3)
      <p>todo-view</p>
    `;
  }
}

customElements.define('todo-view', TodoView); //(4)-
Import the
LitElementbase class andhtmltemplate function -
Create a class for the component, extending
LitElement -
Define a template in the
render()function using thehtmltemplate function. -
Associate the component implementation with a HTML tag using the CustomElements registry.
|
Note
|
Tag names need to have a dash (-) to avoid naming collisions with native HTML elements. |
Once we have a component definition, we need to import it to the browser is aware of it. The Webpack configuration takes care of including the JavaScript in our app.
index.js
import './styles.css';
import './views/todo-view.js';
Now we can use the component like any other HTML tag. Let’s add it to the <main> section of the index file.
index.html
...
  <main>
    <todo-view></todo-view>
  </main>
...|
Note
|
Custom elements need to have a closing tag. |
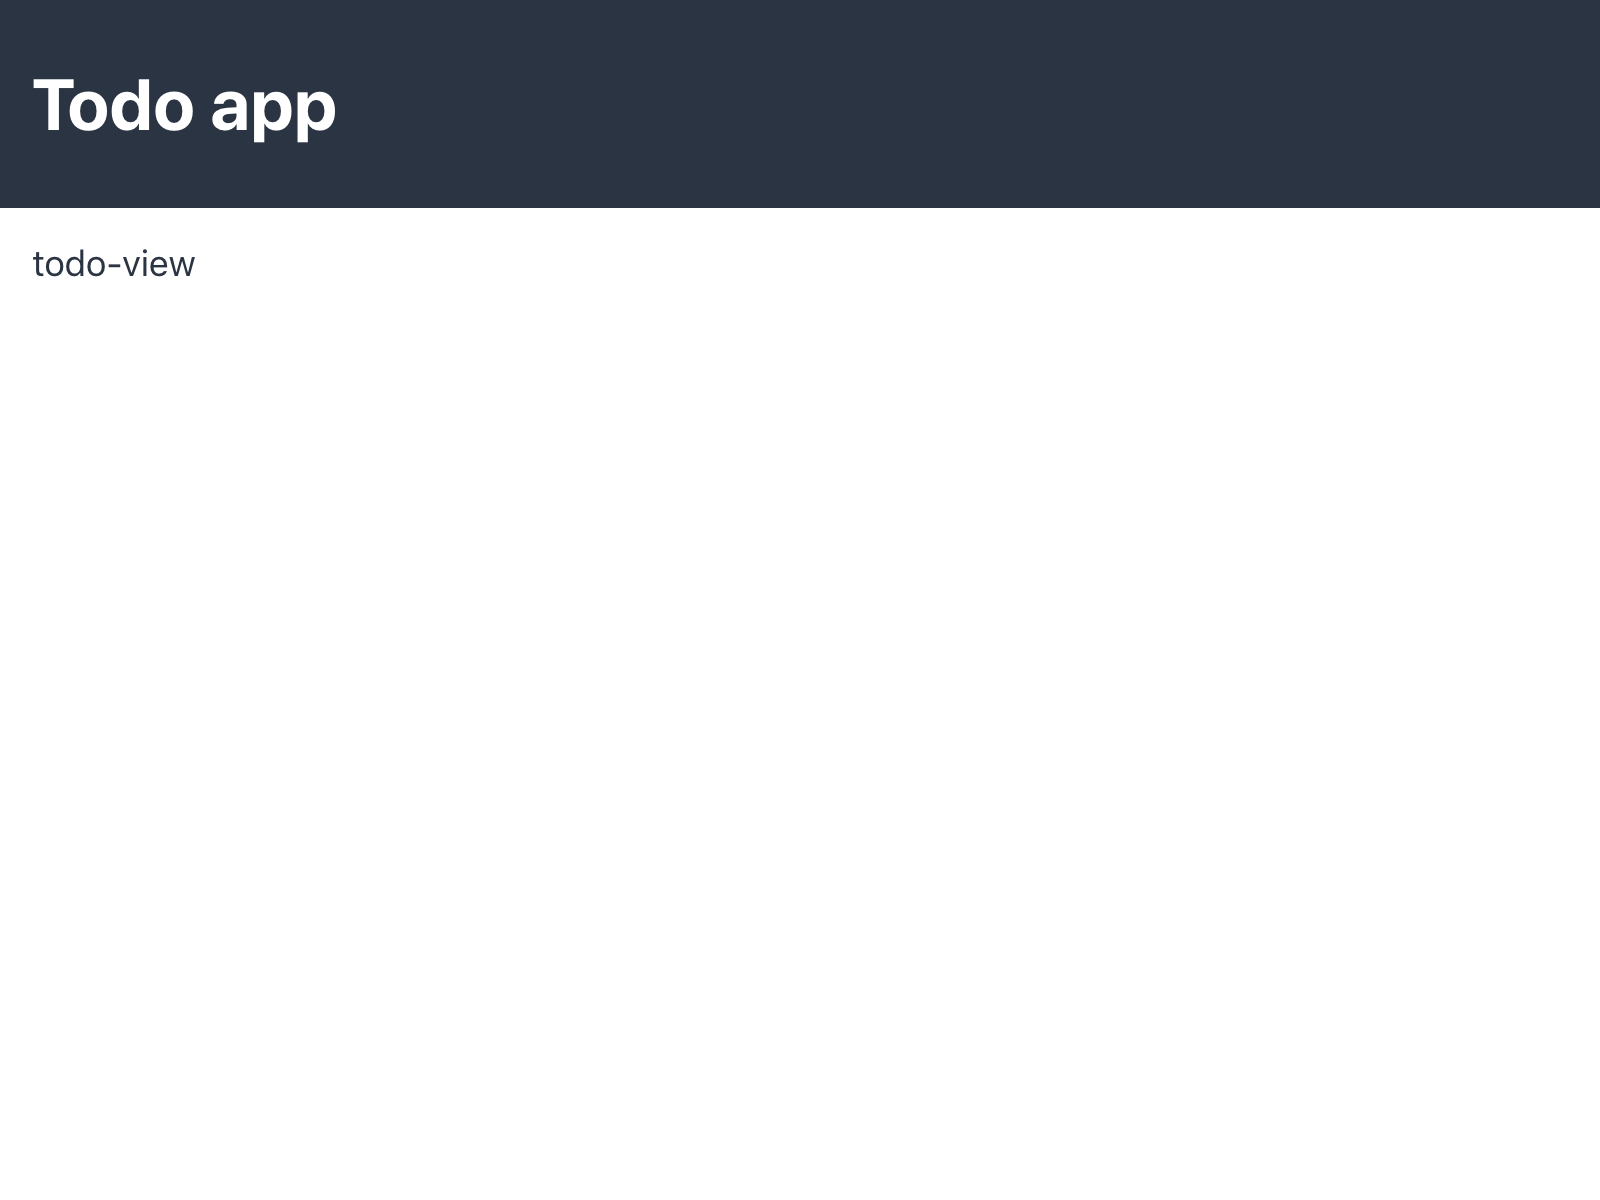
If you still have the development server (npm run dev) running, you should see the new component running:

Next
In the next tutorial, we will implement the todo view.
