
Last updated August 2026.
Java is one of many languages supported by Visual Studio Code (VS Code). Like most things in VS Code, Java support is extension-based. You may need several extensions, depending on the project type and stack you are working with. You can find more detail in Java in Visual Studio Code in the official VS Code documentation.
Fortunately, getting started is simple, and you’ll probably already be familiar with most of the things.
1. Install the “Java Extension Pack”
This installs the most essential extensions for Java support. In many cases, it’s all you need. You can install the pack manually or in response to the automatic prompt that displays when you first open a Java file. For Vaadin projects you want to also install the Vaadin VS Code extension for Hotswap and Spring Boot Tools for Spring bean support.
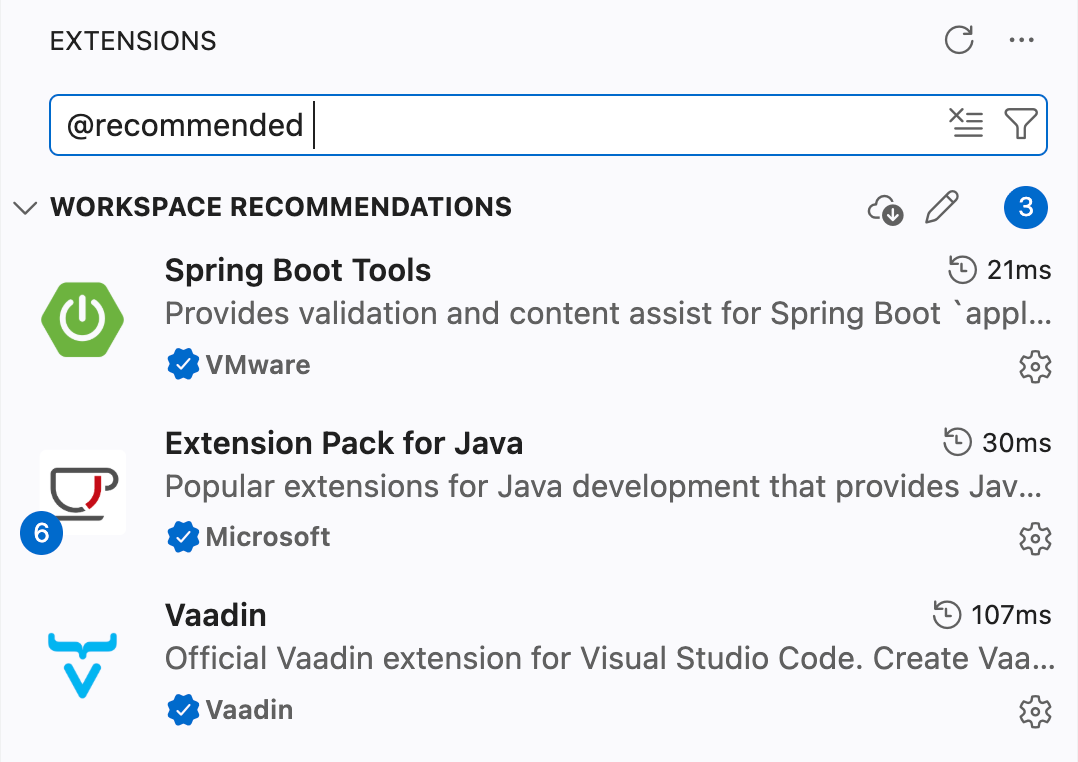
2. Open your project
Download a starter project from start.vaadin.com (or use an existing project), extract it into a folder, and then use Open Folder in VS Code to open the project. By default VS Code opens projects in “Restricted mode”, but in order to edit and build the project you want to open it in trusted mode: 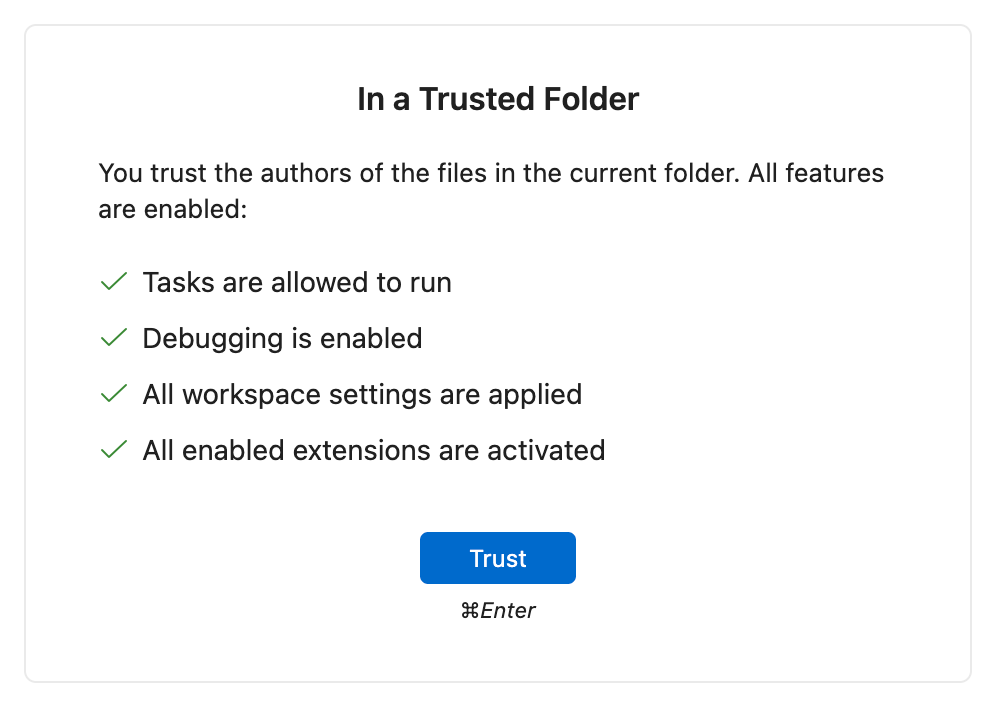
VS Code automatically recognizes that it is a Maven-based Java project. If you did not install the extensions, you would be prompted at this point.
3. Build and run
Your project is now ready to run (and develop). You can use the Java Projects or Maven panels (bottom left) to perform various tasks, such as running the project. You can also open a terminal (select Terminal>New Terminal) and run commands in your project folder.
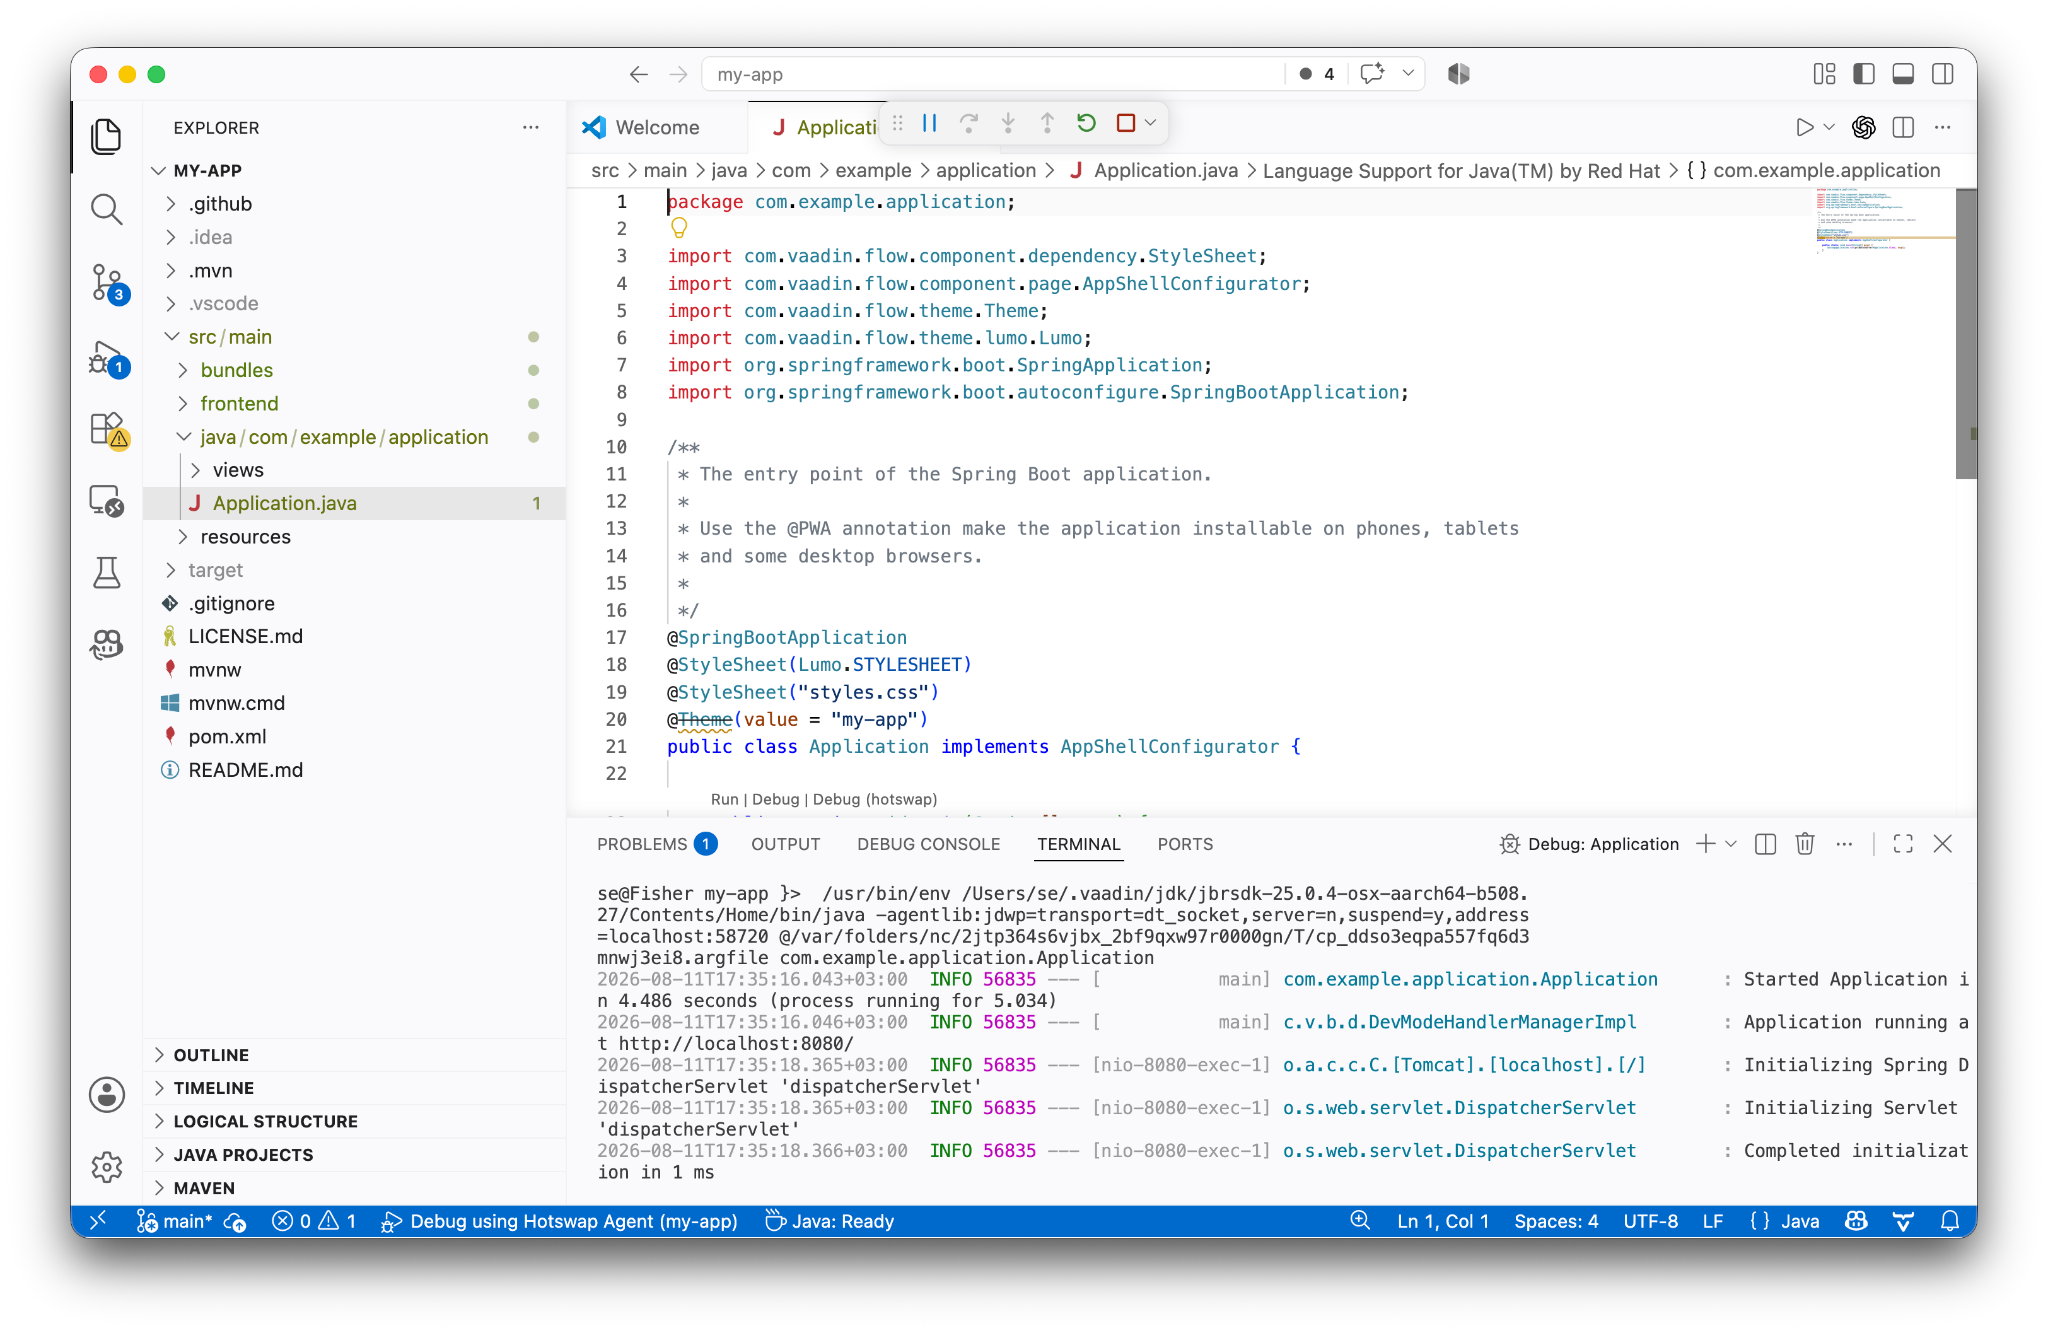
4. Develop
You may find that VS Code works similarly to what you are already used to. For instance, you can hover over a type to see more information; use CTRL/CMD+hover for more, and CTRL/CMD+click to navigate to the type.
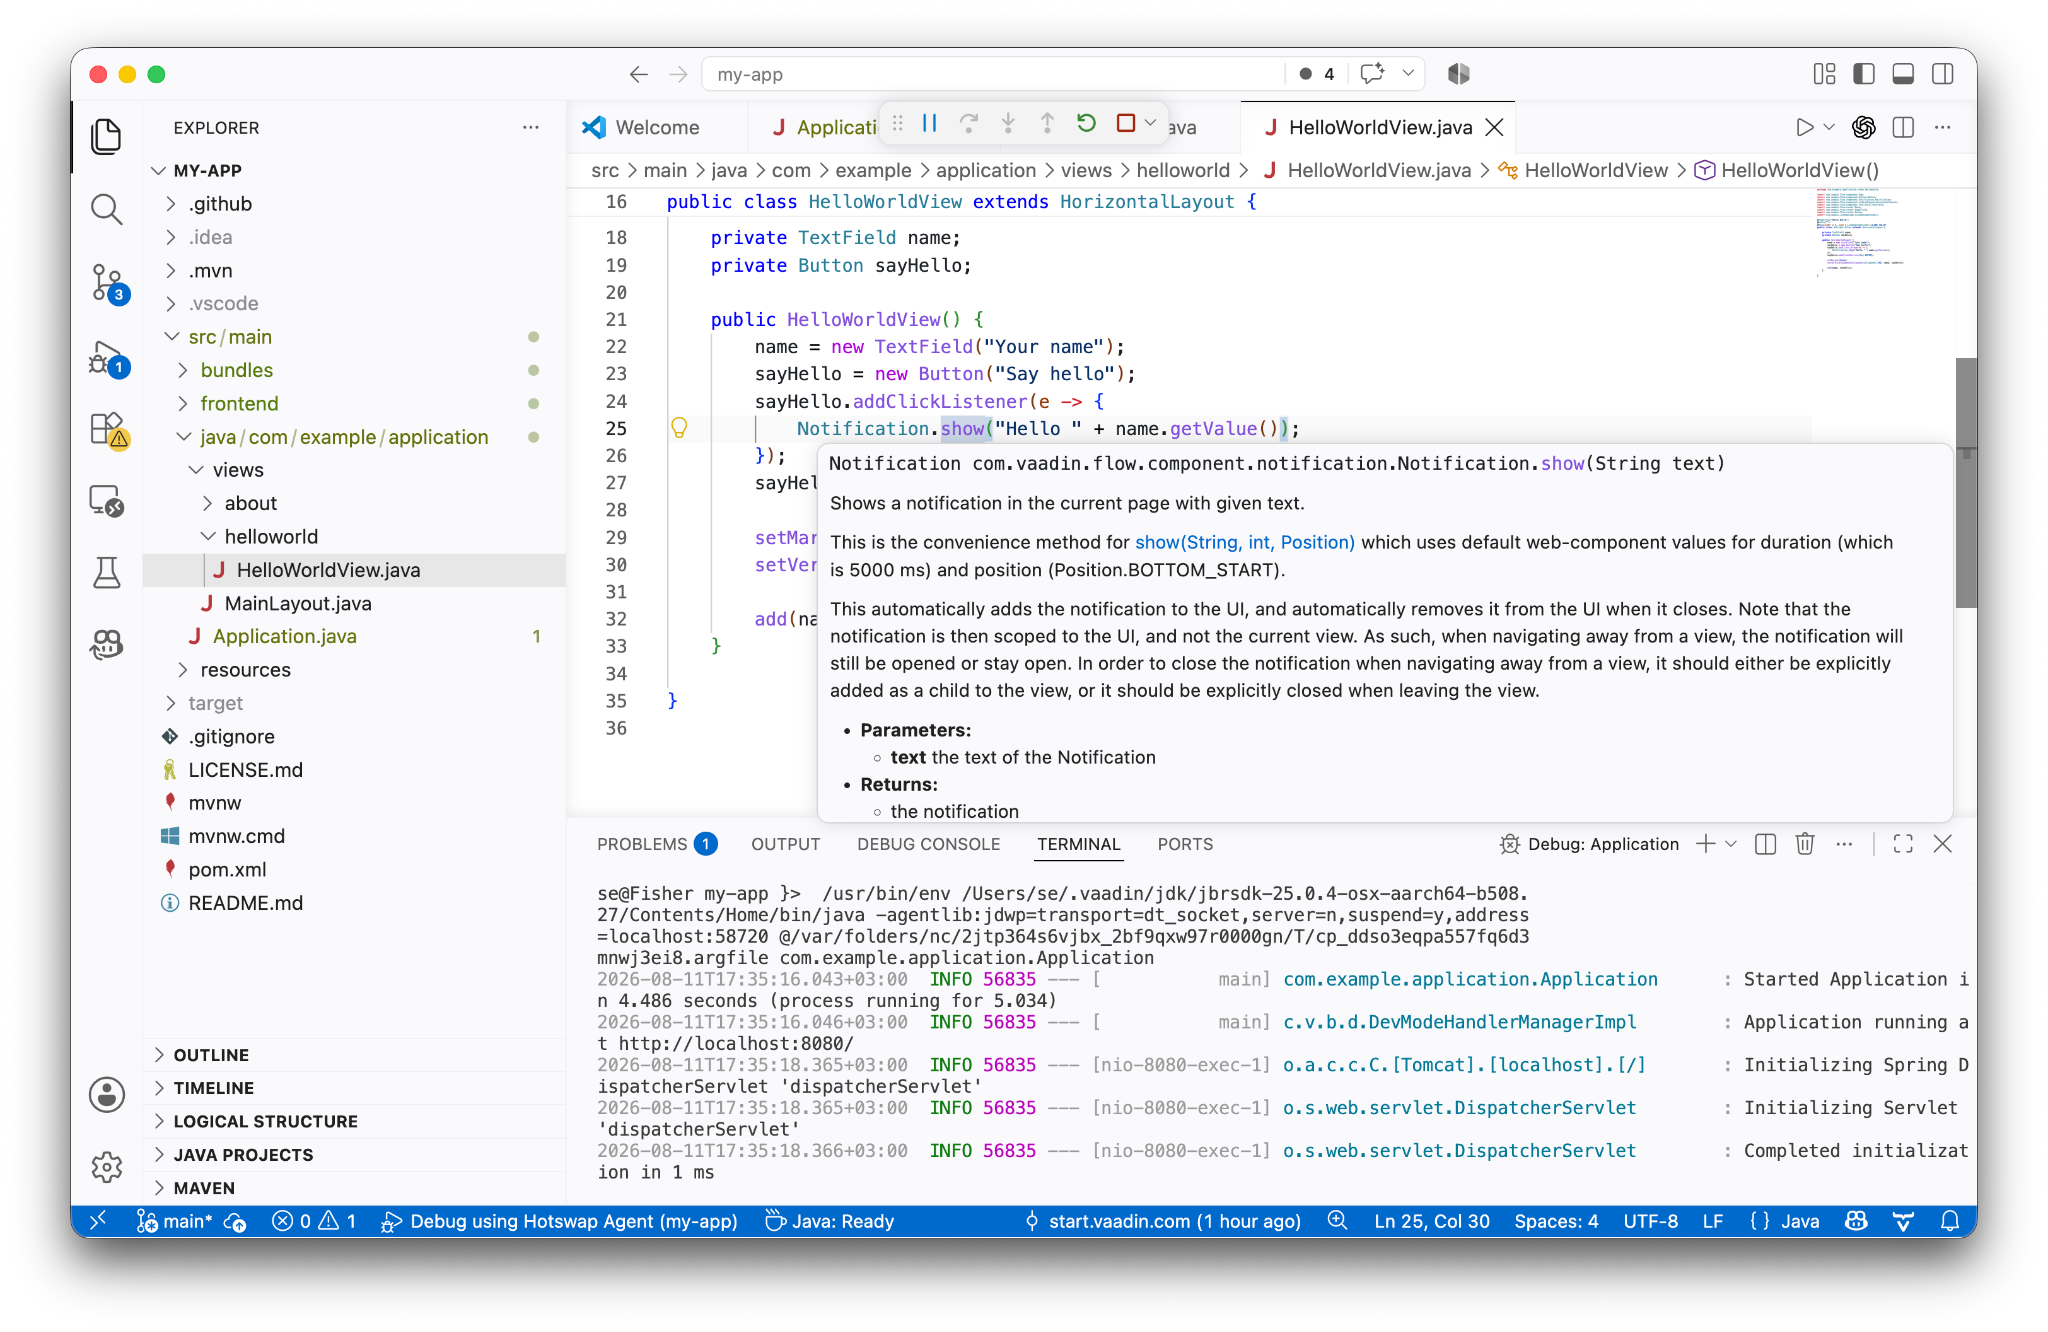
Keybindings
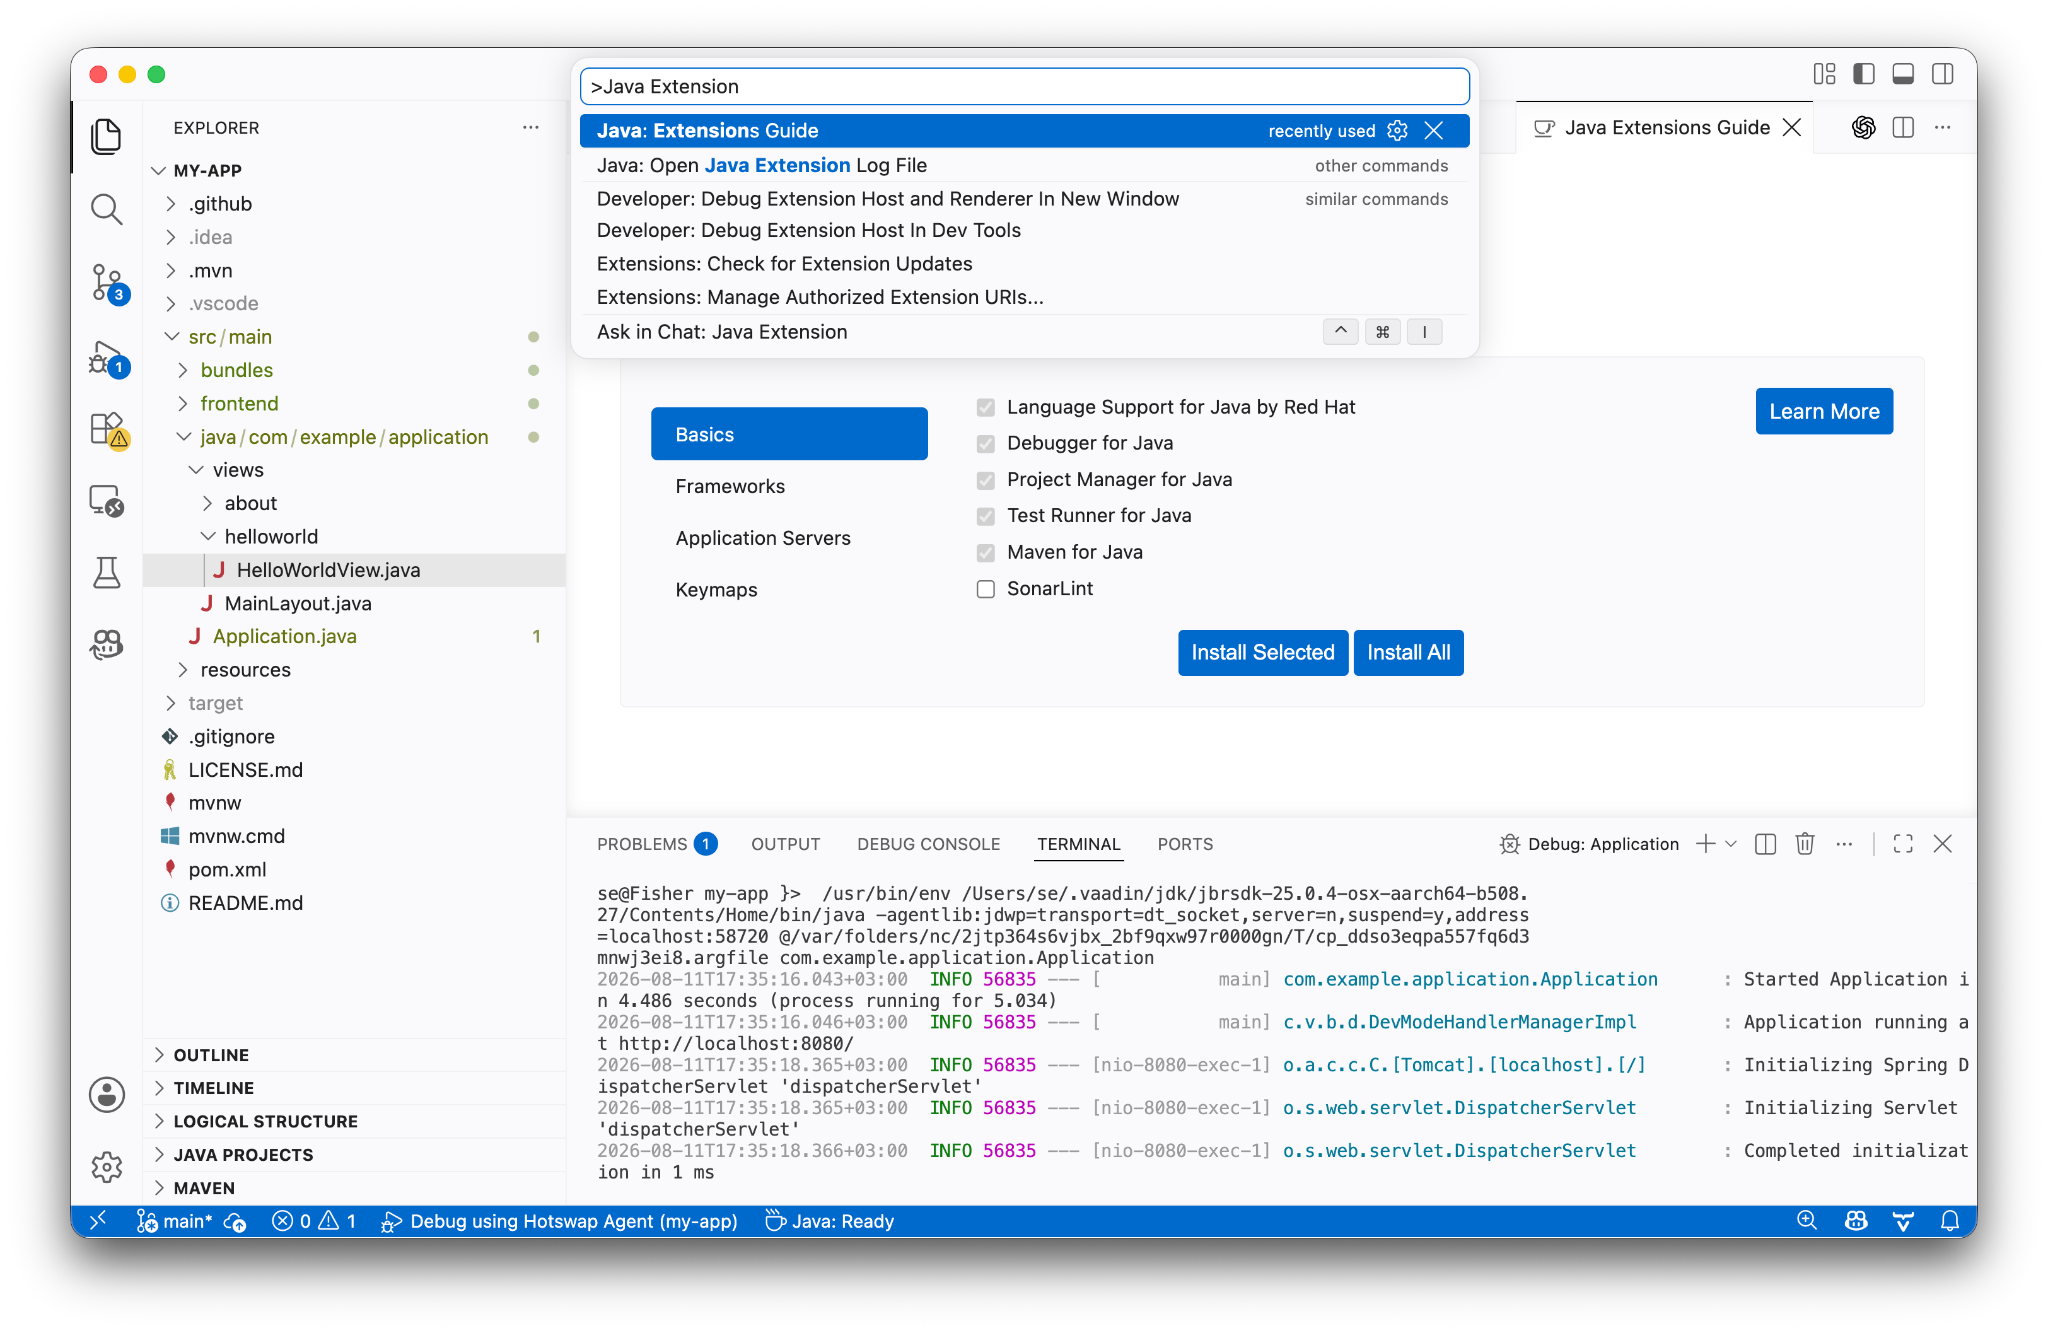
If you are used to IntelliJ or Eclipse and want to avoid learning new keybindings, you can open the “Java Extensions Guide” (CTRL/CMD-SHIFT-P, search for “java extensions”) and take a look at the Keymaps section.
5. Debug
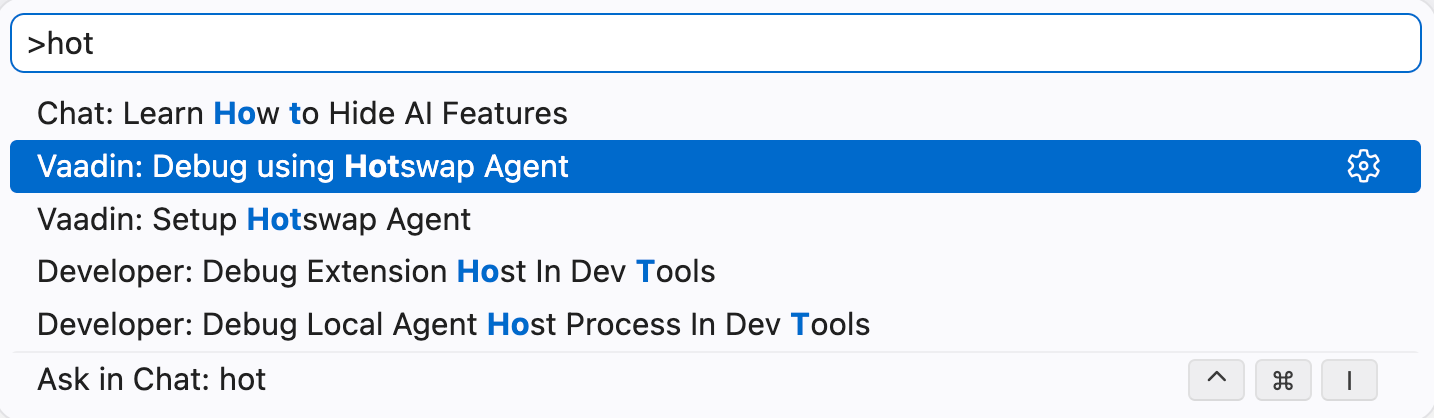
To be most productive, use “Debug using Hotswap” to start debugging. This feature comes with the Vaadin plugin and gives you realtime deployment of your Java code changes without restarting the application. You can also use the basic Java Debug or Run (F5 or ^F5), if you just want to run the app without editing the code.
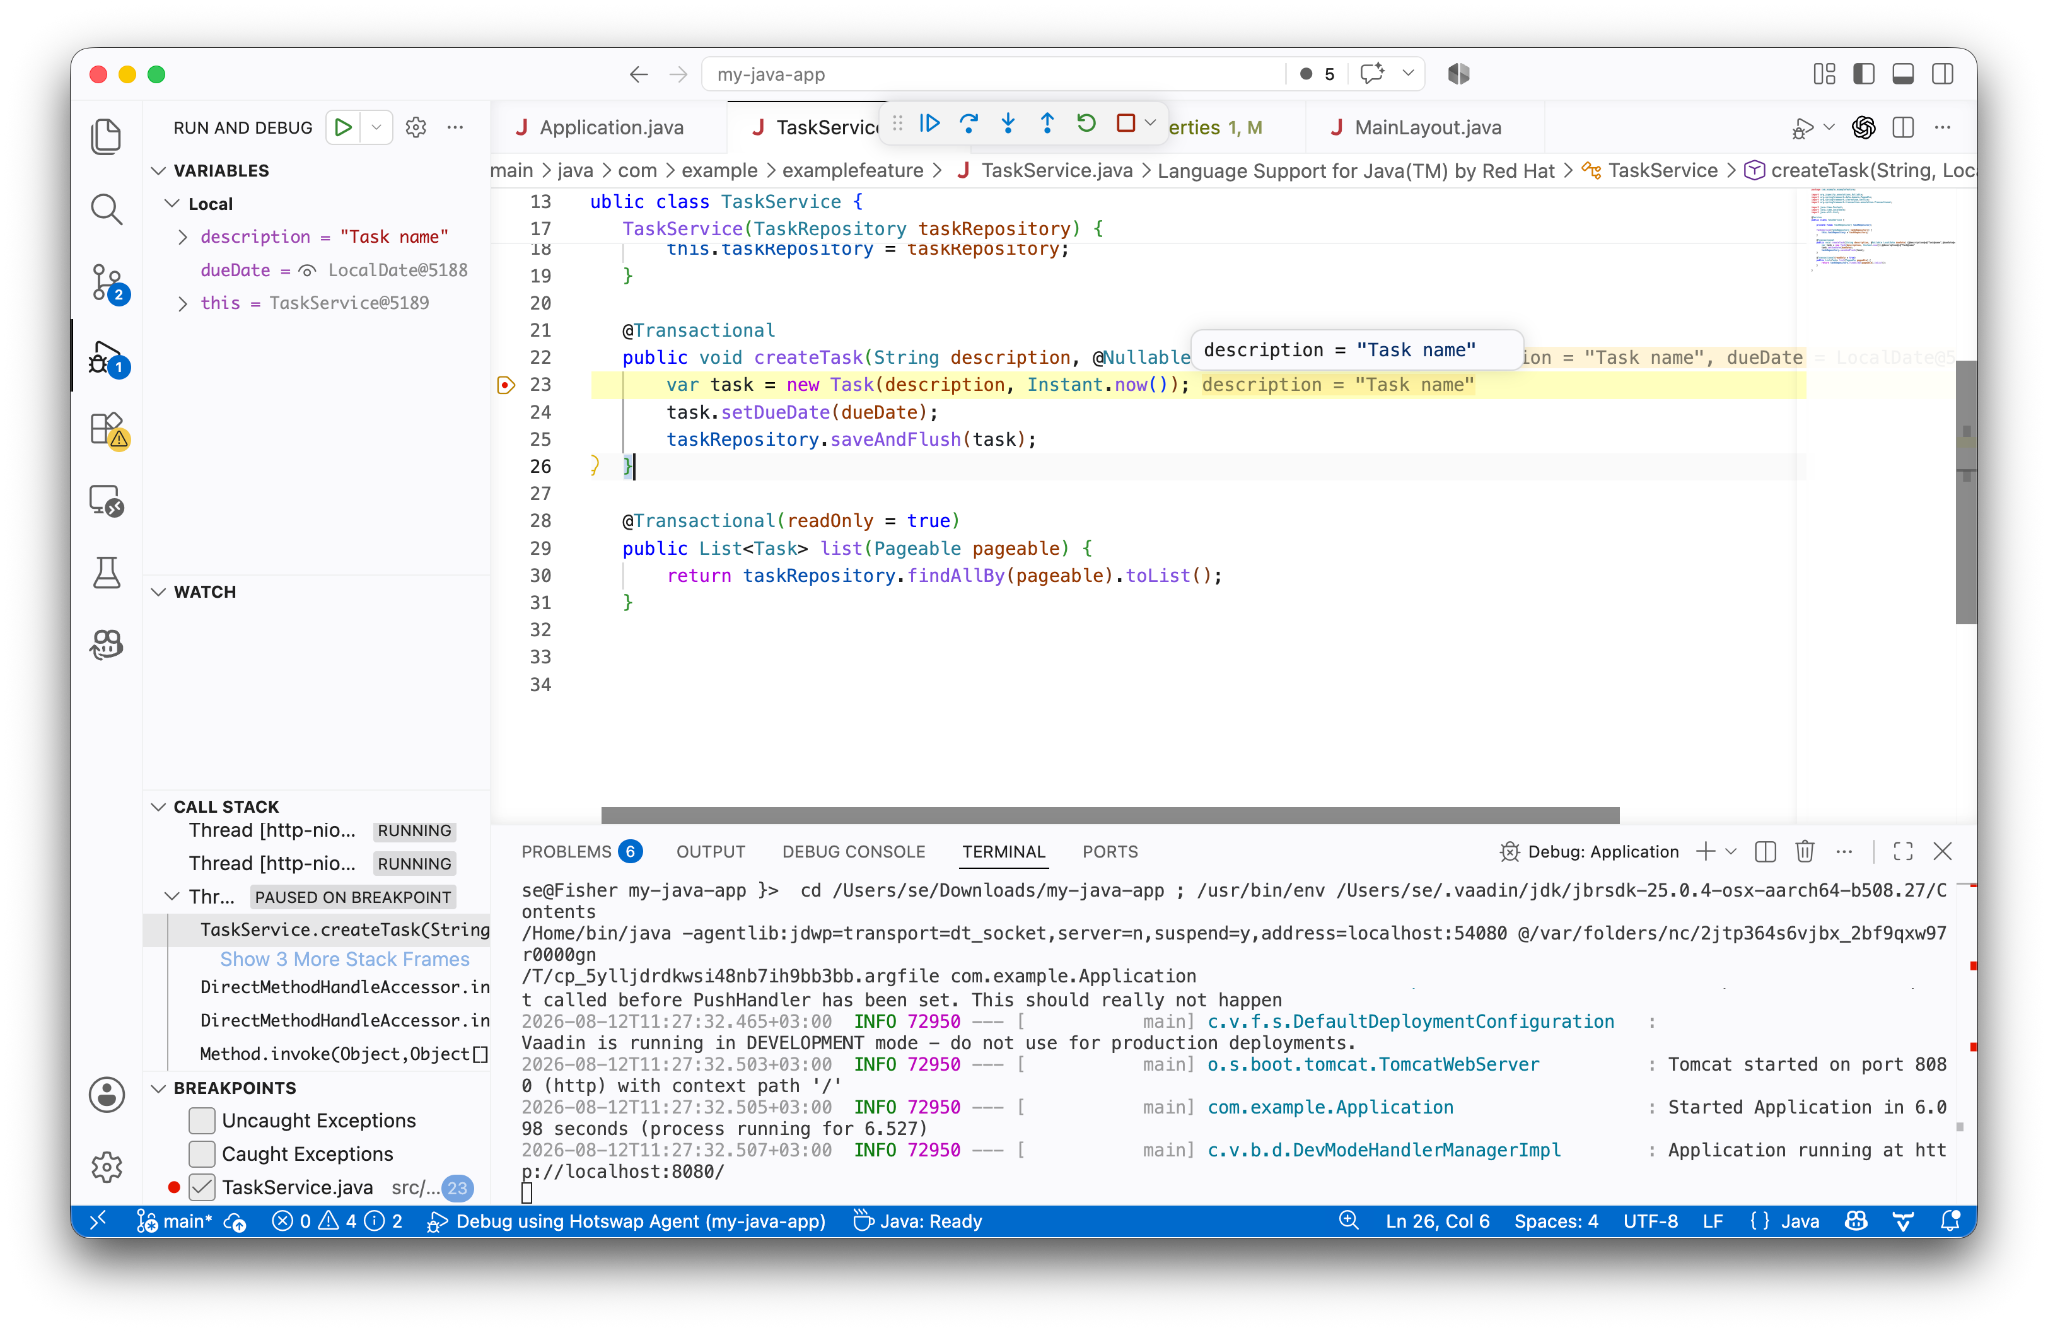
 Once your application has started, you will find the usual debugging tools in the Debug view; for example, clicking to the left of the row number adds a breakpoint, and so on.
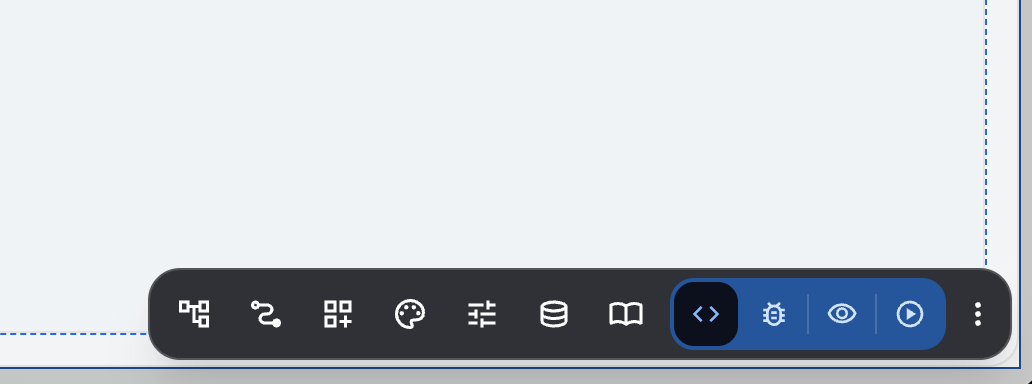
 TIP: The Vaadin extension gives you debugging and editing tools directly in the browser. You can even edit Java code directly from the UI. Look for the menu in the bottom-right corner of your application.
6. Spring Boot Tools (optional)
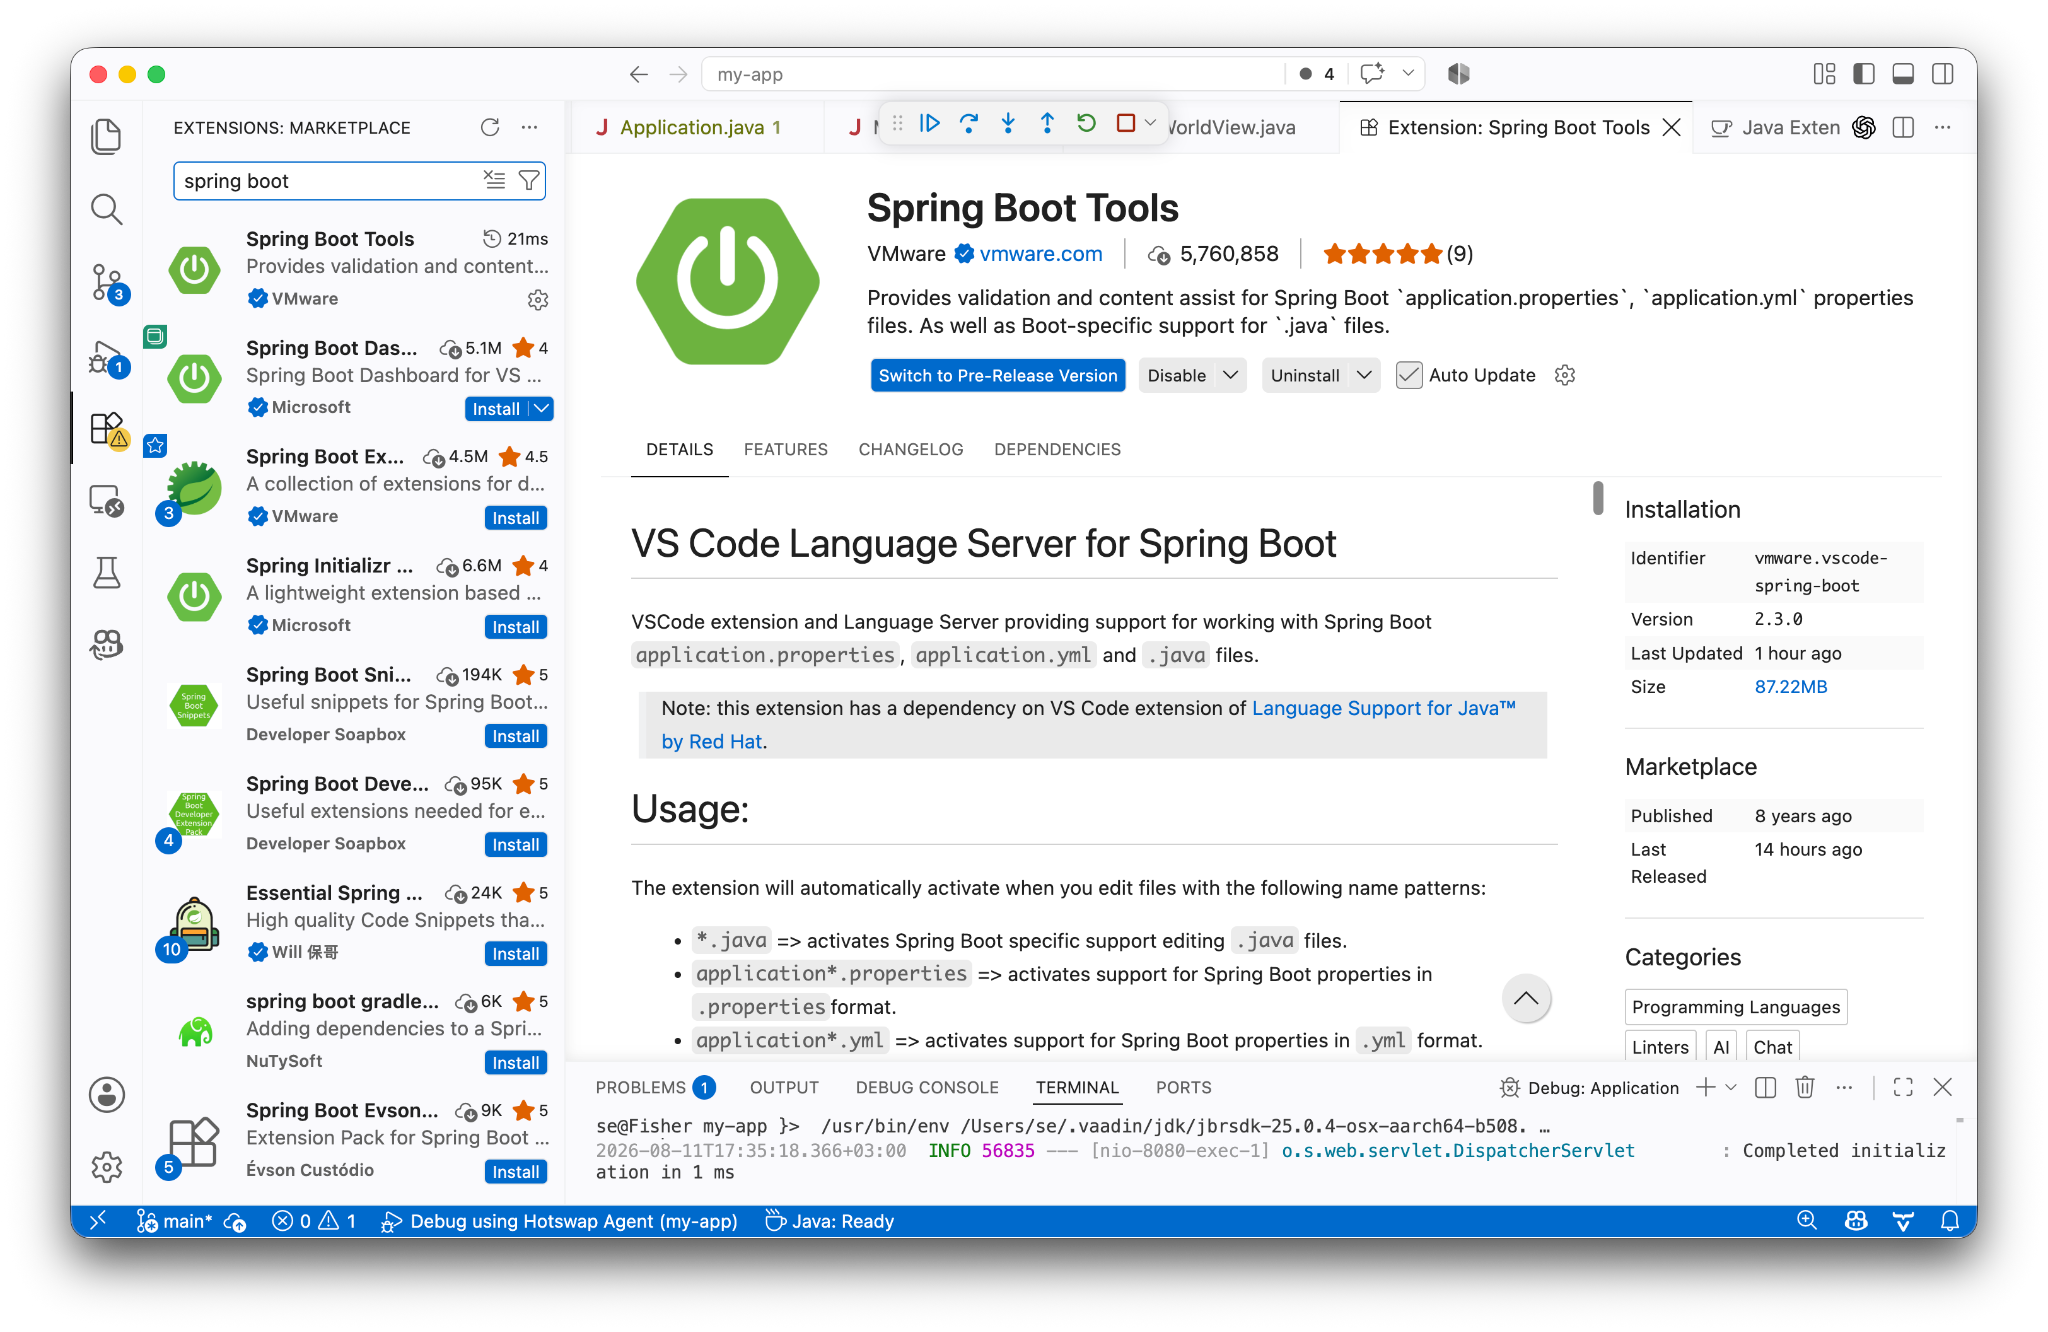
If you are working on a Spring Boot project (e.g., a Vaadin project), you can choose to install the Spring Boot Tools. Since many Vaadin applications use Spring by default this extension gives you some handy features like configuration file completion and runtime insight to dependency graphs.
7. Next steps
Visual Studio Code is an advanced IDE with many convenient tricks up its sleeve. Take a look at the official documentation, and in particular, the Writing Java with VS Code section that includes information about editing, running, debugging, and so on. There is also a section on Maven support in VS Code.
Happy coding!