
In this third tutorial, you’ll learn how to use Redux for state management in a LitElement application. Check out the first two tutorials to learn how to set up a LitElement application and how to use lit-html for templating. If you aren’t interested in Redux, feel free to skip over this tutorial and jump straight to the next one that covers navigation and code splitting.
If you did not complete the two first tutorials in this series, you can check out the code from the previous step as a starter:
A brief introduction to Redux
Redux is a widely used library for state management. It builds on a concept of a central state that is kept in a store and gets updated by actions. Reducers define how the state is changed based on the action. You can read more about Redux on the Redux documentation page.
Redux uses an immutable data structure. Views should never update the state directly, only dispatch actions. This model works well together with LitElement, as its change detection only looks for changes of properties (like objects and arrays), not their contents.
Installing dependencies
Install the following dependencies with npm:
$ npm install --save redux reselect pwa-helpers nanoid-
reduxis the redux library itself -
reselectis a middleware that lets us create optimized selectors for data that are derived from the state -
pwa-helpersis a collection of helpers for PWA that includes helpers for lazily connecting Web Components to a Redux store
Creating a reducer
A reducer is the piece of code that updates the application state based on actions. This is where our application logic resides.
Create a folder src/redux and inside it reducer.js.
src/redux/reducer.js
export const VisibilityFilters = { (1)
  SHOW_ALL: 'All',
  SHOW_ACTIVE: 'Active',
  SHOW_COMPLETED: 'Completed'
};

const INITIAL_STATE = {
  todos: [],
  filter: VisibilityFilters.SHOW_ALL
};

export const reducer = (state = INITIAL_STATE, action) => {
  switch (action.type) {
    default:
      return state;
  }
};-
Move the
VisibilityFiltersfromsrc/views/todo-view.jstoreducer.js. Remember to import it intodo-viewso the code doesn’t break.
The reducer function takes in the current state and an action and produces a new state based on the action. Here, we provide an INITIAL_STATE for when we start the application, and since we do not have any actions yet, we only return the state.
Setting up the store
To use the reducer and access the state we need to set up a store. It allows our views to subscribe to state changes and dispatch actions to update the state.
In the same folder, create a file store.js.
To create the store, we use the createStore function from Redux and pass it in the reducer we created.
src/redux/store.js
import { createStore } from 'redux';
import { reducer } from './reducer.js';

export const store = createStore(
  reducer,
  window.__REDUX_DEVTOOLS_EXTENSION__ && window.__REDUX_DEVTOOLS_EXTENSION__() (1)
);-
Add support for the Redux DevTools extension if it’s installed.
|
Tip
|
The Redux DevTools extension for Chrome is helpful for inspecting and understanding the state of your application. You can download it from the Chrome Web Store. 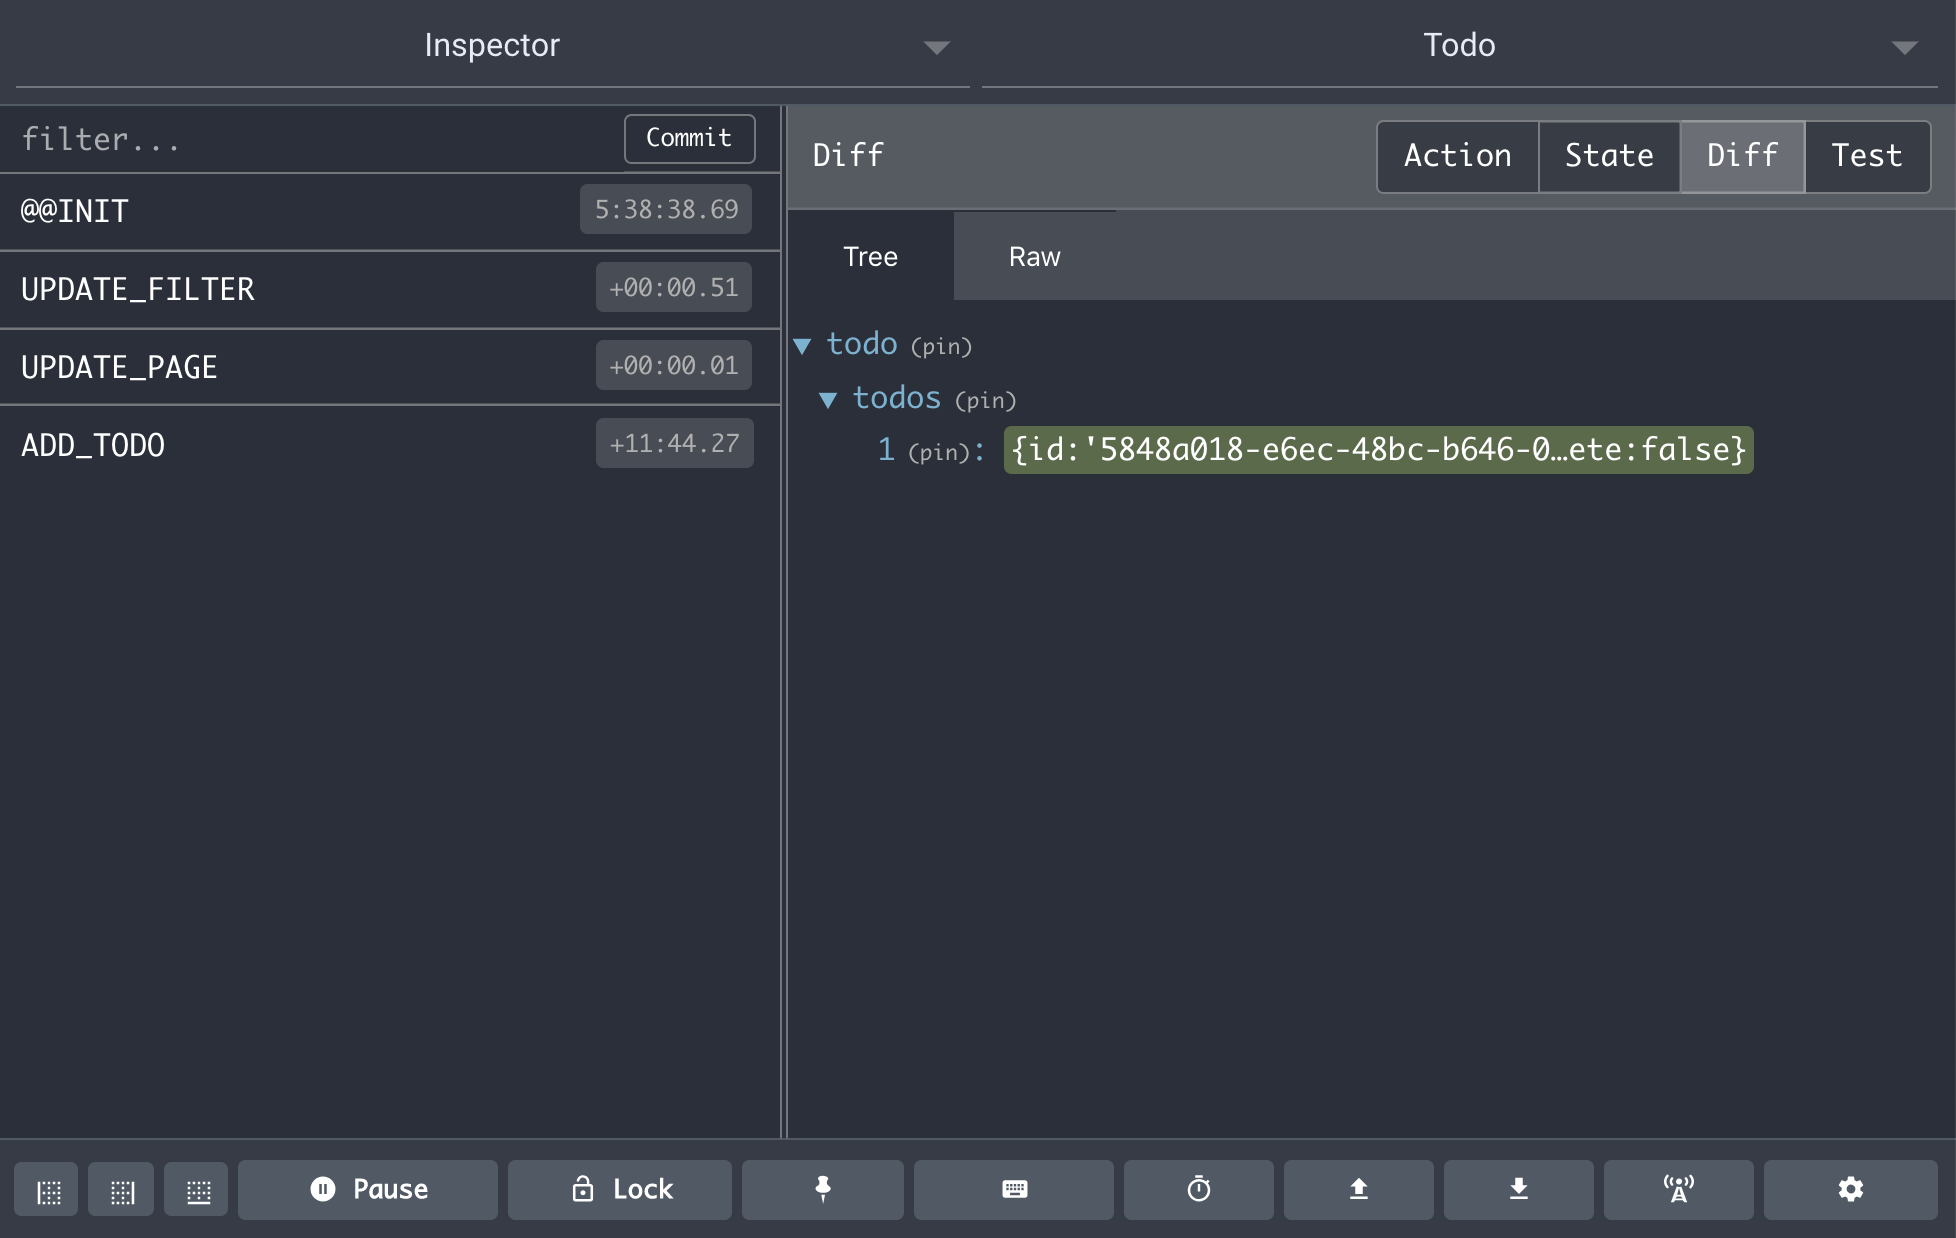 |
Connecting todo-view to the store
The next step is to make todo-view aware of the store and listen to updates to the state.
src/views/todo-view.js
+import { connect } from 'pwa-helpers';
+import { store } from '../redux/store.js';
+import { VisibilityFilters } from '../redux/reducer.js';

---

-class TodoView extends LitElement
+class TodoView extends connect(store)(LitElement) { (1)

---

-  constructor() { (2)
-    this.todos = [];
-    this.filter = VisibilityFilters.SHOW_ALL;
-    this.task = '';
-  }
+  stateChanged(state) { (3)
+    this.todos = state.todos;
+    this.filter = state.filter;
+  }

---

        <vaadin-text-field
          placeholder="Task"
-          value="${this.task}"
+          value="${this.task || ''}" (4)
          @change="${this.updateTask}">
          </vaadin-text-field>
}-
Connect the component to the Redux store
-
Our state now comes from Redux, remove the constructor.
-
Add a
stateChangedmethod and update the component properties based on it. -
The
taskproperty is internal to our component (not in redux) and can be undefined at first, default to showing an empty string.
Now, every time the app state changes, stateChanged gets called on the component and we can update the properties on our component.
Dispatching actions to update the state
The final step in converting todo-view to use Redux is dispatching actions to update the state. Currently, we are still updating the todos inside the component.
Actions are objects with a mandatory type property and any number of additional action-specific properties.
{
  type: ADD_TODO,
  task: 'Learn Redux'
}
There are two parts to dispatching an action:
-
Creating the action. We will do this in a new file
src/redux/actions.js -
Updating the state based on the action. We will do this in
src/redux/reducer.js
Creating actions
Begin by defining the actions of our application.
src/redux/actions.js
import { nanoid } from 'nanoid';

(1)
export const ADD_TODO = 'ADD_TODO';
export const UPDATE_TODO_STATUS = 'UPDATE_TODO_STATUS';
export const UPDATE_FILTER = 'UPDATE_FILTER';
export const CLEAR_COMPLETED = 'CLEAR_COMPLETED';

export const addTodo = task => {(2)
  return {
    type: ADD_TODO,
    todo: { (3)
      id: nanoid(),
      task,
      complete: false
    }
  };
};

export const updateTodoStatus = (todo, complete) => {
  return {
    type: UPDATE_TODO_STATUS,
    todo,
    complete
  };
};

export const updateFilter = filter => {
  return {
    type: UPDATE_FILTER,
    filter
  };
};

export const clearCompleted = () => {
  return {
    type: CLEAR_COMPLETED
  };
};-
Define constants for the action types to avoid typos when we handle these in the reducer.
-
Action creators are functions that create the action object. They can be used to instantiate objects and to ensure that everyone dispatches the action in the same way.
-
Create a todo object based on the task. Create a unique id and set the
completeproperty to false.
Updating the state with actions
Before we can use the actions, we need to define how they should update the state. We do this in src/redux/reducer.js.
First, import the action types:
src/redux/reducer.js
import {
  ADD_TODO,
  UPDATE_FILTER,
  UPDATE_TODO_STATUS,
  CLEAR_COMPLETED
} from './actions.js';
Then update the reducer function to move the logic from todo-view into the reducer.
src/redux/actions.js
export const reducer = (state = INITIAL_STATE, action) => {
  switch (action.type) {
    case ADD_TODO:
      return {
        ...state,
        todos: [...state.todos, action.todo]
      };
    case UPDATE_TODO_STATUS:
      return {
        ...state,
        todos: state.todos.map(todo =>
          todo.id === action.todo.id (1)
            ? { ...action.todo, complete: action.complete }
            : todo
        )
      };
    case UPDATE_FILTER:
      return {
        ...state,
        filter: action.filter
      };
    case CLEAR_COMPLETED:
      return {
        ...state,
        todos: state.todos.filter(todo => !todo.complete)
      };
    default:
      return state;
  }
};-
The only change to the logic is that we identify the todo now based on its
idproperty.
Dispatching actions from todo-view
Now that we have a way of creating actions and updating the state based on those actions, all that remains is to change todo-view to dispatch the actions instead of running the logic itself.
You dispatch actions by calling store.dispatch with the result from an action creator (=the action object).
src/views/todo-view.js
import {
addTodo,
updateTodoStatus,
updateFilter,
clearCompleted
} from '../redux/actions.js';
class TodoView extends connect(store)(LitElement) {
static get properties() {...}
stateChanged(state) {...}
render() {...}
shortcutListener(e) {...}
updateTask(e) {...}
addTodo() {
if (this.task) {
store.dispatch(addTodo(this.task));
this.task = '';
}
}
updateTodoStatus(updatedTodo, complete) {
store.dispatch(updateTodoStatus(updatedTodo, complete));
}
filterChanged(e) {
store.dispatch(updateFilter(e.detail.value));
}
clearCompleted() {
store.dispatch(clearCompleted());
}
applyFilter(todos) {...}
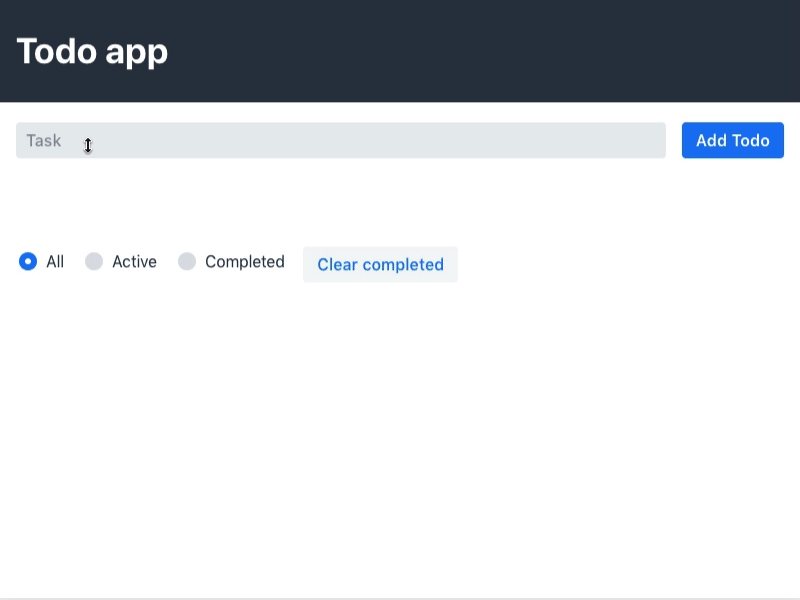
}If you run the application, you should now again be able to use it the same way as before. Install the Redux DevTools to see how the state gets updated based on actions.
Optimizing todo filtering with reselect
Even though our application now works the same as before and we have moved the state to a central Redux store, there is still one part that we could optimize.
Currently, we filter the list of todos every time the view gets rendered, that is any time any part of the state changes. Ideally, we would only perform the filtering if the todos array changes or if the selected filter changes.
To solve this, we use reselect, a helper that memoizes the result and only recompute it if any of the relevant inputs change.
src/redux/reducer.js
import { createSelector } from 'reselect';

...

// Selectors (1)
const getTodosSelector = state => state.todos;
const getFilterSelector = state => state.filter;

export const getVisibleTodosSelector = createSelector(
  getTodosSelector, getFilterSelector, (2)
  (todos, filter) => { (3)
    switch (filter) {
      case VisibilityFilters.SHOW_COMPLETED:
        return todos.filter(todo => todo.complete);
      case VisibilityFilters.SHOW_ACTIVE:
        return todos.filter(todo => !todo.complete);
      default:
        return todos;
    }
  }
);-
Define functions that return the parts of the state that are relevant.
-
Tell reselect that these functions should be observed for changes.
-
Define the output based on the state values.
Then, update todo-view to use the new selector.
src/views/todo-view.js
-import { VisibilityFilters } from '../redux/reducer.js';
+import { VisibilityFilters, getVisibleTodosSelector } from '../redux/reducer.js';

---

  stateChanged(state) {
-    this.todos = state.todos;
+    this.todos = visibleTodosSelector(state);
    this.filter = state.filter;
  }

---

      <div class="todos-list">
-        ${this.applyFilter(this.todos).map(
+        ${this.todos.map(
            todo => html`
Now, we only filter the todos when needed. Reselect is a useful helper for avoiding duplication of the state.
The code is more complicated now. Yay?
By using Redux, we arguably increased the complexity of our application quite significantly without adding any new functionality. It’s reasonable to ask why you would want to do this.
The advantages of Redux are more apparent when your application grows, and several components update the state. Using distinct actions to update a central state makes it easy for us to ensure that all parts of the application are in sync.
Our example application is too small to show off the benefits of Redux properly. However, it is small enough to make it easy to understand the basics of using Redux.
|
Tip
|
Read more about splitting up reducers and handling larger applications in the PWA Starter Kit documentation. |
Next
In the next part of the tutorial series, we add a second view to learn how to deal with navigation. We also look at using code splitting to maintain good performance as our application grows.