Quick Start Tutorial
- Bootstrap a Vaadin Project
- Create Your First View
- Run the Application
- Add Functionality
- Add Input
- Update a Component
- Call a Java Library
- Make a Production Build
- Next Steps
This is a quick tutorial for developers trying out Vaadin for the first time. It walks you through creating a simple Vaadin application from scratch, demonstrating the core concepts along the way. It will take about 10 minutes to complete.
Vaadin allows you to build modern web applications in 100% Java. You don’t need to know HTML, CSS, or JavaScript to get started. All you need is a Java Development Kit (JDK) and an Integrated Development Environment (IDE).
Bootstrap a Vaadin Project
Click the button below to download a minimal Vaadin project skeleton:
After downloading the project, unzip it and open it in your favorite IDE.
|
Note
|
This is a Spring Boot Project
The downloaded project skeleton is a Spring Boot project. The Starters documentation page describes how to create Vaadin projects using different technology stacks.
|
Create Your First View
In Vaadin, a "view" is a Java class that defines the user interface and behavior of a specific screen in your application. It is associated with a URL route, allowing users to navigate to it via a web browser.
Create a new Java class named MainView in the com.example package, next to the Application class:
Source code
MainView.java
package com.example;

import com.vaadin.flow.component.html.H1;
import com.vaadin.flow.component.orderedlayout.VerticalLayout;
import com.vaadin.flow.router.PageTitle;
import com.vaadin.flow.router.Route;

@Route("") 1
@PageTitle("Hello, Vaadin!") 2
public class MainView extends VerticalLayout { 3
    public MainView() {
        add(new H1("Hello, Vaadin!")); 4
    }
}-
The
@Routeannotation turns this class into a view, mapping it to the root URL ("/") of the application. -
The
@PageTitleannotation sets the title of the web page when this view is displayed. -
MainViewextendsVerticalLayout, which is a layout component that arranges its children vertically. -
H1is a component that corresponds to the HTML<h1>element (a top-level heading).
Run the Application
You can run the application directly from your IDE or from the command line. To run it from the command line, open a terminal in the project directory and run the following command:
Source code
Terminal
./mvnwTerminal
PowerShell
PowerShell
|
Tip
|
Command Line Limitations
When you run the project from the command line, you have to restart the application every time you make a change to the code. If you run the application from your IDE you can use hot swapping, which automatically applies changes to your running application without restarting.
|
The first startup may take a while as Maven and npm download the required dependencies.
|
Tip
|
Are you behind a proxy?
Vaadin uses Node.js to download the frontend toolchain during the build. If you are behind a proxy, you may need to configure Node to use that. See the reference guide for details.
|
Once initialization is complete, the application is available at: http://localhost:8080
It should look like this:

The }> button in the bottom-right corner is the Copilot menu, which is visible when running in development mode. You’ll learn more about it later.
Add Functionality
You’ll now enhance the view by adding a Button that adds some text to the view when clicked. Update the MainView class as follows:
Source code
MainView.java
package com.example;

import com.vaadin.flow.component.button.Button;
import com.vaadin.flow.component.html.H1;
import com.vaadin.flow.component.html.Span;
import com.vaadin.flow.component.orderedlayout.VerticalLayout;
import com.vaadin.flow.router.PageTitle;
import com.vaadin.flow.router.Route;

@Route("")
@PageTitle("Hello, Vaadin!")
public class MainView extends VerticalLayout {
    public MainView() {
        add(new H1("Hello, Vaadin!"));
        add(new Button("Say Hello", event -> add(new Span("Hello, Vaadin!")))); 1
    }
}-
This line creates a new Button with the label "Say Hello". When clicked, it triggers a lambda function that adds a new
Spanwith the message "Hello, Vaadin!" to the view. A span corresponds to the HTML<span>element, which is an inline container for text.
This programming model is typical for Vaadin applications. You construct the UI from components, and define behavior using event listeners. If you have used Swing or JavaFX before, this should feel familiar.
If you started the application from your IDE with hotswap (automatic code reload) enabled, the changes should be reflected automatically. If not, restart the application and refresh the browser. Click the button to see what happens:
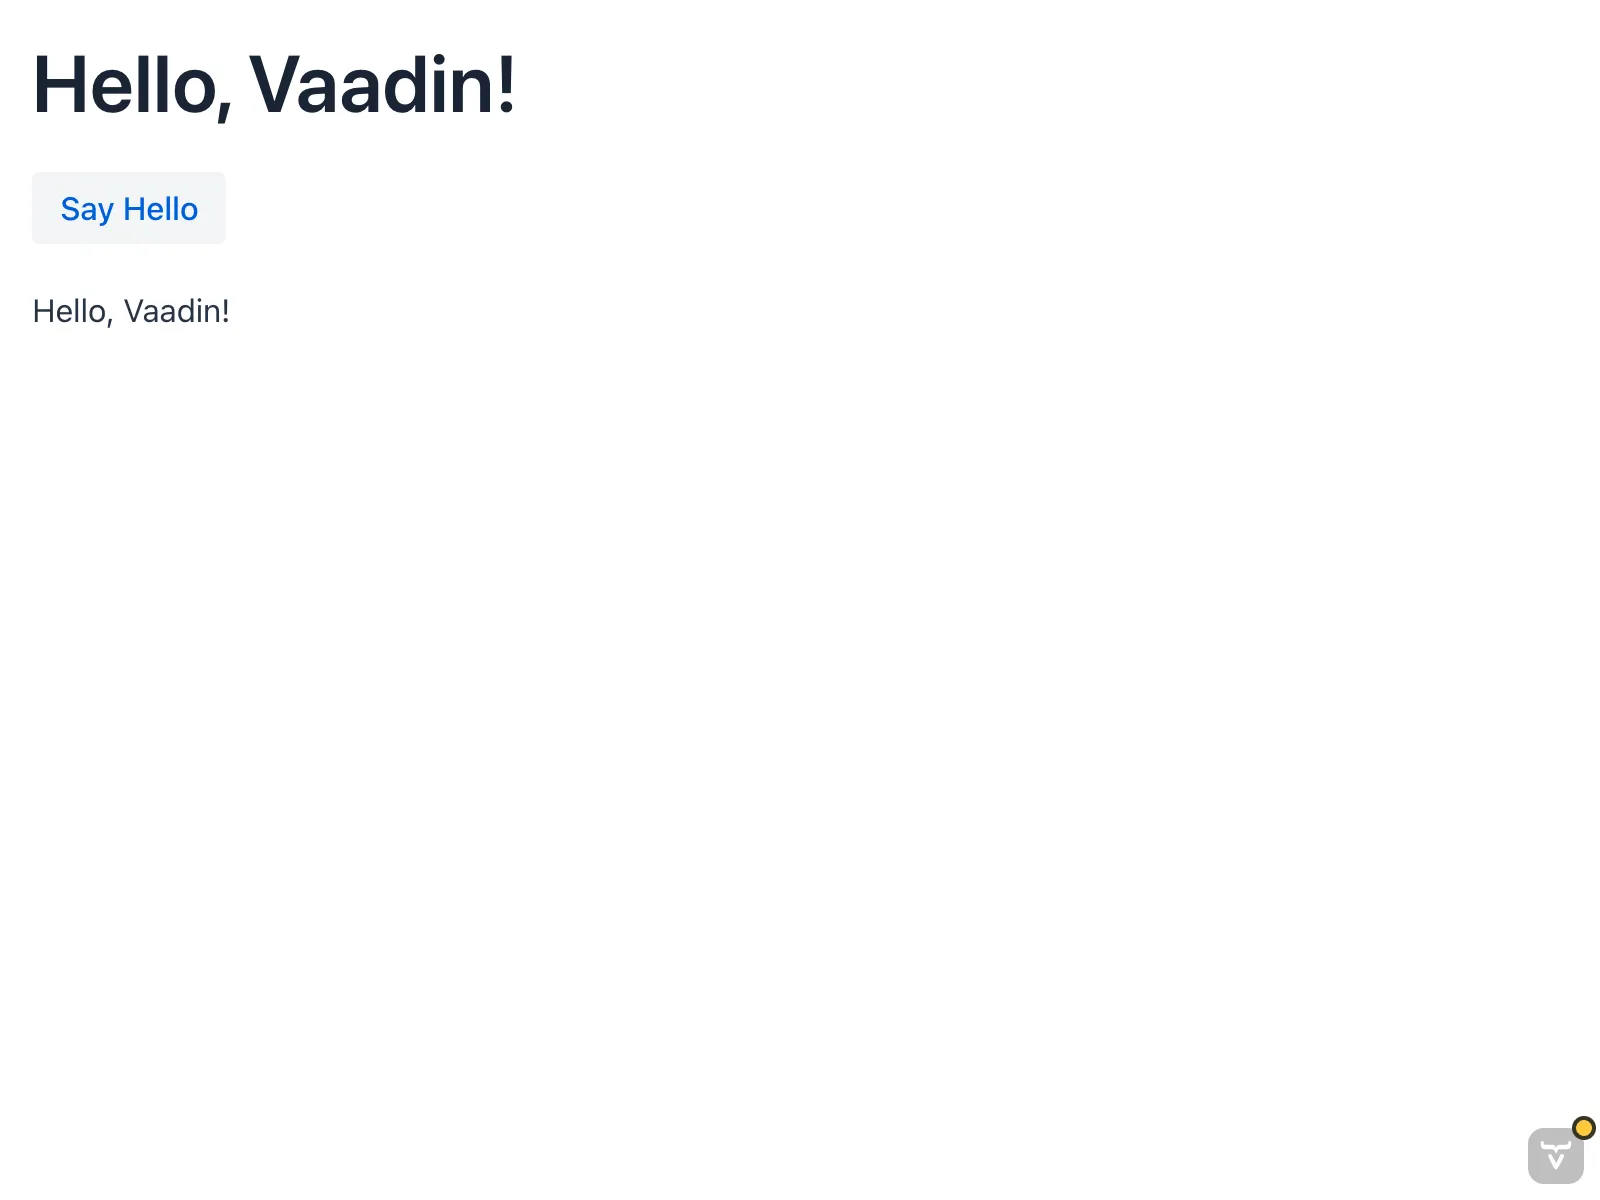
The text is added to the end of the view, below the button. If you click multiple times, new texts are added each time.
Add Input
Next, you’ll add a TextField to allow user input, and modify the button to greet the user by name. Update the MainView class as follows:
Source code
MainView.java
package com.example;

import com.vaadin.flow.component.button.Button;
import com.vaadin.flow.component.html.H1;
import com.vaadin.flow.component.html.Span;
import com.vaadin.flow.component.orderedlayout.VerticalLayout;
import com.vaadin.flow.component.textfield.TextField;
import com.vaadin.flow.router.PageTitle;
import com.vaadin.flow.router.Route;

@Route("")
@PageTitle("Hello, Vaadin!")
public class MainView extends VerticalLayout {
    public MainView() {
        add(new H1("Hello, Vaadin!"));
        var nameField = new TextField("What is your name?"); 1
        add(nameField);
        add(new Button("Say Hello", event ->
            add(new Span("Hello, %s!".formatted(nameField.getValue()))) 2
        ));
    }
}-
Creates a
TextFieldcomponent with a label prompting the user for their name. -
Adds a new
Spanwith a personalized greeting message to the view.
Now the browser view should look like this:
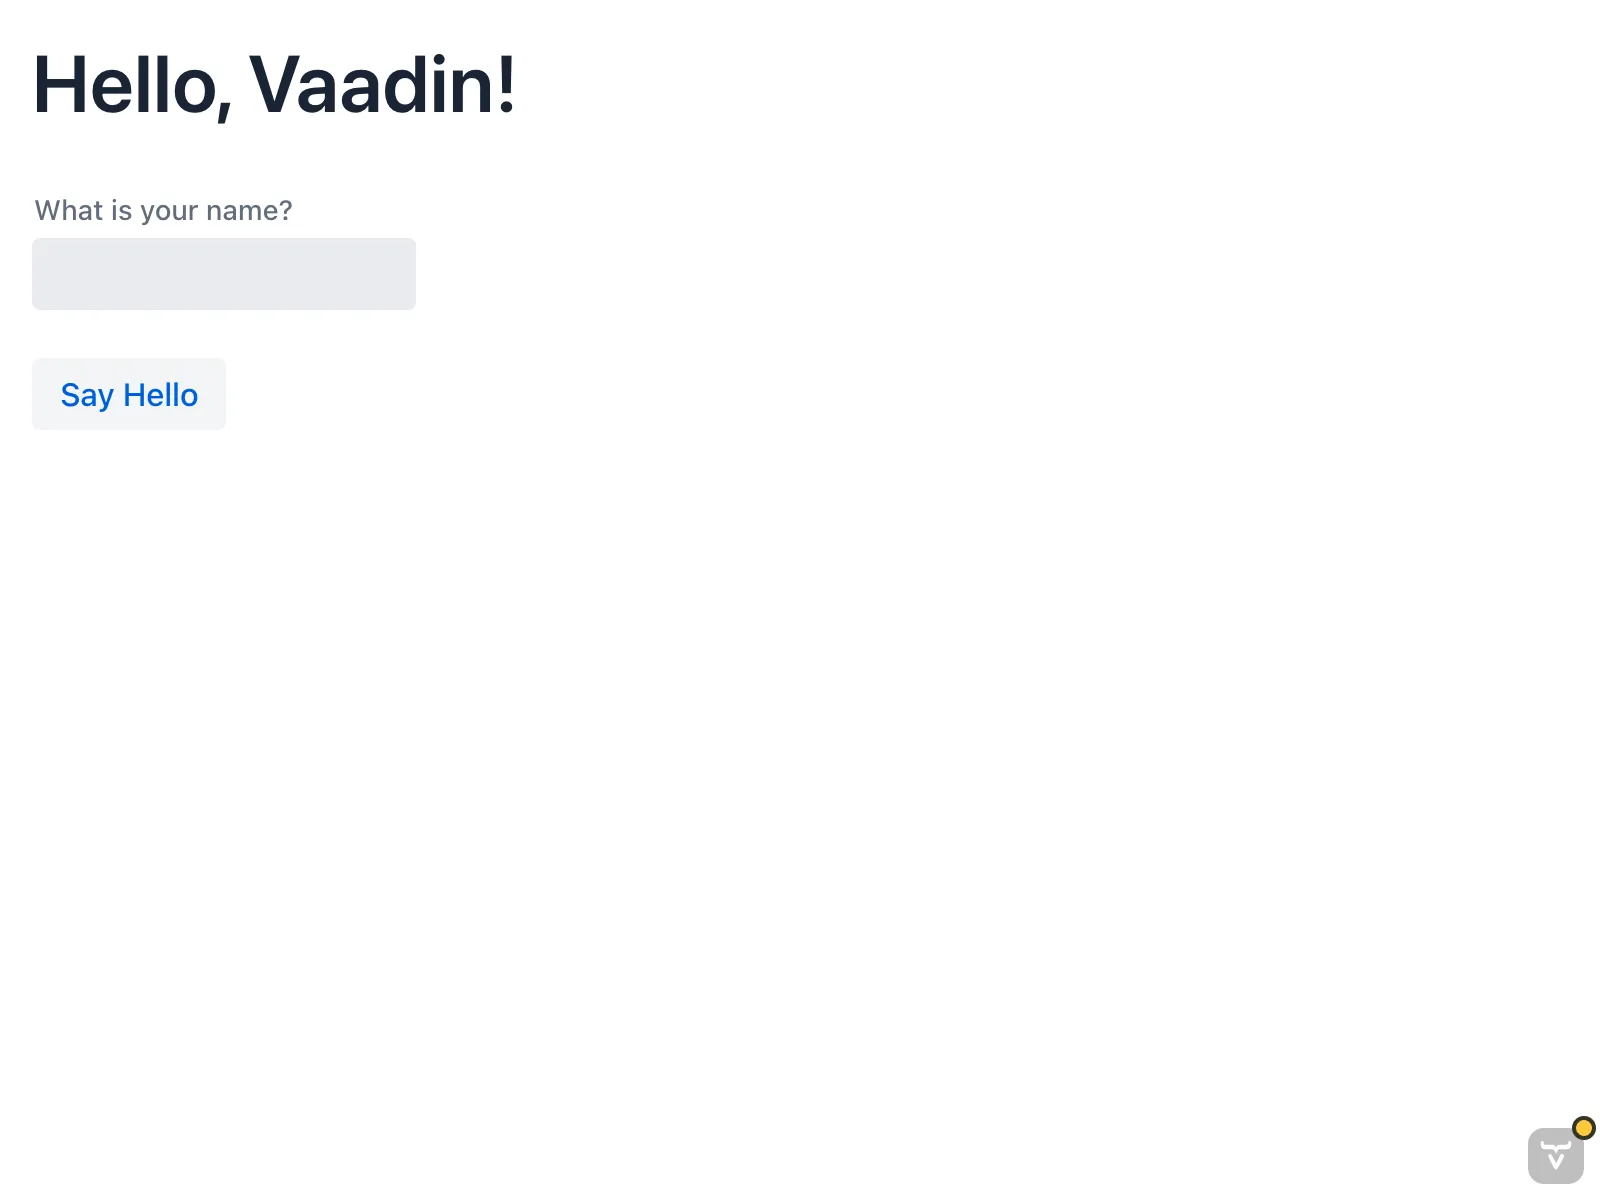
Enter your name in the text field and click the button. The added paragraph greets you using the name you provided.
|
Important
|
What about input sanitization and escaping?
Vaadin takes care of input sanitization and escaping to prevent security vulnerabilities like script injection. Try to enter HTML or JavaScript code in the text field and observe that it is treated as plain text in the notification.
|
Update a Component
The problem with the current implementation is that each time you click the button, a new text is added. Instead, you want to add a single Span and update its content on every click. Modify the MainView class as follows:
Source code
MainView.java
package com.example;

import com.vaadin.flow.component.button.Button;
import com.vaadin.flow.component.html.H1;
import com.vaadin.flow.component.html.Span;
import com.vaadin.flow.component.orderedlayout.VerticalLayout;
import com.vaadin.flow.component.textfield.TextField;
import com.vaadin.flow.router.PageTitle;
import com.vaadin.flow.router.Route;

@Route("")
@PageTitle("Hello, Vaadin!")
public class MainView extends VerticalLayout {
    public MainView() {
        add(new H1("Hello, Vaadin!"));
        var nameField = new TextField("What is your name?");
        add(nameField);
        var greeting = new Span(); 1
        add(greeting);
        add(new Button("Say Hello", event ->
            greeting.setText("Hello, %s!".formatted(nameField.getValue())) 2
        ));
    }
}-
Creates a
Spancomponent to hold the greeting message and adds it to the view above the button. -
Updates the text of the existing
Spaninstead of adding a new one.
If you now try the application again, you’ll see that there is some extra space between the text field and the button:
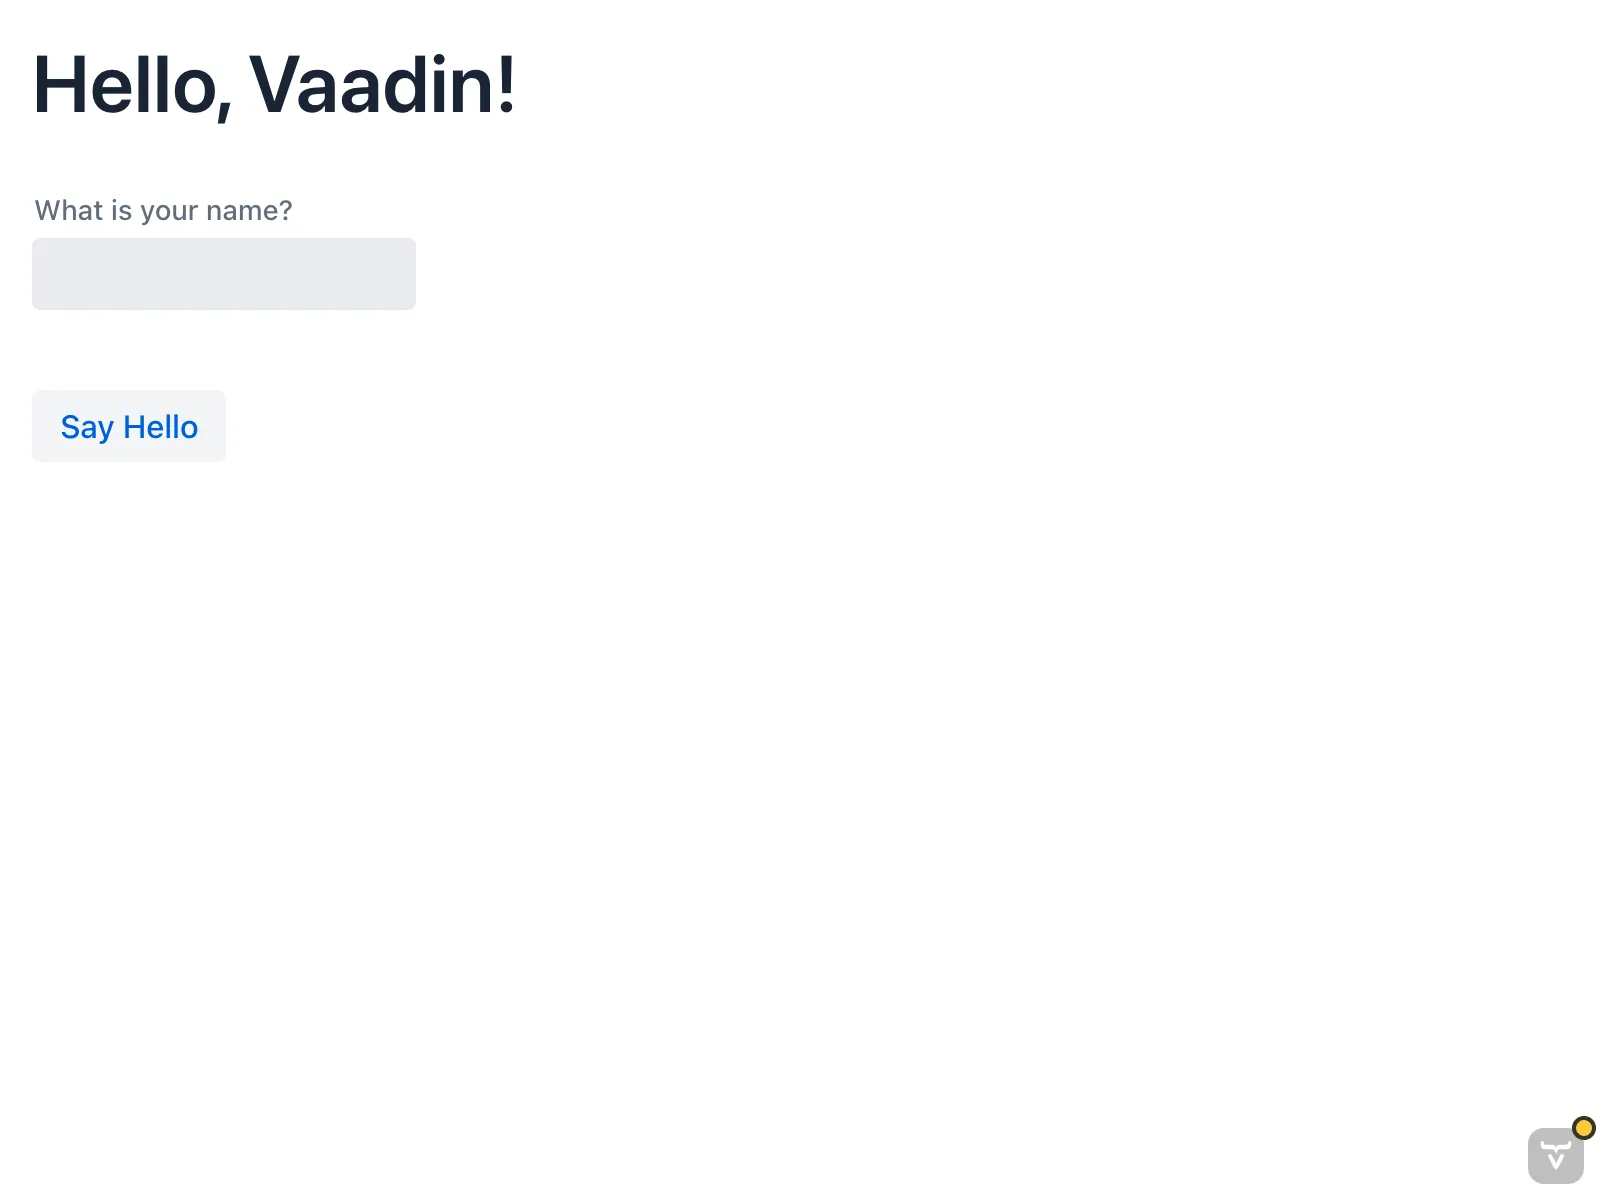
This is because the Span component is initially empty but still occupies space in the layout. You can fix that by hiding the Span when it has no content. Update the code as follows:
Source code
MainView.java
package com.example;

import com.vaadin.flow.component.button.Button;
import com.vaadin.flow.component.html.H1;
import com.vaadin.flow.component.html.Span;
import com.vaadin.flow.component.orderedlayout.VerticalLayout;
import com.vaadin.flow.component.textfield.TextField;
import com.vaadin.flow.router.PageTitle;
import com.vaadin.flow.router.Route;

@Route("")
@PageTitle("Hello, Vaadin!")
public class MainView extends VerticalLayout {
    public MainView() {
        add(new H1("Hello, Vaadin!"));
        var nameField = new TextField("What is your name?");
        add(nameField);
        var greeting = new Span();
        greeting.setVisible(false); 1
        add(greeting);
        add(new Button("Say Hello", event -> {
            greeting.setText("Hello, %s!".formatted(nameField.getValue()));
            greeting.setVisible(!nameField.isEmpty()); 2
        }));
    }
}-
Hides the
Spancomponent initially since it has no content. -
Sets the visibility of the
Spanbased on whether theTextFieldis empty or not.
If you now enter your name and click the button, you’ll see that the greeting message updates in place each time you click the button. If you clear the text field and click the button, the greeting message disappears and no extra space is occupied.
Call a Java Library
A Vaadin application is a regular Java application. Because the user interface runs on the server side, you can call any Java library directly from your UI code. You’ll now try this by adding a QR code to your application using the popular zxing library.
Start by adding the following dependency to your pom.xml file inside the <dependencies> section:
Source code
XML
<dependency>
    <groupId>com.google.zxing</groupId>
    <artifactId>javase</artifactId>
    <version>3.5.3</version>
</dependency>
Import the dependency by refreshing your Maven project in the IDE. Next, add a new button to the MainView class that generates and displays a QR code for the entered name:
Source code
MainView.java
package com.example;

import com.google.zxing.BarcodeFormat;
import com.google.zxing.WriterException;
import com.google.zxing.client.j2se.MatrixToImageWriter;
import com.google.zxing.qrcode.QRCodeWriter;
import com.vaadin.flow.component.button.Button;
import com.vaadin.flow.component.html.H1;
import com.vaadin.flow.component.html.Image;
import com.vaadin.flow.component.html.Span;
import com.vaadin.flow.component.orderedlayout.VerticalLayout;
import com.vaadin.flow.component.textfield.TextField;
import com.vaadin.flow.router.PageTitle;
import com.vaadin.flow.router.Route;
import com.vaadin.flow.server.streams.DownloadHandler;
import java.io.IOException;

@Route("")
@PageTitle("Hello, Vaadin!")
public class MainView extends VerticalLayout {
    public MainView() {
        add(new H1("Hello, Vaadin!"));
        var nameField = new TextField("What is your name?");
        add(nameField);
        var greeting = new Span();
        greeting.setVisible(false);
        add(greeting);
        add(new Button("Say Hello", event -> {
            greeting.setText("Hello, %s!".formatted(nameField.getValue()));
            greeting.setVisible(!nameField.isEmpty());
        }));
        var qrImage = new Image();
        add(new Button("Generate QR Code", event ->
            qrImage.setSrc(generateQrCode(nameField.getValue())) 1
        ));
        add(qrImage);
    }

    private DownloadHandler generateQrCode(String text) {
        return downloadEvent -> {
            try (var out = downloadEvent.getOutputStream()) {
                var qrWriter = new QRCodeWriter();
                var bitMatrix = qrWriter.encode(text, BarcodeFormat.QR_CODE, 300, 300);
                downloadEvent.setContentType("image/png");
                MatrixToImageWriter.writeToStream(bitMatrix, "PNG", out); 2
            } catch (WriterException e) {
                throw new IOException(e);
            }
        };
    }
}-
The image source can be either a URL or a
DownloadHandler. Vaadin serves server-generated content using theDownloadHandlerinterface. -
The QR code is generated and written to the output stream as a PNG image.
Because you have added new dependencies to the project, you have to restart the application for the changes to take effect. After restarting, enter a name and click the Generate QR Code button. A QR code representing the entered name will be displayed below the button:

Having access to the entire Java ecosystem allows you to leverage existing libraries and tools in your Vaadin applications, making development faster and easier.
Make a Production Build
Up to this point, you have been running the application in development mode, which is optimized for fast feedback during development. Before deploying your application to production, you should create a production build that is optimized for performance.
Execute the Maven package goal to create a production build. You can do it from the command line like this:
Source code
Terminal
./mvnw clean packageTerminal
PowerShell
PowerShell
After the build completes, check the target directory in your project. You should find a JAR file named app-1.0-SNAPSHOT.jar (assuming your project is named app).
You can run the production build using the following command:
Source code
Terminal/PowerShell
java -jar target/app-1.0-SNAPSHOT.jarOpen your browser and navigate to http://localhost:8080 to see your application running in production mode. You’ll notice that the }> button is no longer visible.
Next Steps
You have now created a simple Vaadin application from scratch, learning some core concepts along the way. Now is a good time to explore more advanced topics and features of Vaadin in the Tutorial.