Adding a view
- Creating a design
- Creating the View for the Design
- Including the view to the application
- Adding the view to the menu
- Restricting access to the view.
In the following, we’re going to create a new view and add it to the navigation, step-by-step. The view we are creating here is an "About" view.
Creating a design
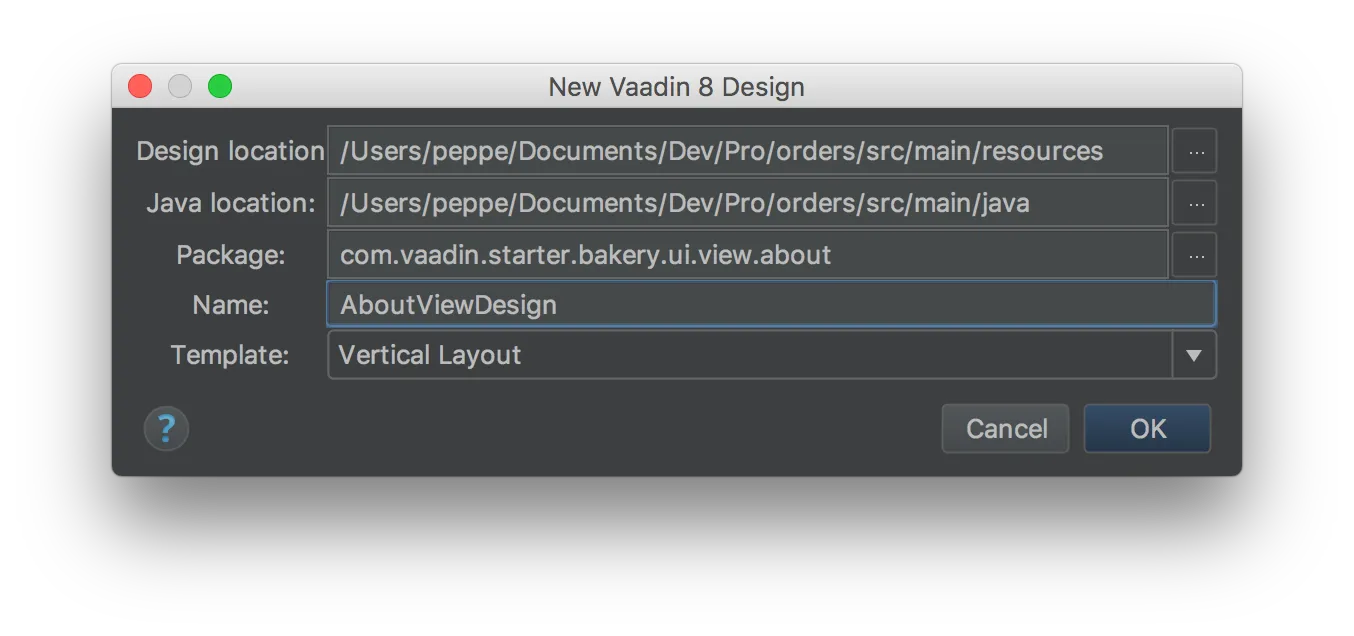
The views of bakery are built with Designer. We start off by creating a new design file. Bakery uses a convention that each main view has it’s own package. We create a new package called about inside the ui.view package and within it a new design called AboutViewDesign.

Creating the View for the Design
Creating a design will create a HTML design file in the resource package as well as generated Java class in the java package. We then create a class called AboutView in the same package and extend the generated Design Java file. We extend the generated class because it is regenerated whenever the design is modified and if we edit the generated file, our changes would be removed when the file is regenerated. The AboutView is the class that will be initialized when the user wants to enter the view.
Source code
Java
package com.vaadin.starter.bakery.ui.view.about;

public class AboutView extends AboutViewDesign {
}
Any logic or configuration that you want to add into the view goes here.
Including the view to the application
We have to tell the application that AboutView is a valid view to be shown in the application. This is achived by annotating the class with @SpringView (Spring) or @CDIView and implementing View.
Source code
Java
package com.vaadin.starter.bakery.ui.view.about;

import com.vaadin.navigator.ViewChangeListener.ViewChangeEvent;
import com.vaadin.spring.annotation.SpringView;
import com.vaadin.starter.bakery.ui.view.NavigableView;

@SpringView
public class AboutView extends AboutViewDesign implements View {

    @Override
    public void enter(ViewChangeEvent viewChangeEvent) {
    }
}
@SpringView or @CDIView tells Vaadin that this is a view which should be associated with a URI fragment. Using a parameter for the @SpringView(name="something") or @CDIView("something") annotation we can define the URL for the view for the view, for example https://www.myapplication.com/#!something.. If we leave out the name parameter, the URL will be deduced from the class name by removing the View suffix.
+If you want to execute some code when the user enters the view, you can override the enter(ViewChangeEvent) method in the View interface. This is an easy place to for example update/refresh data.
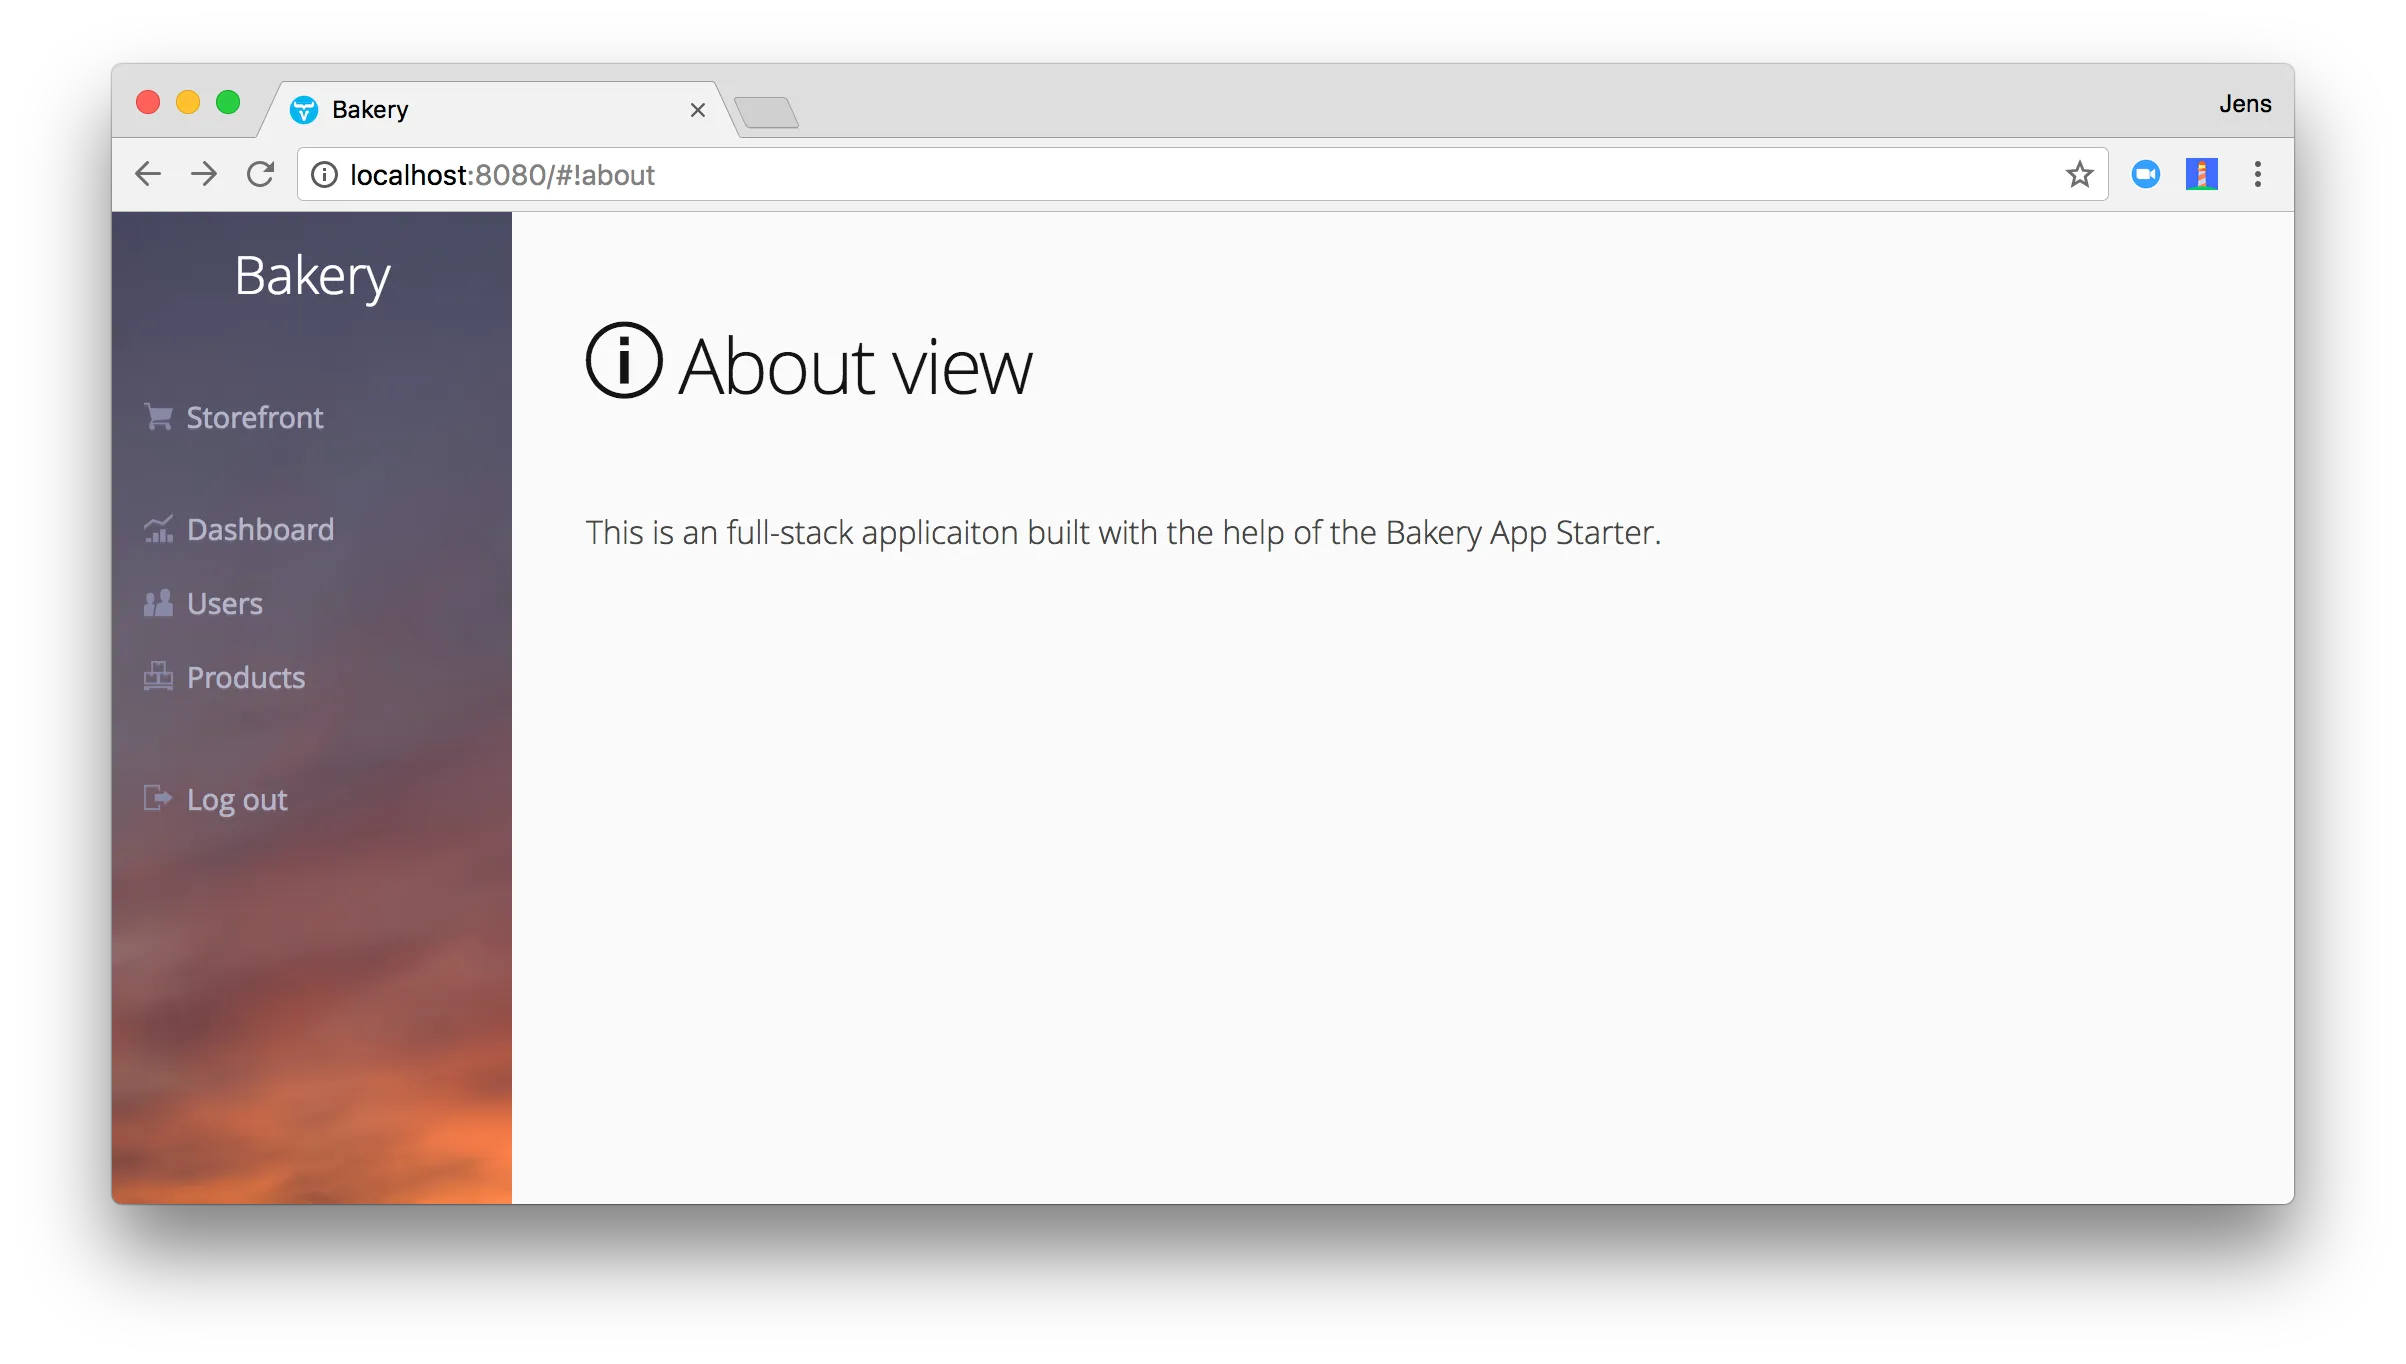
The view is now accessible by going to the url http://localhost:8080/#!about. However, it does not appear in the menu yet.

Adding the view to the menu
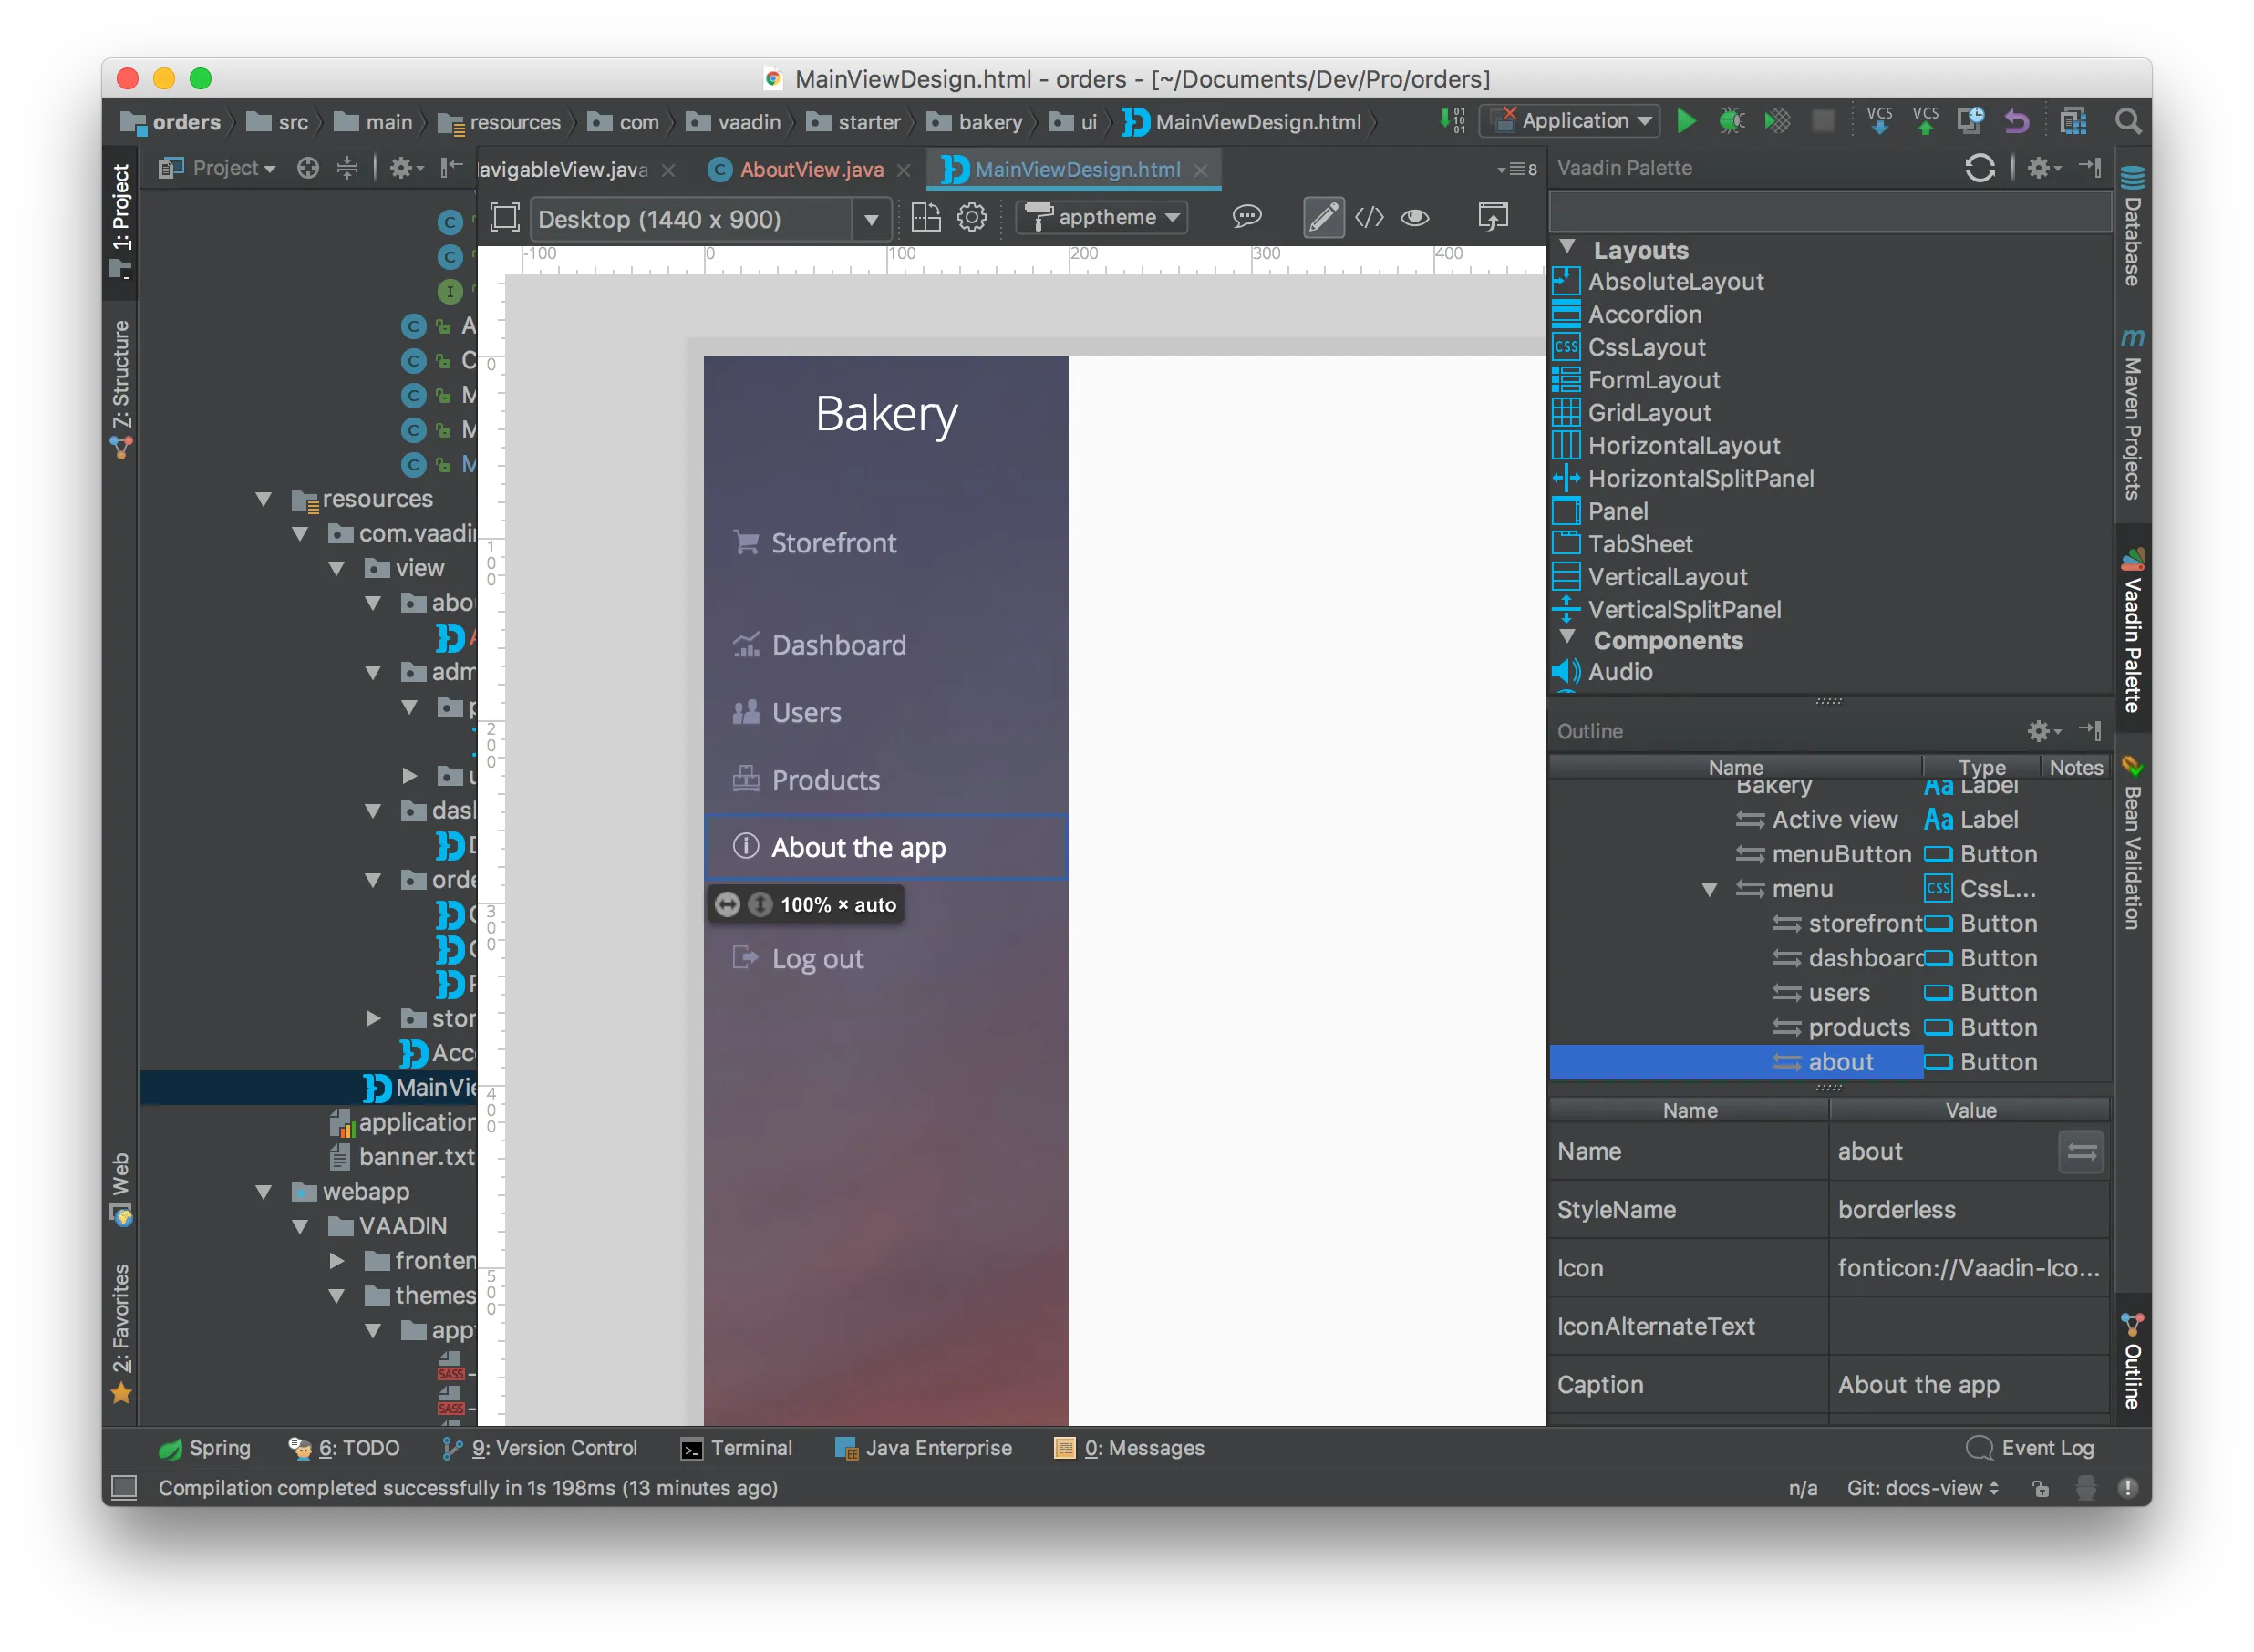
To modify the menu, we want to first open the main layout design, MainViewDesign in the view package. We want to add a new Button into the 'menu' layout. The easiest way to do this is select the last view and pressing copy paste on it (ctrl+c → ctrl+v). This will add a copy of the menu button with same icon and caption. Let’s change those. In the properties panel, you want to change Name, Icon, Caption and DomId to match your new view. Next to icon is a handy button where you see the icons and select a new one visually. The list contains all the built-in font-icons from Vaadin Icons.
|
Tip
| Refer to Vaadin Designer documentation to learn more about visually designing your UI. |

The button is now in the menu but it still doesn’t do anything. The event handlers are wired in the MainView class in the ui.view.MainView Java package. We can make the "About the app" button navigate to the AboutView by modifying the init() method:
Source code
Java
public void init() {
	attachNavigation(storefront, StorefrontView.class);
	attachNavigation(dashboard, DashboardView.class);
	attachNavigation(users, UserAdminView.class);
	attachNavigation(products, ProductAdminView.class);
	attachNavigation(about, AboutView.class);

  logout.addClickListener(e -> logout());
}
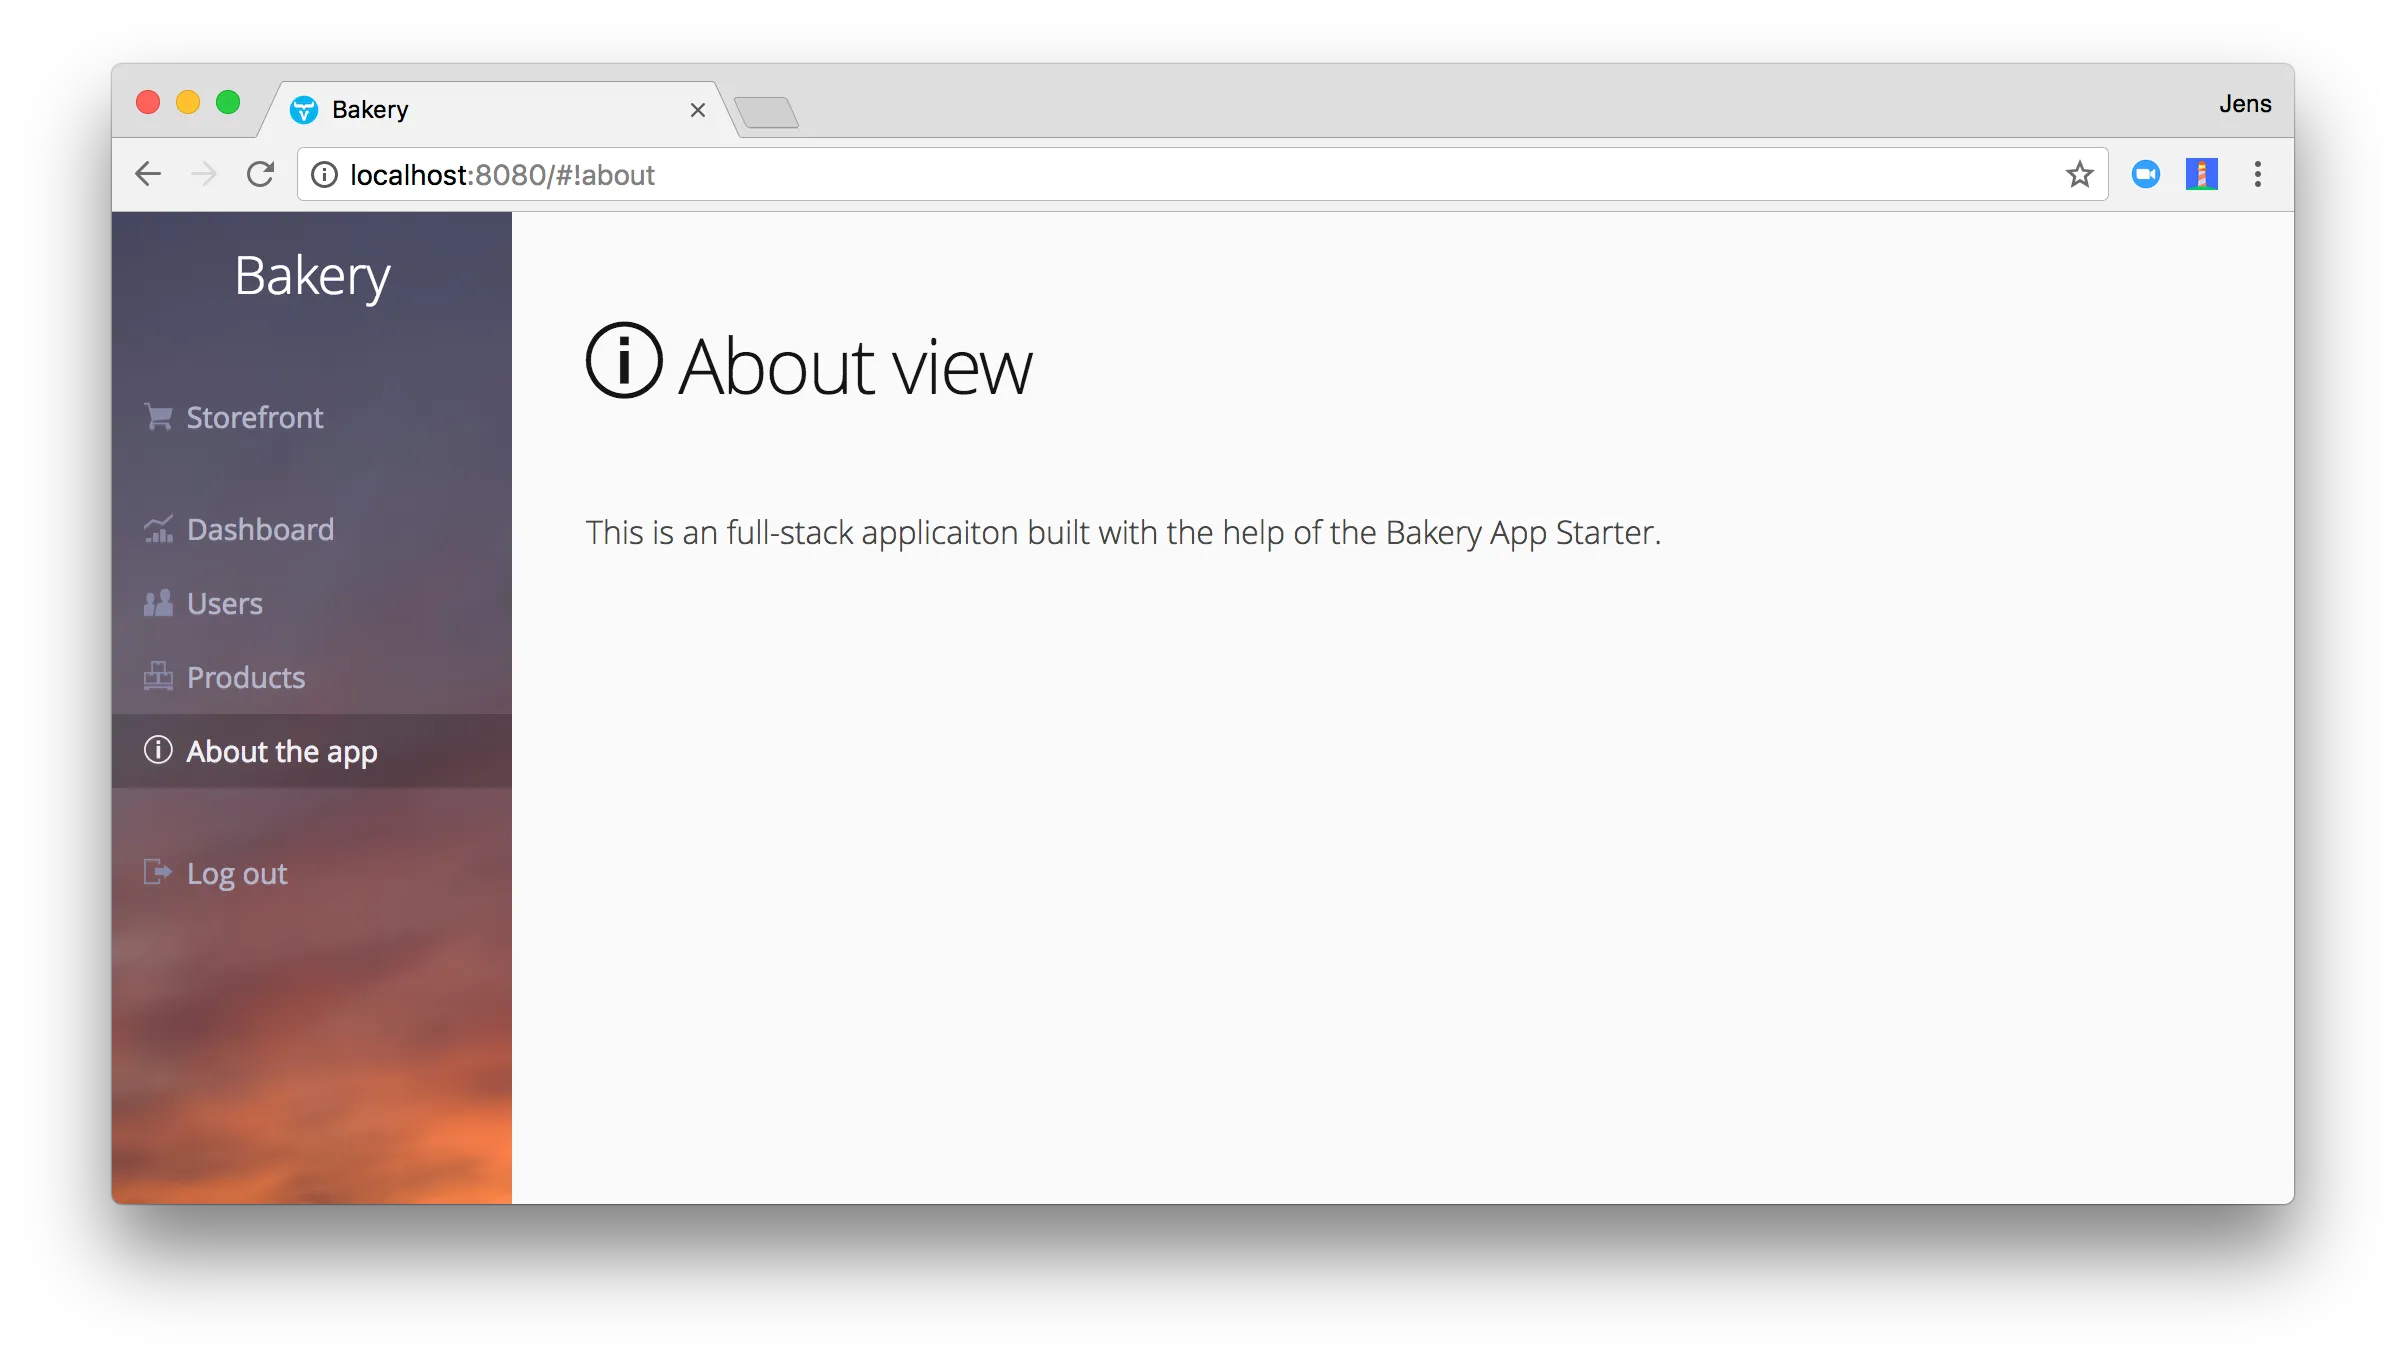
Now we have the view in the menu as well and the user can navigate to it. That’s it!

Restricting access to the view.
If you want to restrict access to some views, you can require the user to have certain roles by adding an annotation. Restricting access to the About-view might not make much sense usually, but we’ll do it anyway:
Source code
Java
@SpringView(name = "about")
@Secured(Role.ADMIN)
public class AboutView extends AboutViewDesign implements View {
  ...
or
Source code
Java
@CDIView("about")
@RolesAllowed(Role.ADMIN)
public class AboutView extends AboutViewDesign implements View {
  ...
@Secured(Role.ADMIN) or @RolesAllowed(Role.ADMIN) will require that the user that is logged in has the ADMIN role to be able to access the view. If the user does not have the role, then the view will not be in the menu and the user will get an "Access denied" message if she tries to access it with a direct URL or otherwise.