QuickStart with Eclipse
Just want to have a quick try with IT Mill Toolkit? This section gives a quickstart into running and debugging IT Mill Toolkit demos under Eclipse. The quickstart includes a web server, so you do not need to install a full-weight web container such as Apache Tomcat and the Sysdeo plugin.
The installation directory of IT Mill Toolkit contains all the necessary files to allow importing it as a ready-to-run Eclipse project. Do the following steps.
-
Start Eclipse. If necessary, switch to Java Perspective from menu → → .
-
Select → → . Dialog for creating a new project opens.
-
In the wizard selection, select → and click .
-
Give the project a name, such as
itmill_toolkit. If you want to use the project as a skeleton for your own project (see below), give some descriptive name. -
Select , click on the button, and select the folder where you unpacked IT Mill Toolkit, such as
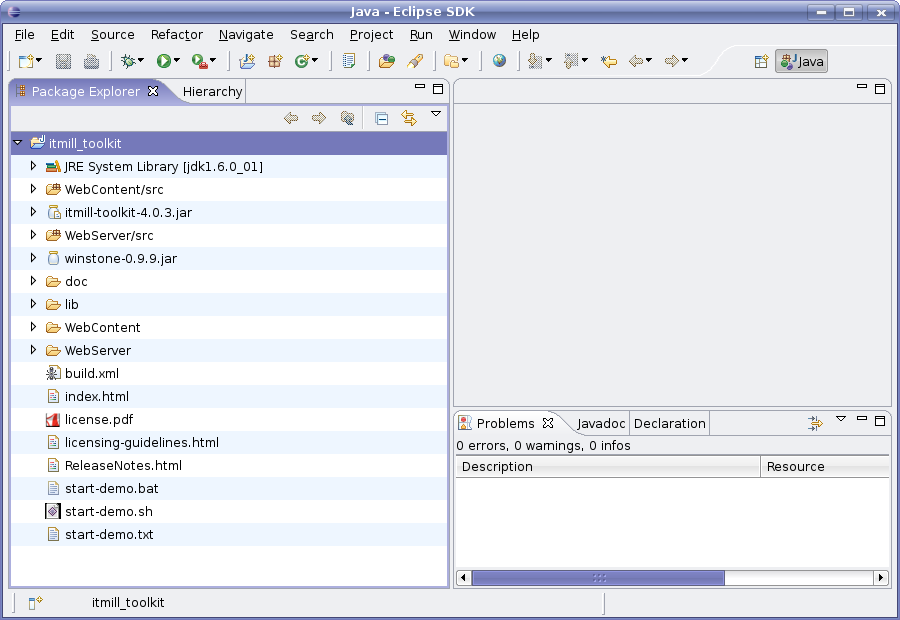
itmill-toolkit-4.0.3. Click in the selection window. Click in the New Java Project window to finish importing the project.The newly imported project will look as follows.
Once the project is imported, as described above, you can run the demo application as follows.
-
Select → → .
-
From Select Java Application window, select
ITMillToolkitServeritem and click .
Running the application will open a browser window with the demo application. The Console tab in the lower pane of Eclipse will display text printed to standard output by the application. Clicking on the button will stop the server.
Notice that executing the demo locally may provide security warning from your firewall software. This is due to started Web service which is required to run demos. You have to ignore warnings or temporarily accept connections to port 8888 on your firewall software. Also, if the demo application fails to start, make sure that no other service is using the port 8888.
You can inspect and experiment with the imported project as you like. When you develop an application, you may want to debug it. Running a web application in debug mode is easy in Eclipse. We show next how to debug the demo application by inserting a breakpoint in the Calc example.
-
Click the right mouse button on the project folder to open up the context menu, and select → .
-
From Select Java Application window, select
ITMillToolkitServeritem and click . The browser opens and displays the running application. -
Open the source code for the Calc program. It is located in
WebContent/src/com.itmill.toolkit.demo.Calc. Doubleclick the class to open the source code in the editor. -
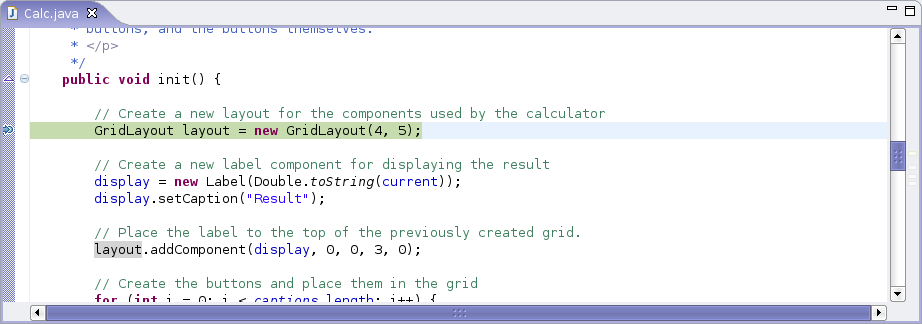
Insert a breakpoint in the
init()(line 57) by clicking on the gray bar on the left of the editor window to open the context menu, and select . -
Switch to the browser window and click on the Calc link to open it.
-
Eclipse encouters the breakpoint and asks to switch to the Debug perspective. Click . The debug window will show the current line where the execution stopped as follows:
If you like, you can also use the imported Toolkit as a skeleton for your project. Just remove any unnecessary files or files related with the demo application from the project. You may also want to rename the IT Mill Toolkit installation directory with a name more proper for your project.
If you want to go the long way, which is probably preferrable for real large project, you should follow the instructions in the section called “ Your First Project with IT Mill Toolkit ”.