Hello Vaadin lovers! =)
Am trying the tutorial
Vaadin.com Tutorial Online
Using “Eclipse”. NOTE: Sorry for my English, but am not a native english speaker, I try my best!
Right now am Between Chapter 3&4
Chapter 3
And this is
the goal
fors this chapter: (To see in the browser of Eclipse this image)

This is
the wrong result I get back:
(The browser inside Eclipse shows: Nothing (after I make a “Debug on server”)

This is
Step-by-Step
I had taken to get my “wrong” result.
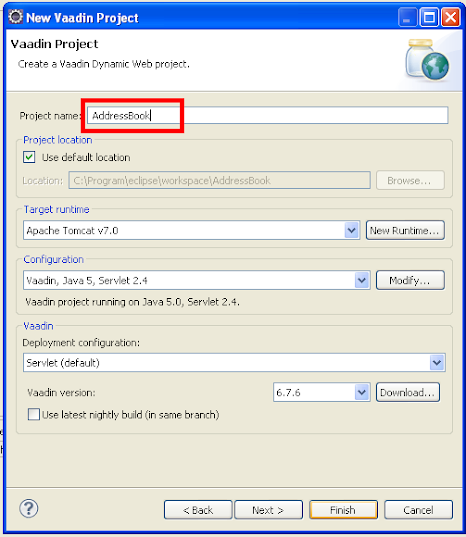
STEP 1:
This is my workspace situation on Eclipse. Where I start from.

STEP 2:
This is the source provided on the tutorial
Chapter 3

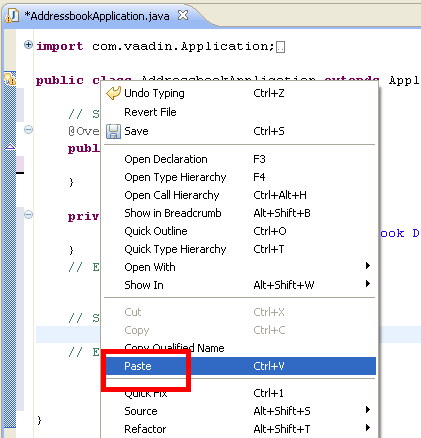
STEP 3:
I paste the copied source from the Tutorial over the “Hello world” source.

STEP 3.1:
And now I have inside Eclipse pasted the new source.

STEP 4:
Now I go again to the tutorial after more Source
Chapter 3
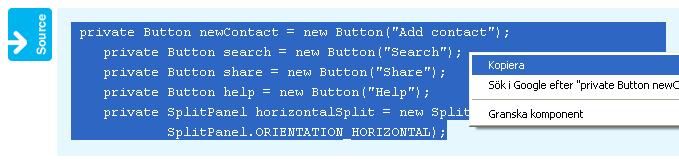
STEP 5:
And I gonna paste the new source after the source pasted before

STEP 5.1:
Here I paste the new source.

STEP 5.2:
This is how it looks after I have pasted the new source.

On this step Pops up (
3 questions
in my mind):
QUESTION 1:
(This simbol doesn´t look well ;D) (You think this is interfering on my wrong result?)

-
QUESTION 2:
(This simbols doesn´t look well to ;D) (You think this is interfering on my wrong result?) [b]
[color=#fd00e4]
[/color]Why the pink arrow??
[/b]

QUESTION 3:
(This simbols doesn´t look well to ;D) (You think this is interfering on my wrong result?)

STEP 6:
I go again to the tutorial after a “bit” of code
Chapter 3

STEP 6.1:
Here is where I paste it on Eclipse

STEP 6.2:
This is how it looks after I paste it

On this step Pops up (
3 questions
in my mind):
-
QUESTION 1:
This simbols looks even worst than the simbols before! This is normal?

-
QUESTION 2:
This simbols looks even worst than the simbols before! This is normal?

-
QUESTION 3:
This simbols looks even worst than the simbols before! This is normal?

STEP 7:
Now I jump to the next chapter
Chapter 4

STEP 8:
I copy the new source provided inside Chapter 4

STEP 8.1:
I go to Eclipse after the last Source pasted

STEP 8.2:
I paste the new source from Chapter 4

STEP 8.3:
This is how it looks after I paste the new source.

STEP 9:
What means this? I never seen this word before. Hint??
STEP 10:
Am exited! So I gonna try my brand new pasted source. I make a Debug on Server.

STEP 10.1:
I don´t change anything just run Finish!

STEP 11:
“THE WRONG RESULT” This is my wrong result!
It´s obvious that I am doing something wrong.
But the question is:
In witch step?
Thanks a lot for your patience!
I hope some day be so great as your are! =D