Getting Started
Vaadin Designer is compatible with both Community and Ultimate Editions.
Install the Plugin
-
Open IntelliJ IDEA
-
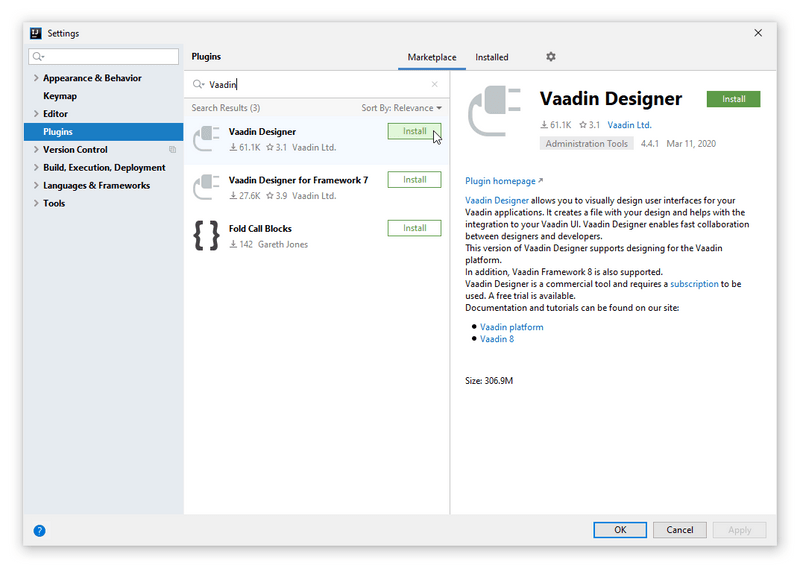
Go to the plugin list
-
On Windows:
-
On Linux:
-
On macOS: Choose
-
-
In the search field, type “Vaadin”
-
Press Install on Vaadin Designer
-
When the installation has finished, press the Restart IDE -button, confirm to restart and wait for the IDE to start up again

Starting a Free Trial and Validating Your License
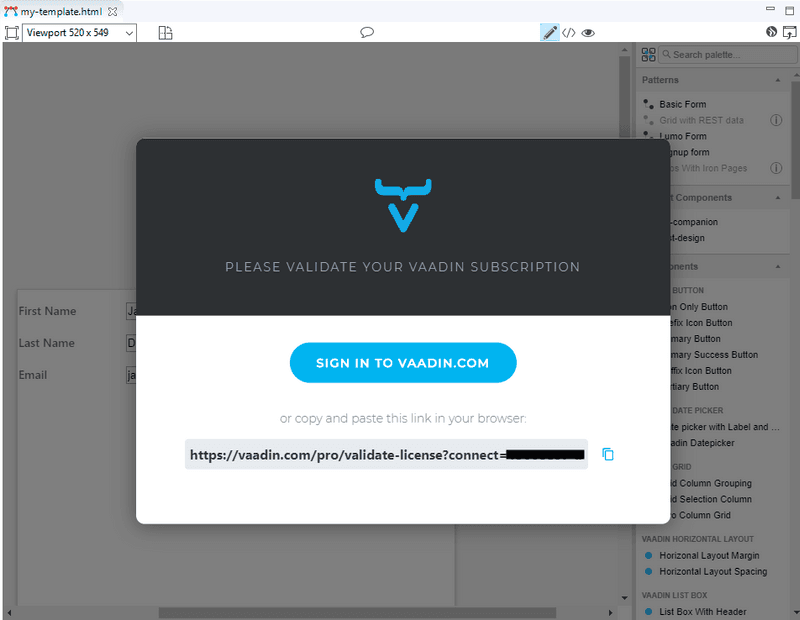
When you open Vaadin Designer for the first time, you need to log in to https://vaadin.com to validate your license:
-
If you don’t have an active subscription or trial: Click Start free trial and log in with your credentials. This gives you access to Vaadin Designer, as well as other useful development tools, such as TestBench, Charts, CRUD, Grid Pro, and more. See the Pricing page for more details.
-
If you have an active subscription or trial: Click Have a subscription? and log in with your credentials.

A separate license key is required for each developer. If you choose not to supply a license, you’re unable to see your design.
If, for any reason, you need to remove or change a valid license, it’s located in
~/.vaadin/proKey in Unix systems and
C:\Users\<username>\.vaadin\proKey in
Windows.
Next Step
Proceed to the next step to start building the application: Build the Main View
E4E4A6D3-2825-4420-9EAF-FAD9BA653CC7