
One of the great things about Web Components is that they can easily be used in existing applications without requiring you to re-architect the application. This makes Web Components like Vaadin Elements a great resource for jQuery developers – it gives you many more options when it comes to high quality UI components at your disposal. In this post you'll learn how to easily replace an existing jQuery UI component with a Web Component.
Tutorial: updating a jQuery UI component to a Polymer based Web Component
You can find all the code for the example on GitHub: https://github.com/vaadin/jquery-web-components
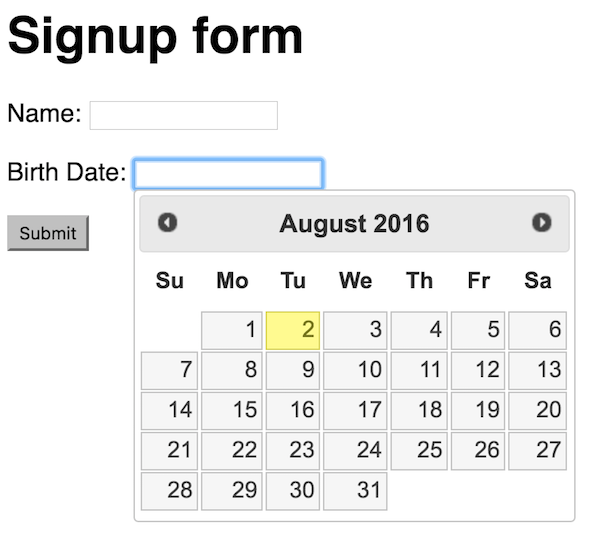
This is our starting point, a simple signup form:
<html>
<head>
  <meta charset="utf-8">
  <title>Sigup form</title>
  <script src="https://code.jquery.com/jquery-1.12.4.js"></script>
  <script src="https://code.jquery.com/ui/1.12.0/jquery-ui.js"></script>
  <link rel="stylesheet" href="//code.jquery.com/ui/1.12.0/themes/base/jquery-ui.css">
  <script>
    $(function() {
      $('#birthdate').datepicker();
      $('#form').on('submit', function(e) {
        e.preventDefault();
        var name = $('#name').val();
        var birthdate = $('#birthdate').val();
        if (name && birthdate) {
          window.alert('Signed up: ' + name +
                       ' (born ' + birthdate + ')');
        }
      });
    });
  </script>
  <style media="screen">
    body {
      font-family: sans-serif;
    }
  </style>
</head>

<body>
  <h1>Signup form</h1>

  <form id="form">
    <p>
      Name:
      <input type="text" id="name">
    </p>
    <p>
      Birth Date:
      <input type="text" id="birthdate">
    </p>

    <button>Submit</button>
  </form>
</body>
</html>
Installing the datepicker and its dependencies
The first step is to install Bower, a package manager used to fetch Web Components. You'll need to have Node and NPM installed before doing this. Adding the -g flag to npm install will make the bower command available globally, not just in the directory you are in.
npm install -g bower
With Bower installed, we can go ahead and initialize our directory. Type
bower init
and answer the questions (defaults should be fine). Once you have initialized Bower, you are ready to start installing Web Components to your project. Let's install vaadin-date-picker:
bower install --save vaadin-date-picker
Bower will install vaadin-date-picker and all it's dependencies in a folder named bower_components. You should not add this to version control, instead let other developers in your project run bower install to install the same dependencies (defined in the bower.json file).
Replacing the old datepicker with the new one
With the new date picker installed, we're ready to get coding.
The first thing we want to do is remove the CSS and JS imports for jQuery UI as we are no longer using it.
Once we've removed the unused files, we'll add two new imports – webcomponents.js and vaadin-date-picker.html. The first file is a polyfill that allows Web Components to also run on browsers that don't have native support for them yet. The second import is for the actual vaadin-date-picker component.
At this point, the <head> of our app looks like this:
<head>
  <script src="https://code.jquery.com/jquery-1.12.4.js"></script>
  <script src="bower_components/webcomponentsjs/webcomponents-lite.min.js"></script>
  <link rel="import" href="bower_components/vaadin-date-picker/vaadin-date-picker.html">
</head>
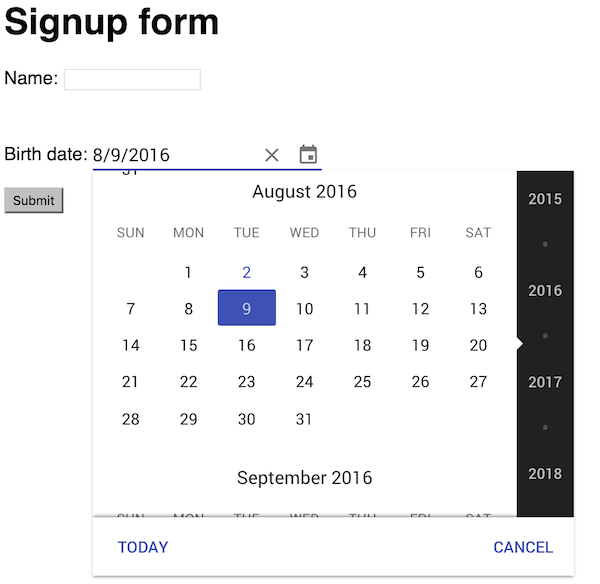
With the imports taken care of, we can change the actual component on the page. We do this by inserting a <vaadin-date-picker> tag and giving it an id. Using a custom element like vaadin-date-picker is no different than using any other HTML tag, you don't need to do any additional JavaScript bootstrapping.
<p>
    Birth date:
    <vaadin-date-picker id="birthdate"></vaadin-date-picker>
</p>
Since we are no longer using the jQuery UI datepicker, we can also simplify our code by removing its initialization call $('#datepicker').datepicker(); Since we are still using the same id for the field, we do not need to change the submit logic.
Finally, we'll style the component to fit in. We do this through CSS, just like we would do with any other HTML.
#birthdate {
   display: inline-block;
   width: 200px;
}
And that's all there is to it. As you can see, Web Components work well together with existing jQuery applications and UI components and give you access to a large selection of quality UI components.
Browse all Vaadin Elements