Is it possible to use IDEA Community Edition for Vaadin development? Community Edition is free (as well as Vaadin Framework itself) but it lacks some important Enterprise and Web-related features like HTML/Javascript/CSS language support, application servers integration, GWT support etc. Ultimate Edition supports all these features, and it’s much more comfortable for Vaadin-based development and generally well worth the money. You can also obtain a free license, if you work for an open-source product, you are a student or a teacher, etc. For more licensing details, please visit the IntelliJ site
Let’s get back on course. Is it possible to develop Vaadin applications using Community Edition, without Ultimate features? Generally, a basic Vaadin 7 application is a Java, but not a JavaScript or HTML, at least until you are going to develop your own components. And here is an illustrated manual on how to use IDEA CE for Vaadin application development.
First steps
The most convenient way to work with Vaadin in IDEA is a Maven project. The maven plug-in should be enabled (and it is enabled by default).
Create a new Maven project, using the latest Vaadin maven archetype. If this is your very first project, you need to add a new archetype. GroupId is com.vaadin, ArtifactId is vaadin-archetype-application, version – latest stable one.

Choose groupID, artifactID and location for your new project in “New Project” wizard. When the wizard is finished, a completely new project is created. In includes one Vaadin form(MyUI) and all necessary dependencies. If IDE asks you about a maven project import, just click “Enable Auto Import”
Build your project
Click Main Menu → View → Tool Windows → Maven projects

Click “clean”, then “install”. Maven builds will be run right in the IDE window. All necessary dependencies should be automatically downloaded, then the project is built.
Launch
In Maven tool window, open Plugins->jetty and click “jetty:run”.

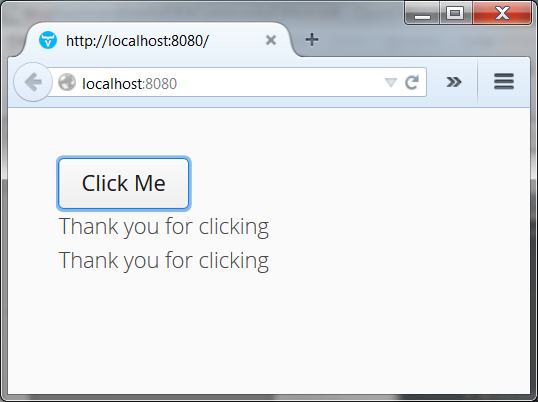
Now jetty web server is started with your application deployed. Open your browser and go to http://localhost:8080/
To stop the web server, just press the red square button in the “Run” panel.
Debugging(Server-side code)
First, stop your web server and then start it again in debug mode. Just right-click the same “jetty:run”, then choose “Debug”.

Now both the maven and the jetty server are started in the same JVM, with debug mode enabled. You can set breakpoints, use watches and all other IDEA debugging features.

Enjoy!
Links
- Vaadin Maven Support - vaadin.com/maven
- IntelliJ IDEA download page - jetbrains.com/idea/download/
- IntelliJ IDEA licenses - jetbrains.com/idea/buy/