
Last week we released one of the most important components in the 7.4 version of the framework - the Grid. If you haven’t taken a look at it yet, I can tell you that there are quite a few features that you can use to present and tune to get your data on the screen.
Like you know, Grid is now a part of the open source framework and free to use under Apache 2 license. To help you get started with it, we wanted to give you some code snippets to visualize how it’s used.
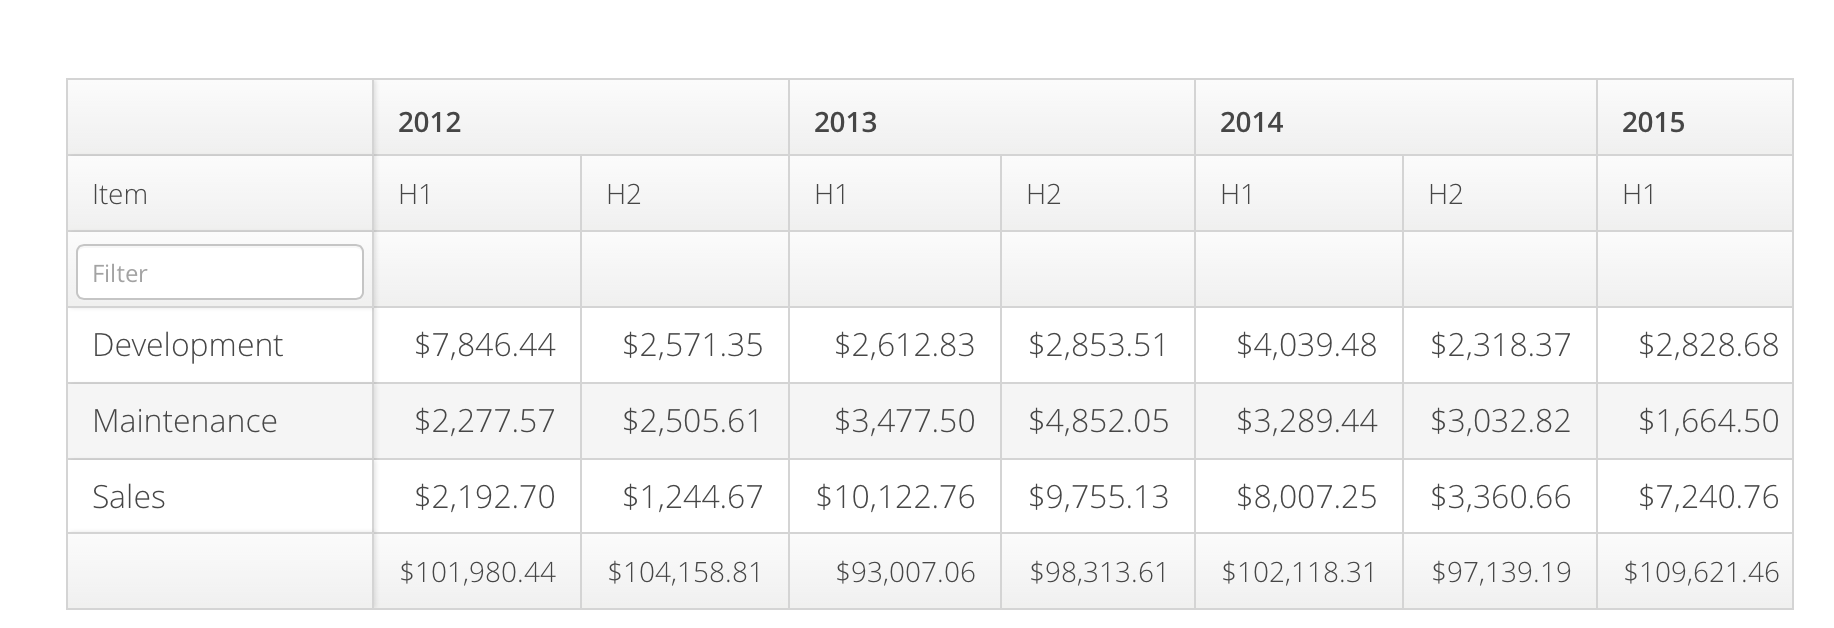
Create and show a data grid
Create an empty Grid with a caption and add it to your layout. Here we want to reserve most of the space in VerticalLayout for the grid:
Grid grid = new Grid("My data grid");
layout.addComponent(grid);
grid.setSizeFull();
layout.setExpandRatio(grid, 1);
There are alternative constructors for binding the Container data source at the same time. Check out the Grid Javadocs for more details.
Adding data
The most simple way of adding data is to just add some rows:
grid.addRow("com.vaadin", "vaadin-server", "7.4.0");
grid.addRow("com.vaadin", "vaadin-client-compiled", "7.4.0");
You already guessed that this adds two rows with three columns to the data grid, but you can go further by binding containers as data source:
final BeanItemContainer<Person> ds =
    new BeanItemContainer<Person>(Person.class, personList);
Grid grid = new Grid("Employees", ds);
layout.addComponent(grid);
Of course you can use other (your favorite) containers, from LazyQueryContainer, CollectionContainer to ListContainer, and your own custom ones.
Configuring columns
Now you have something to show. But maybe not all. If your Person objects have nested POJOs, they don’t look that nice, but fortunately you can easily expand those:
ds.addNestedContainerBean("address"); Setting the column order is equally as easy:
grid.setColumnOrder("firstName", "lastName", "salary",
    "address.streetAddress", "address.city", "address.country");
You can also set sizes for individual columns. Just grab the column handle and configure:
grid.getColumn("salary").setExpandRatio(1); // take all available And you can also set the minimum width for a column:
grid.getColumn("salary").setMinimumWidth(200); // can expand If you have too many columns to be visible at once, you can have some columns fixed so that they are kept visible all the time.
grid.setFrozenColumnCount(2);
Headers and Footers
While data is the most important thing, it is also important to make it meaningful. Good headers and titles help to bring meaning to your data.
HeaderRow row = grid.prependHeaderRow();
row.join("firstName", "lastName").setHtml("<b>Full name</b>");
As you can see, the HTML can be used to emphasize things.
And the same goes for footers. Display aggregate values, totals, averages or just some text in the end of the data grid:
FooterRow footer = grid.appendFooterRow();
footer.getCell("salary").setText("avg: 1528.55");
Custom data presentation
Sometimes custom data presentation is as easy as binding data, but most typically your data does not match the presentation you want to have. Here is what you can do:
grid.getColumn("salary").setRenderer(new ProgressBarRenderer(),
               new BigDecimalToDoubleConverter());
What happens here is that a “renderer” is used to present column values. You can use one of the built in renderers and converters, or simply create your own special converter:
grid.getColumn("busy")
    .setConverter(new BooleanTrafficLight())
    .setRenderer(new HtmlRenderer());
Notice the fluent API implementation. Here a colored dot is presented instead of the underlying boolean value.
Selecting rows
Primarily you present long (or short) lists of data with the data grid, let the user select something there and receive an event as he or she makes the selection:
grid.setSelectionMode(SelectionMode.SINGLE);
grid.addSelectionListener(new SelectionListener() {

@Override
   public void select(SelectionEvent event) {
       Notification.show("Select row: "+grid.getSelectedRow());
   }
});
You can choose from NONE, SINGLE and MULTI here and receive an event when the selection changes.
Inline editing
Using editor capabilities, you can let the users edit the data in place:
grid.setEditorEnabled(true);
grid.setEditorSaveCaption("Save my data, please!");
While this would already make the data editable, the defaults might not be enough for your data types. Then you can create your own forms:
final MyForm form = new MyForm();
layout.addComponent(form);
grid.addSelectionListener(new SelectionListener() {

    @Override
    public void select(SelectionEvent event) {
        BeanItem<Person> item = ds.getItem(grid.getSelectedRow());
        form.fieldGroup.setItemDataSource(item);
    }
});
And then create a simple form of your own - TextFields, DateFields, Sliders,... whatever you might need there. Here we use the GridLayout (just a layout, not to be confused with the Grid itself) to present a form of three columns:
public class MyForm extends GridLayout {

    public BeanFieldGroup<Person> fieldGroup =
        new BeanFieldGroup<Person>(Person.class);

    private TextField firstName, lastName, salary;

    public MyForm() {
       super(3, 1);
       setSpacing(true);
       fieldGroup.buildAndBindMemberFields(this);
       addComponents(firstName, lastName, salary);
       space();
       addComponent(new Button("Save", new ClickListener() {

           @Override
           public void buttonClick(ClickEvent event) {
               try {
                   fieldGroup.commit();
               } catch (CommitException e) {
                   //TODO: Say and do something meaningful
               }
           }
       }));

       addComponent(new Button("Cancel", new ClickListener() {

           @Override
           public void buttonClick(ClickEvent event) {
               fieldGroup.discard();
           }
       }));
   }
}
With this, you already have a data grid driven CRUD application in your hands. Enjoy Java’s benefits and refactor and rename it to your needs.
Read more
This was just a small glimpse to what Vaadin Grid has to offer. There is much more you can achieve, with styling, filtering and sorting. Take a look at the developer guide, wiki and Javadocs for more.